Fabrication

I am trained in the following methods of fabrication: 3D printing, lasercutting, welding, and woodworking.
Here are select projects that I have been working on recently.


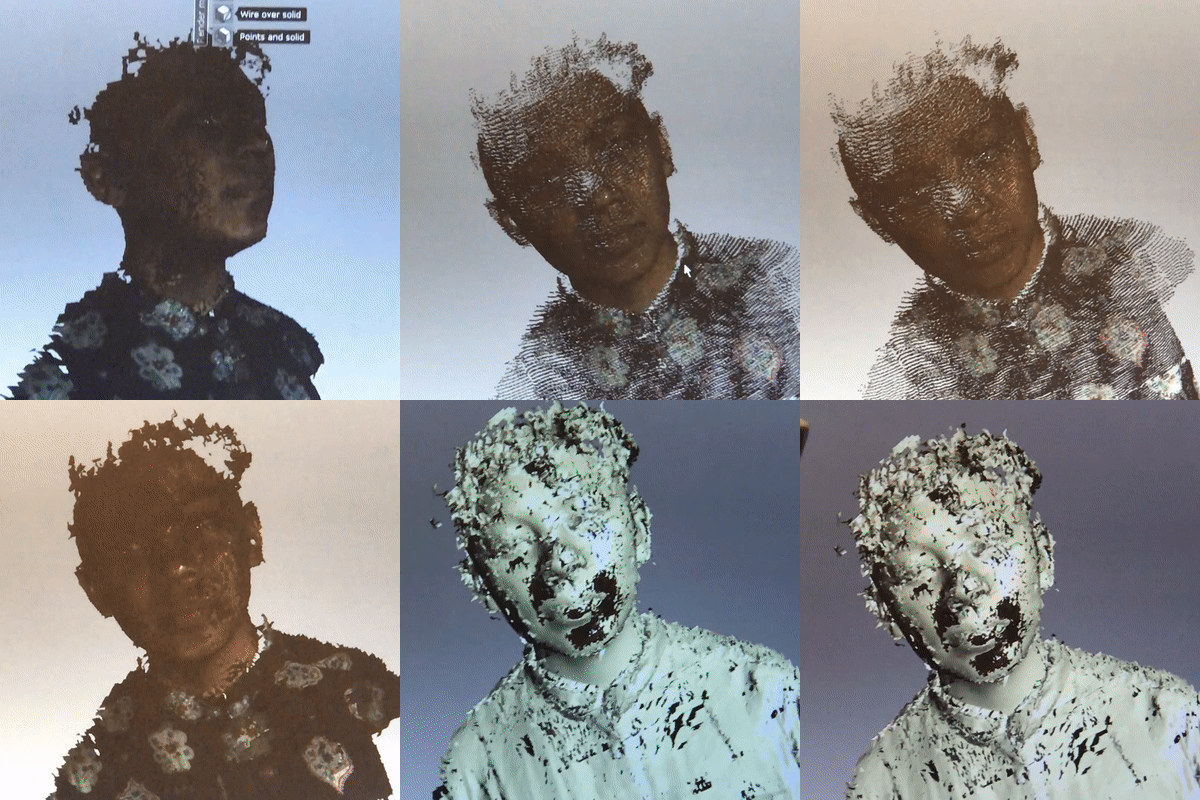
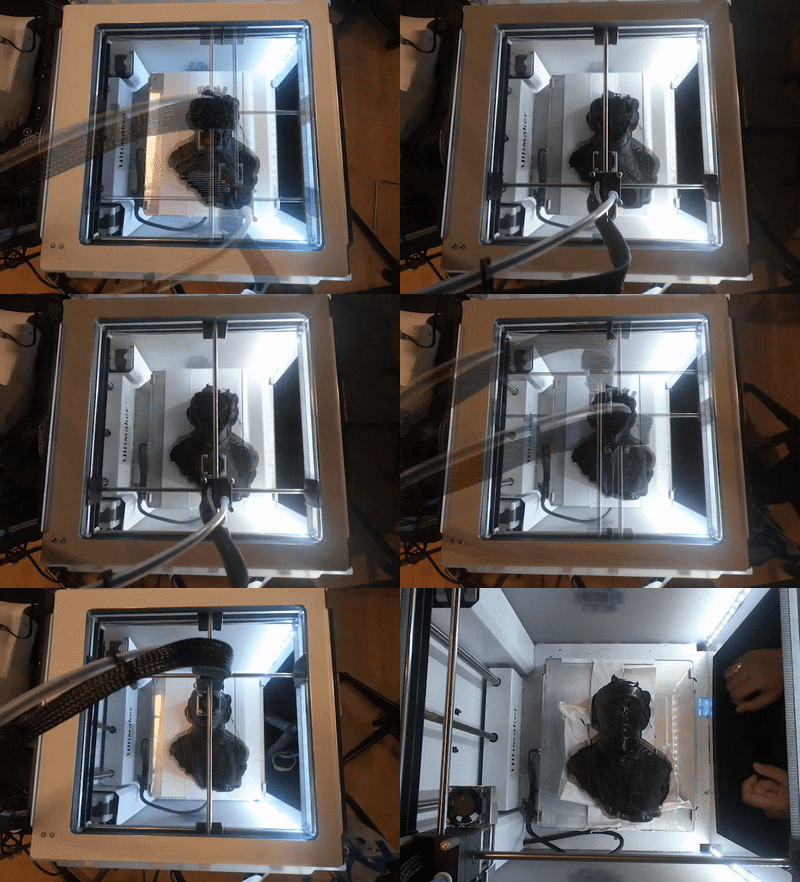
37 Hour Self Portrait

3dscan.gif
3dscan-modelcrop.gif
3dprint-side.gif
3dprint-preview.gif
3dprint-toplow.gif

Courtesy of NYU's Laguardia studio, I was scanned using the Artec Eva, a museum-grade 3D scanner. I imported the generated .obj file into Blender, where I extruded the form so that it could be 3D printed. The Ultimaker 2+ took 37 hours to complete the entire print.

Rainbow Waterfall

Image.png
RW-1.png

The Rainbow Waterfall is an interactive sculpture that incorporates LED strips, solenoid valves, lasers, photo resistors and water that are all controlled by an Arduino board. Inspired by the Rain Room by rAndom International, the viewer is invited to risk their hand to the rain inside the sculpture, thus interfering with the laser path which would cause the solenoid valve to close and cease the waterfall coming from above. 

coffebotgif2.gif

CoffeeBot

I typically have problems waking up to my own alarms, consistently pressing the snooze button on my 7 different alarms that I've set in 15 minute intervals. With each refusal to get up, another dream occurs, another story ensues, the more I'm invested in my unconsciousness, the later I may be to the reality of class or work. It's a terrible habit that I can't kick. 

Then I thought, "Hm, what if I made a coffee bot where the scent of freshly dripped coffee would be enough motivation to get out of bed, with the caffeine actually keeping me out of bed?" There are well designed models out there on the market, but at a considerable price. As pretty as they may be, you would still have to preset the coffee grounds and water before the alarm. I wanted to make my coffeebot fully automated - an organized system of robot arms and / or valves that would dispense water into the reservoir, scoop coffee grounds into the filter, and turn the coffee machine on as soon as it finished. 

The focus of my work for this project was mostly about precise servo motor positions that would: gently scoop the grounds, even itself out, slowly rotate the measuring spoon over the coffee filter, and tap / shake the grounds out of the spoon. After two for-loops (or two servings), the arm would tilt down and use its "backhand" to close the filter, followed by sending voltage to the solenoid to push the power button on the coffee machine. With weaker solenoids, I was unable to have the machine turn on via the solenoid push, and knew that the solenoid I would set up to release water would experience the same issue. 


battlebotarm.gif

BattleBot

After building the first prototype of the BattleBot (see below), I quickly realized that I needed to "beef up" the frame if my bot would face any opponent in the BattleBot ring. I added BlueTooth capability to drive the bot wirelessly, and added servo motors with aluminum arms.

chassis_beefedup_nohardware_print4.jpg

Chassis Prototype

I created a chassis for a simple remote controlled vehicle, keeping the amount of PLA filament to a minimum. I utilized SketchUp for the 3D model to export the .STL file, and used a MakerBot 3D printer for the prototype.

IMG_5443.JPG
 
IMG_2901.jpg

Keychain project

I have multiple keys for my home, studio, work, and bike - all of which I like to keep on my person at all times. With some being bulky and large, the Swiss-Army knife approach would not work for my assortment of key shapes. I created an arrangement of arcs and loops to separate groupings of keys, while paying homage to a minimal Kandinsky painting. 

The yellow print stresses the importance of outward face orientation when modeling in SketchUp!