UNREAL: Skeletal Mesh

This week on Performative Avatars…

I followed Matt’s Skeletal Mesh tutorials and imported Mixamo animations into Unreal. I became fond of my buddy Maynard, who’s doing a little belly dance for us below.

maynard.gif

By the end of the tutorials, I had Maynard defying gravity, running way faster than the norm, and clotheslining other dummy duplicates with the ragdoll physics left on or drifting effortlessly into space. You can also see Maynard 2.0 do a lil twerk. I left all the vestiges of the experiments as I tested all the features explained, my favorite being the imported animation that was linked with the “incorrect” earlier-made test character skeleton instead of the one that was imported along with the animation from Mixamo.

I didn’t come across too many issues when following the tutorial, but now I’m very excited to learn more about the blend space so I can compile better movement animations for my character.

Self Portrait Exercise

IMVU

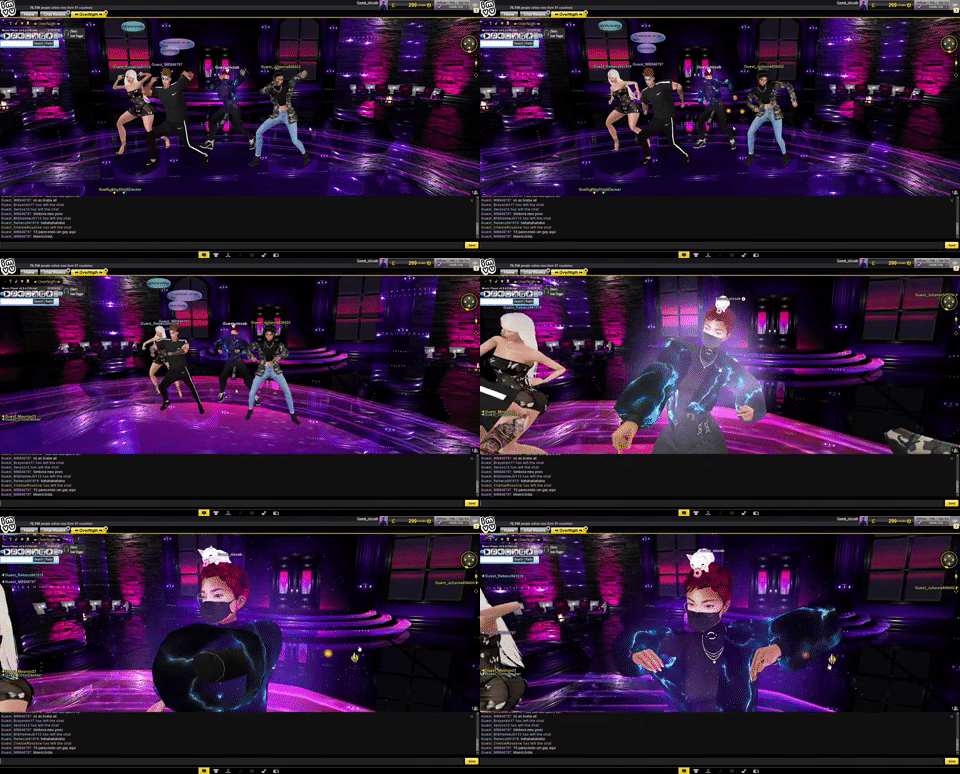
dance.gif

For my first avatar, I decided to use Instant Messaging Virtual Universe, or better known as IMVU, a free 3D avatar program that’s been around since the early 2000s. Over the summer, my friends Allen and Anna of Spirit Twin teamed up with Feltzine to host Spirit World, an online music festival using IMVU as their platform, and my roommate Octonomy played a set on one of the stages. That brought a whole new purpose for 3D chat worlds into my conscious as I saw festival goers blow off some steam and let loose on the dance floor.

wronggender.PNG

As with many avatar creation tools, you’re asked to pick between male or female which then filters out which modifications are “appropriate” for you. Here’s the error message that shows up when you try to put on anything that isn’t designed for your specified gender.


skin.PNG

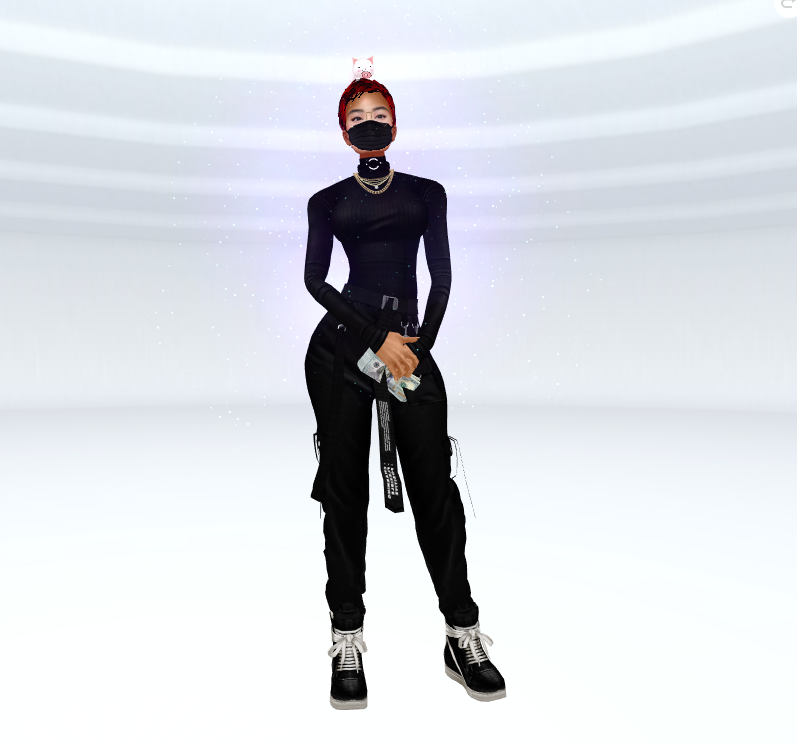
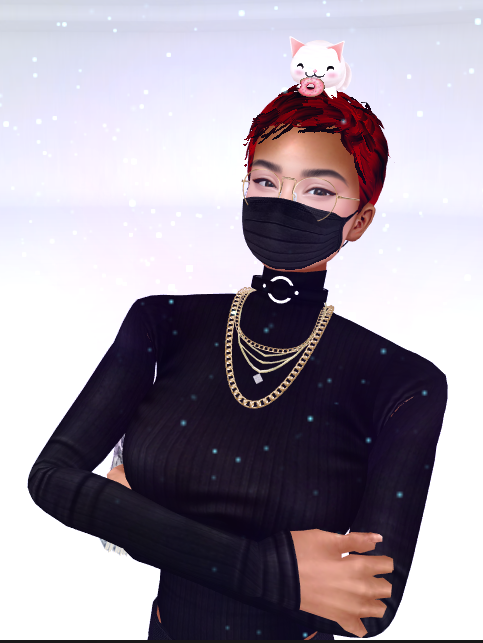
It’s slim pickins when you try to create your avatar with the default options the software offers, but you’re allotted with the 4000 credit bonus when you sign up. The available inventory in their shop is impressive - you can pick different tops, bottoms, accessories, furniture, skin, facial features, pets, special moves, and body scalers. Highly sexualized, the female body comes default with very large breasts and butt. I didn’t find the right body scaler that would reduce the size of these assets, but I’m sure there are options available. Another difficulty I had was finding the right face with Asian features. I found one that I liked, but the skin tone was paler in complexion than the rest of my avatar body.

I think if I spent more time and money in the IMVU shop, I would find a slightly thicker, more muscular body build, and a flattened chest which are the characteristics that I think are missing from my current avatar.

After using IMVU, I wanted to use a more cartoonish caricature maker that had more bubbly features and thought Animal Crossing New Horizons would fit the bill.

Animal Crossing: New Horizons

acnha.PNG

As a lot of people did over peak quarantine, I played Animal Crossing religiously and earned a lot of “bells” by selling fish, bugs, fossils, and especially turnips. The more bells you have, the more you can purchase at the Able Sister’s, the clothing store on the island. Throughout the game, you can unlock different hair styles / colors and a custom design tool where you can draw out designs for clothes and even your face. However, you can’t unlock other body modifications or facial features - you’re pretty much stuck with what’s offered in the beginning. All the characters are the same size and have the same body type no matter what gender. There are no restrictions with what clothing and accessories you can put on.

Reduce, Radiate

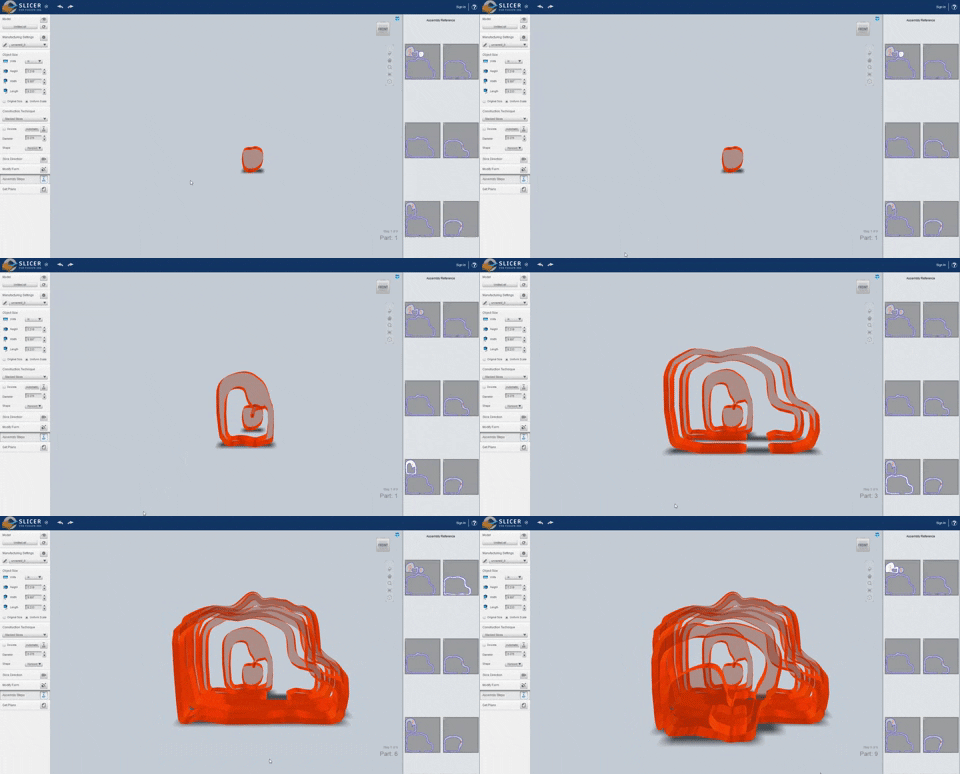
slices.gif

We all have been spending an exorbitant amount of hours on our own during the pandemic, a roller-coaster of emotions where self reflection is embraced, but also has potential to transform into spiraling rumination. This project is an opportunity to illuminate inner shadows, overcome, and radiate.

Using Slicer, I created cross sections of myself and cut out these planes out of color photo gels with the Cameo 4.

IMG_9859.JPG
IMG_9863.jpg

Originally, I had intended this to be a project with more fabrication involved, but with limited resources and unreliable shipping, it turned out to be more of a Fusion360 exercise.

I decided to remix the essence of two past projects: 37 Hour Self Portrait and The Self is More Distant Than Any Star.

3dprint-side.gif
01-SelfDistant.jpg

Main takeaways

  • Absolutely reduce the face count in your mesh. If you intend on using Slicer, a Fusion360 plugin, it will not be able to handle complex 3D models. Both Slicer and Fusion kept crashing over and over again, and upon Googling, plenty of people experienced this issue. Forum responses from the Autocad staff member said to make sure your GPU can handle it and that you have the most updated drivers. I knew my GPU could run more GPU intensive programs, so I didn’t think this was the problem.
    I knew my model had a billion or so faces, so I ended up erasing everything from my neck down. Within the Mesh tab > Modify, there is a tool that can be used to reduce the face count. What I also didn’t realize immediately was that my imported 3D model was way larger than I thought, so check your model size with the measure tool.

  • Convert your mesh to BREP (boundary representation). In order to make any changes to the imported mesh, you will need to convert it into a solid object. To do this conversion, you have to right click the project in the component list, click “Do not capture timeline” which will then reveal the Mesh tab. Now you can right click the body and select

capturedesignhistory.PNG

  • Quads > triangles. When selecting an .obj or .stl file to import as a mesh, it may be imported as a model composed of a triangular mesh. Most editing functions within Fusion360 will only work if your model has a quad mesh, which would then need to be converted to T-Splines. I spent a lot of time trying out Extrude / Thicken / Push&Pull tools within the Solid / Surface / Form / Mesh workspaces, only for none of them to work with my triangles. To create the slices of the silhouette I imagined, I wanted to give thickness to the model of my face, which was only a surface.
    I downloaded another Autodesk app called Recap as a recommendation from this tutorial. This program does a bunch of wonderful things, but the main key feature is the ability to export your file as a Quad .OBJ. Sort of frustrating that isn’t built into Fusion360 somewhere. But since I was already using that application, I made use of their extrusion function.

  • Slicer is sooooo much fun. There’s just so many options I had decision fatigue. I exported both the stacked and folded panels. Export the .DXF package in Slicer > re-save it in Illustrator > open up file in Silhouette.

  • For the photo gels I used, it took a lot of trial and error to get the right settings for the Cameo 4. I ended up with the settings below:

cameo-winner.PNG
cameo_1.PNG

Fusion360: Sweep Function

Ben showed us the sweep function within Vectorworks, and I was curious about how to do the very same thing in Fusion360. I spent a bit of time getting familiar with the Fusion360 interface, and ended up creating an undeterminable form after playing around with the sweep, extrude, and thicken function. Above is a speedrun video playing around with these tools.

I started off using the spline tool to create a wiggly shape. Within “Patch” mode, you can extrude lines to create a surface, which you can then thicken to give it body.
When using the sweep tool, you select the path in which a profile shape follows, whereas in Vectorworks, you would use the locus tool to select a point in which to sweep around.

Here is the Fusion360 tutorial that I watched: