We all have been spending an exorbitant amount of hours on our own during the pandemic, a roller-coaster of emotions where self reflection is embraced, but also has potential to transform into spiraling rumination. This project is an opportunity to illuminate inner shadows, overcome, and radiate.
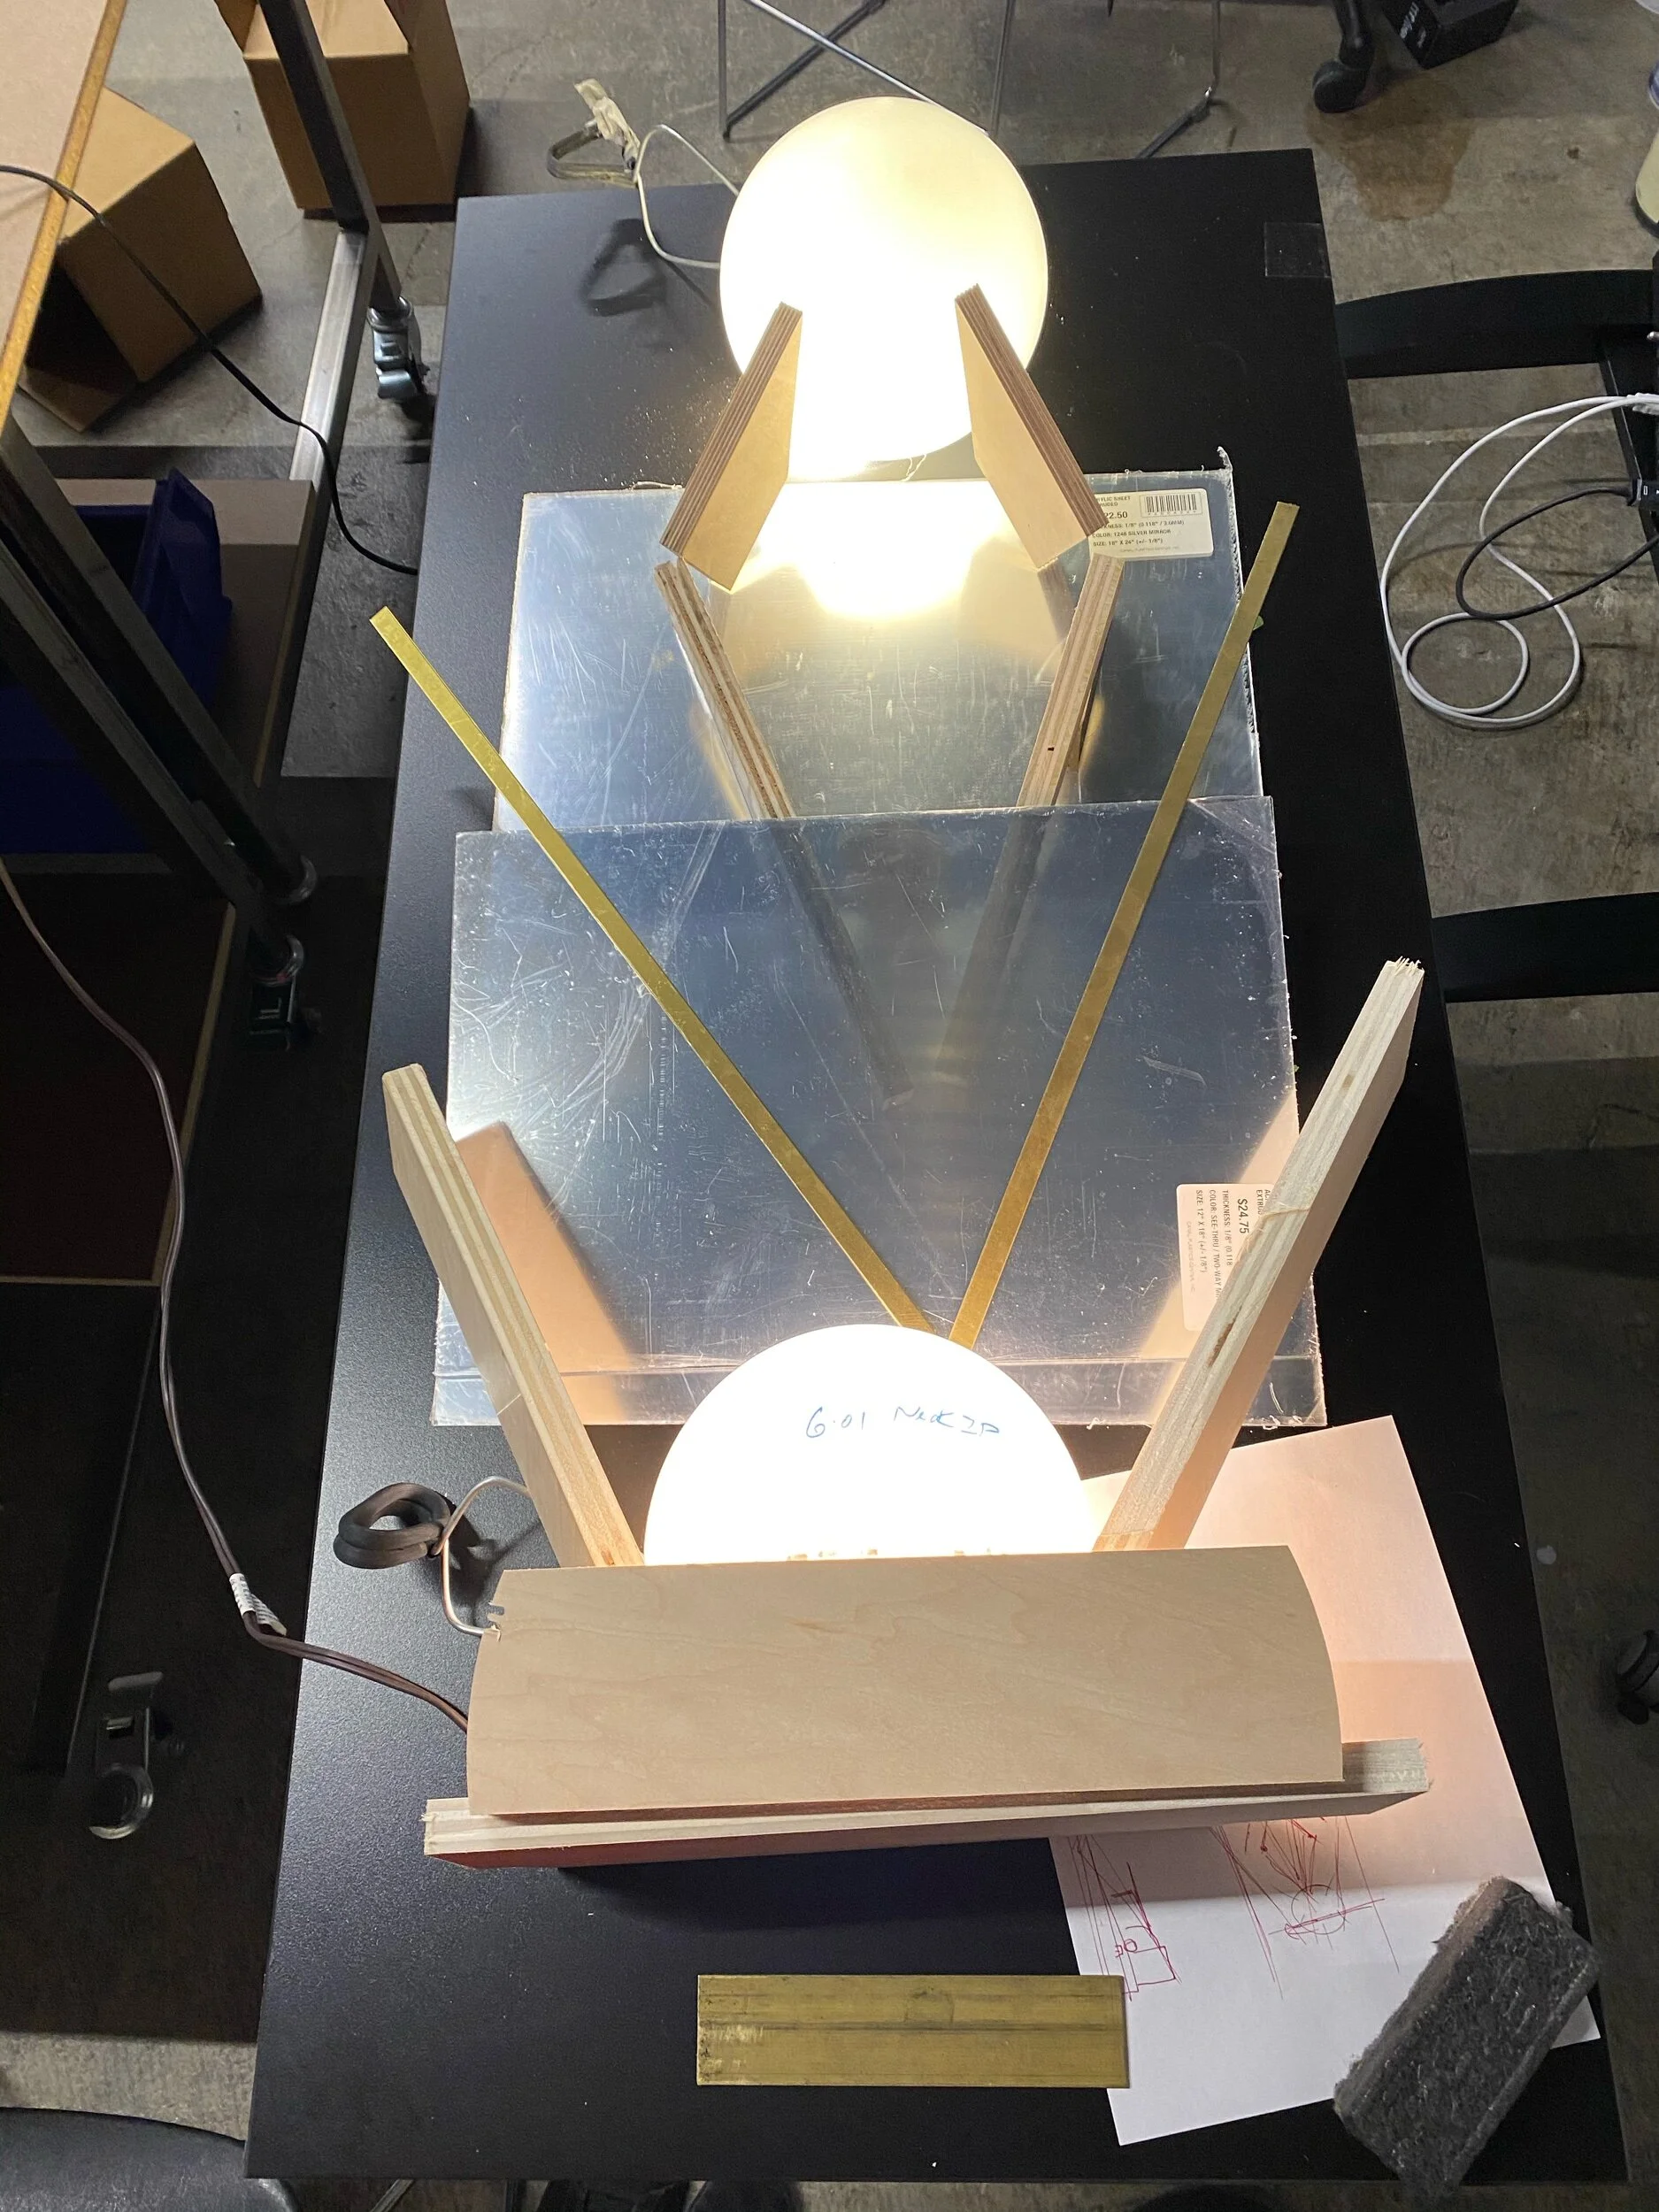
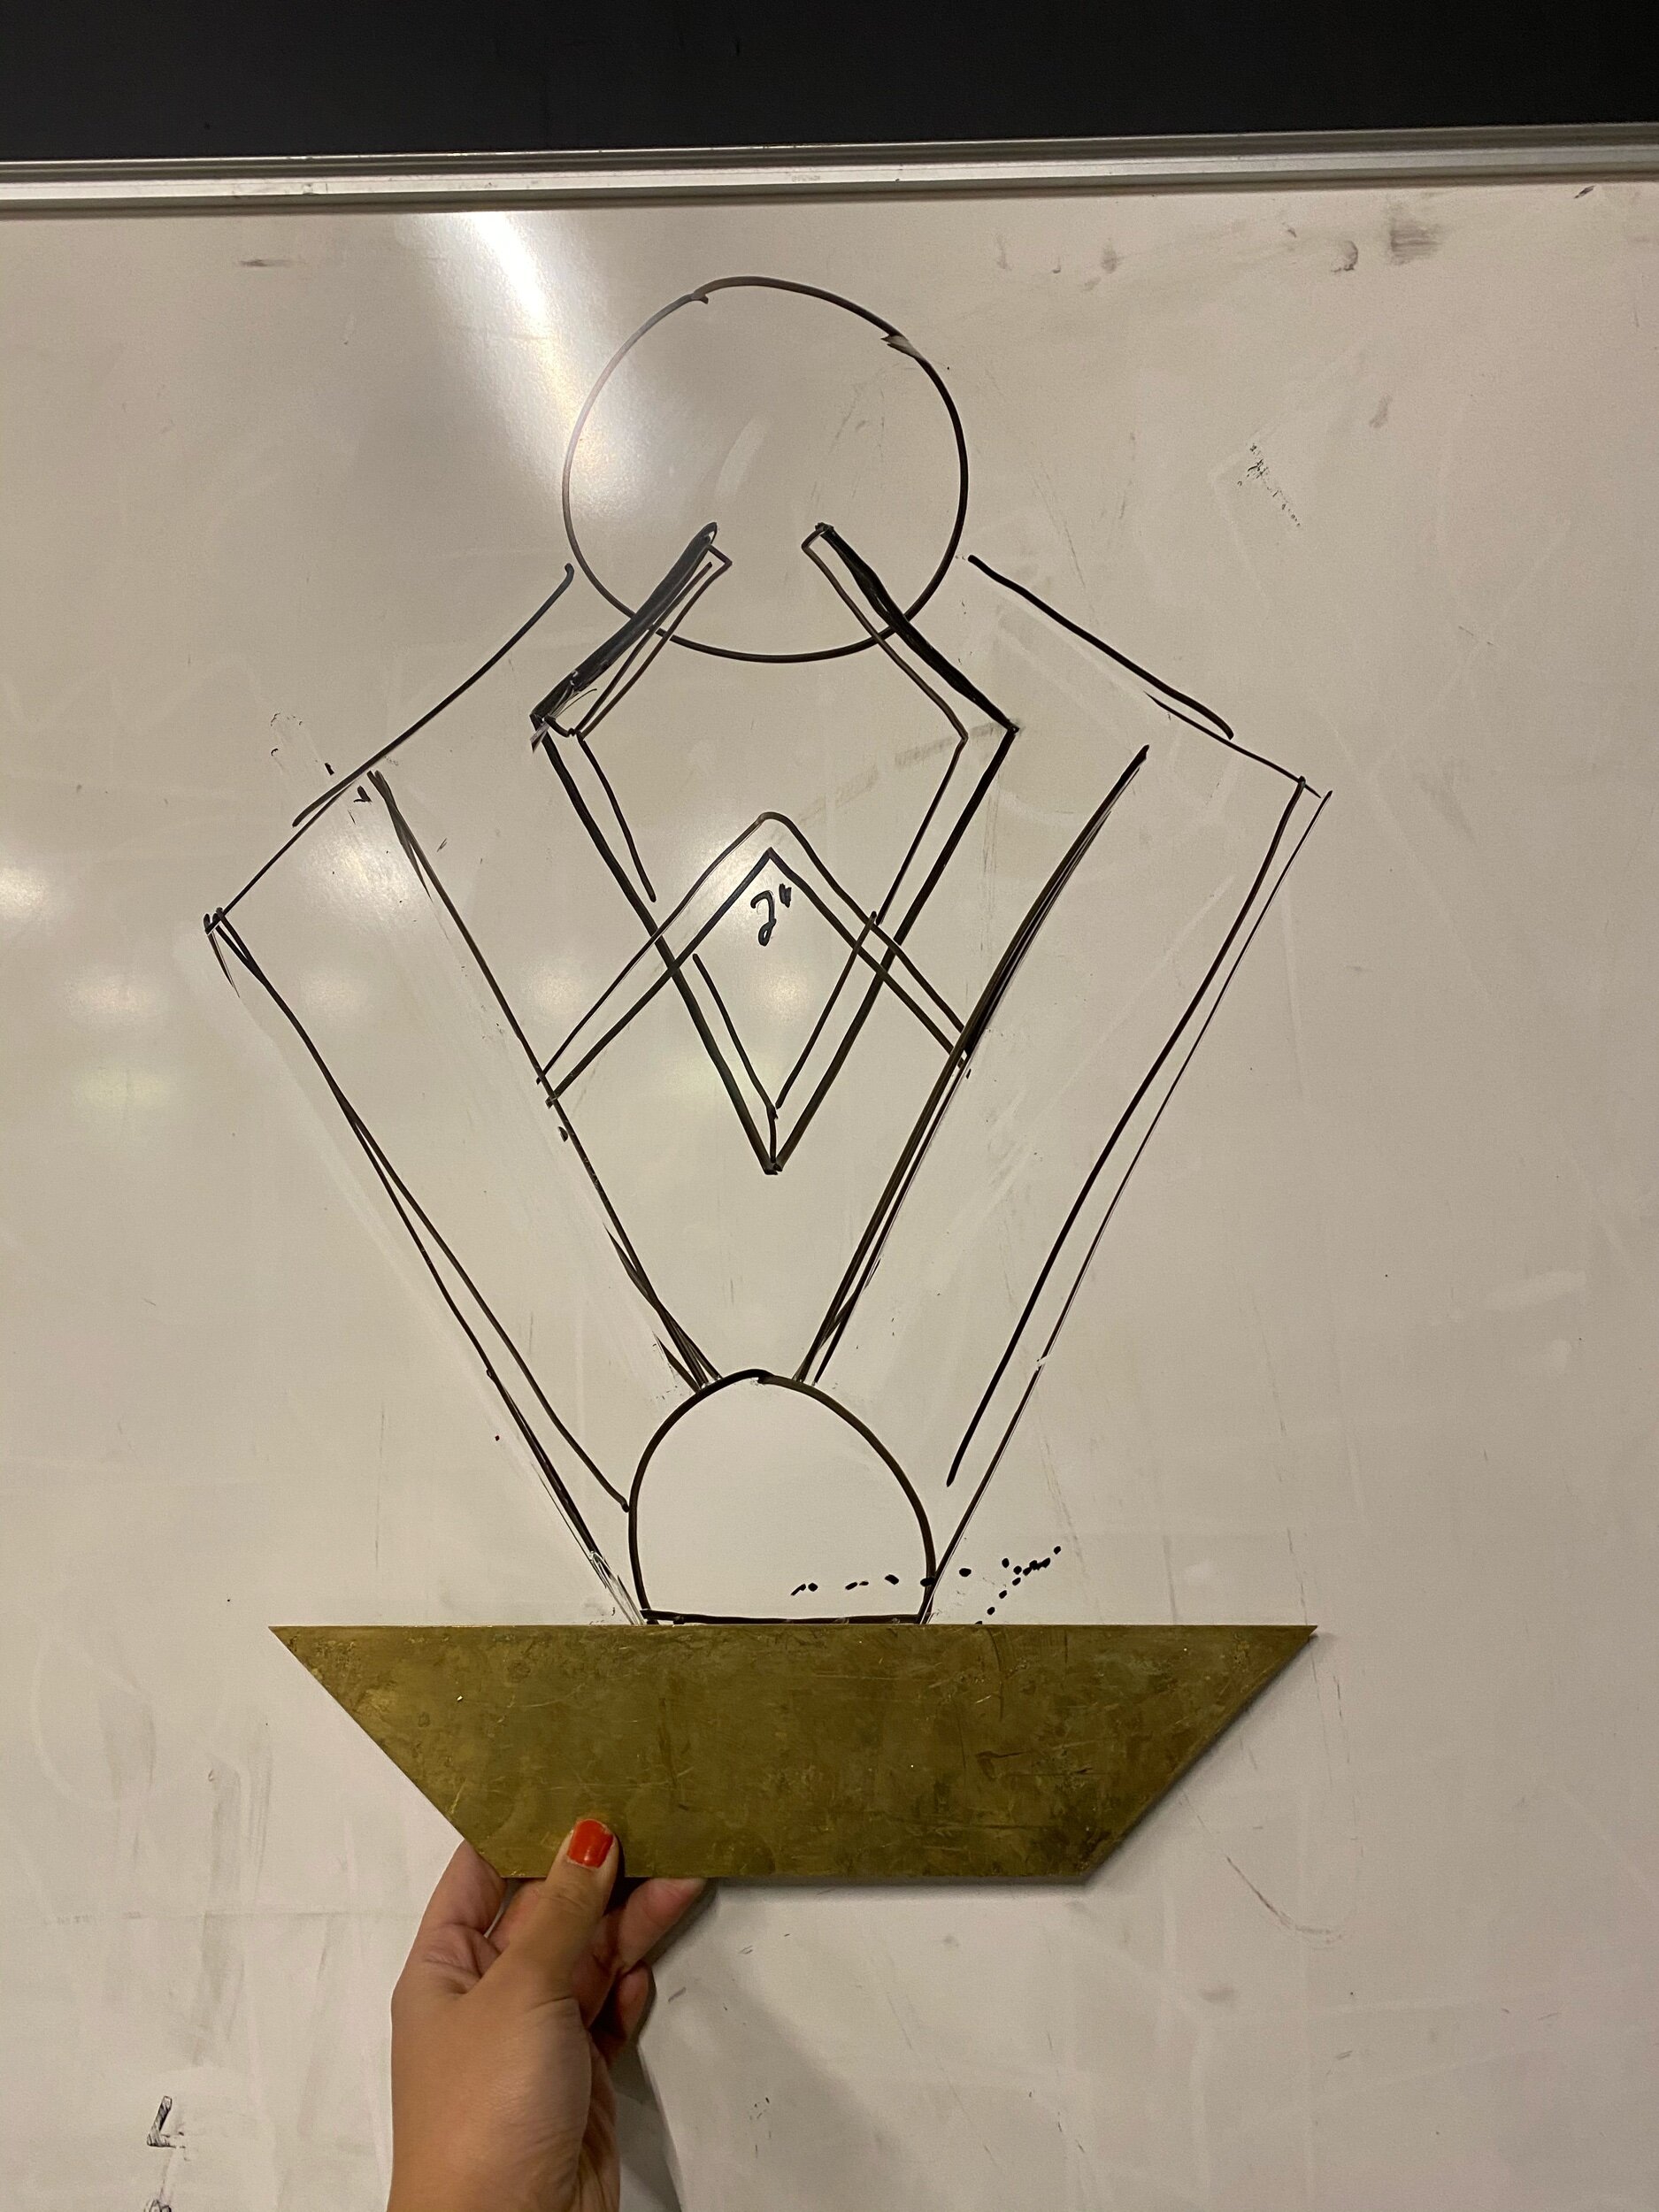
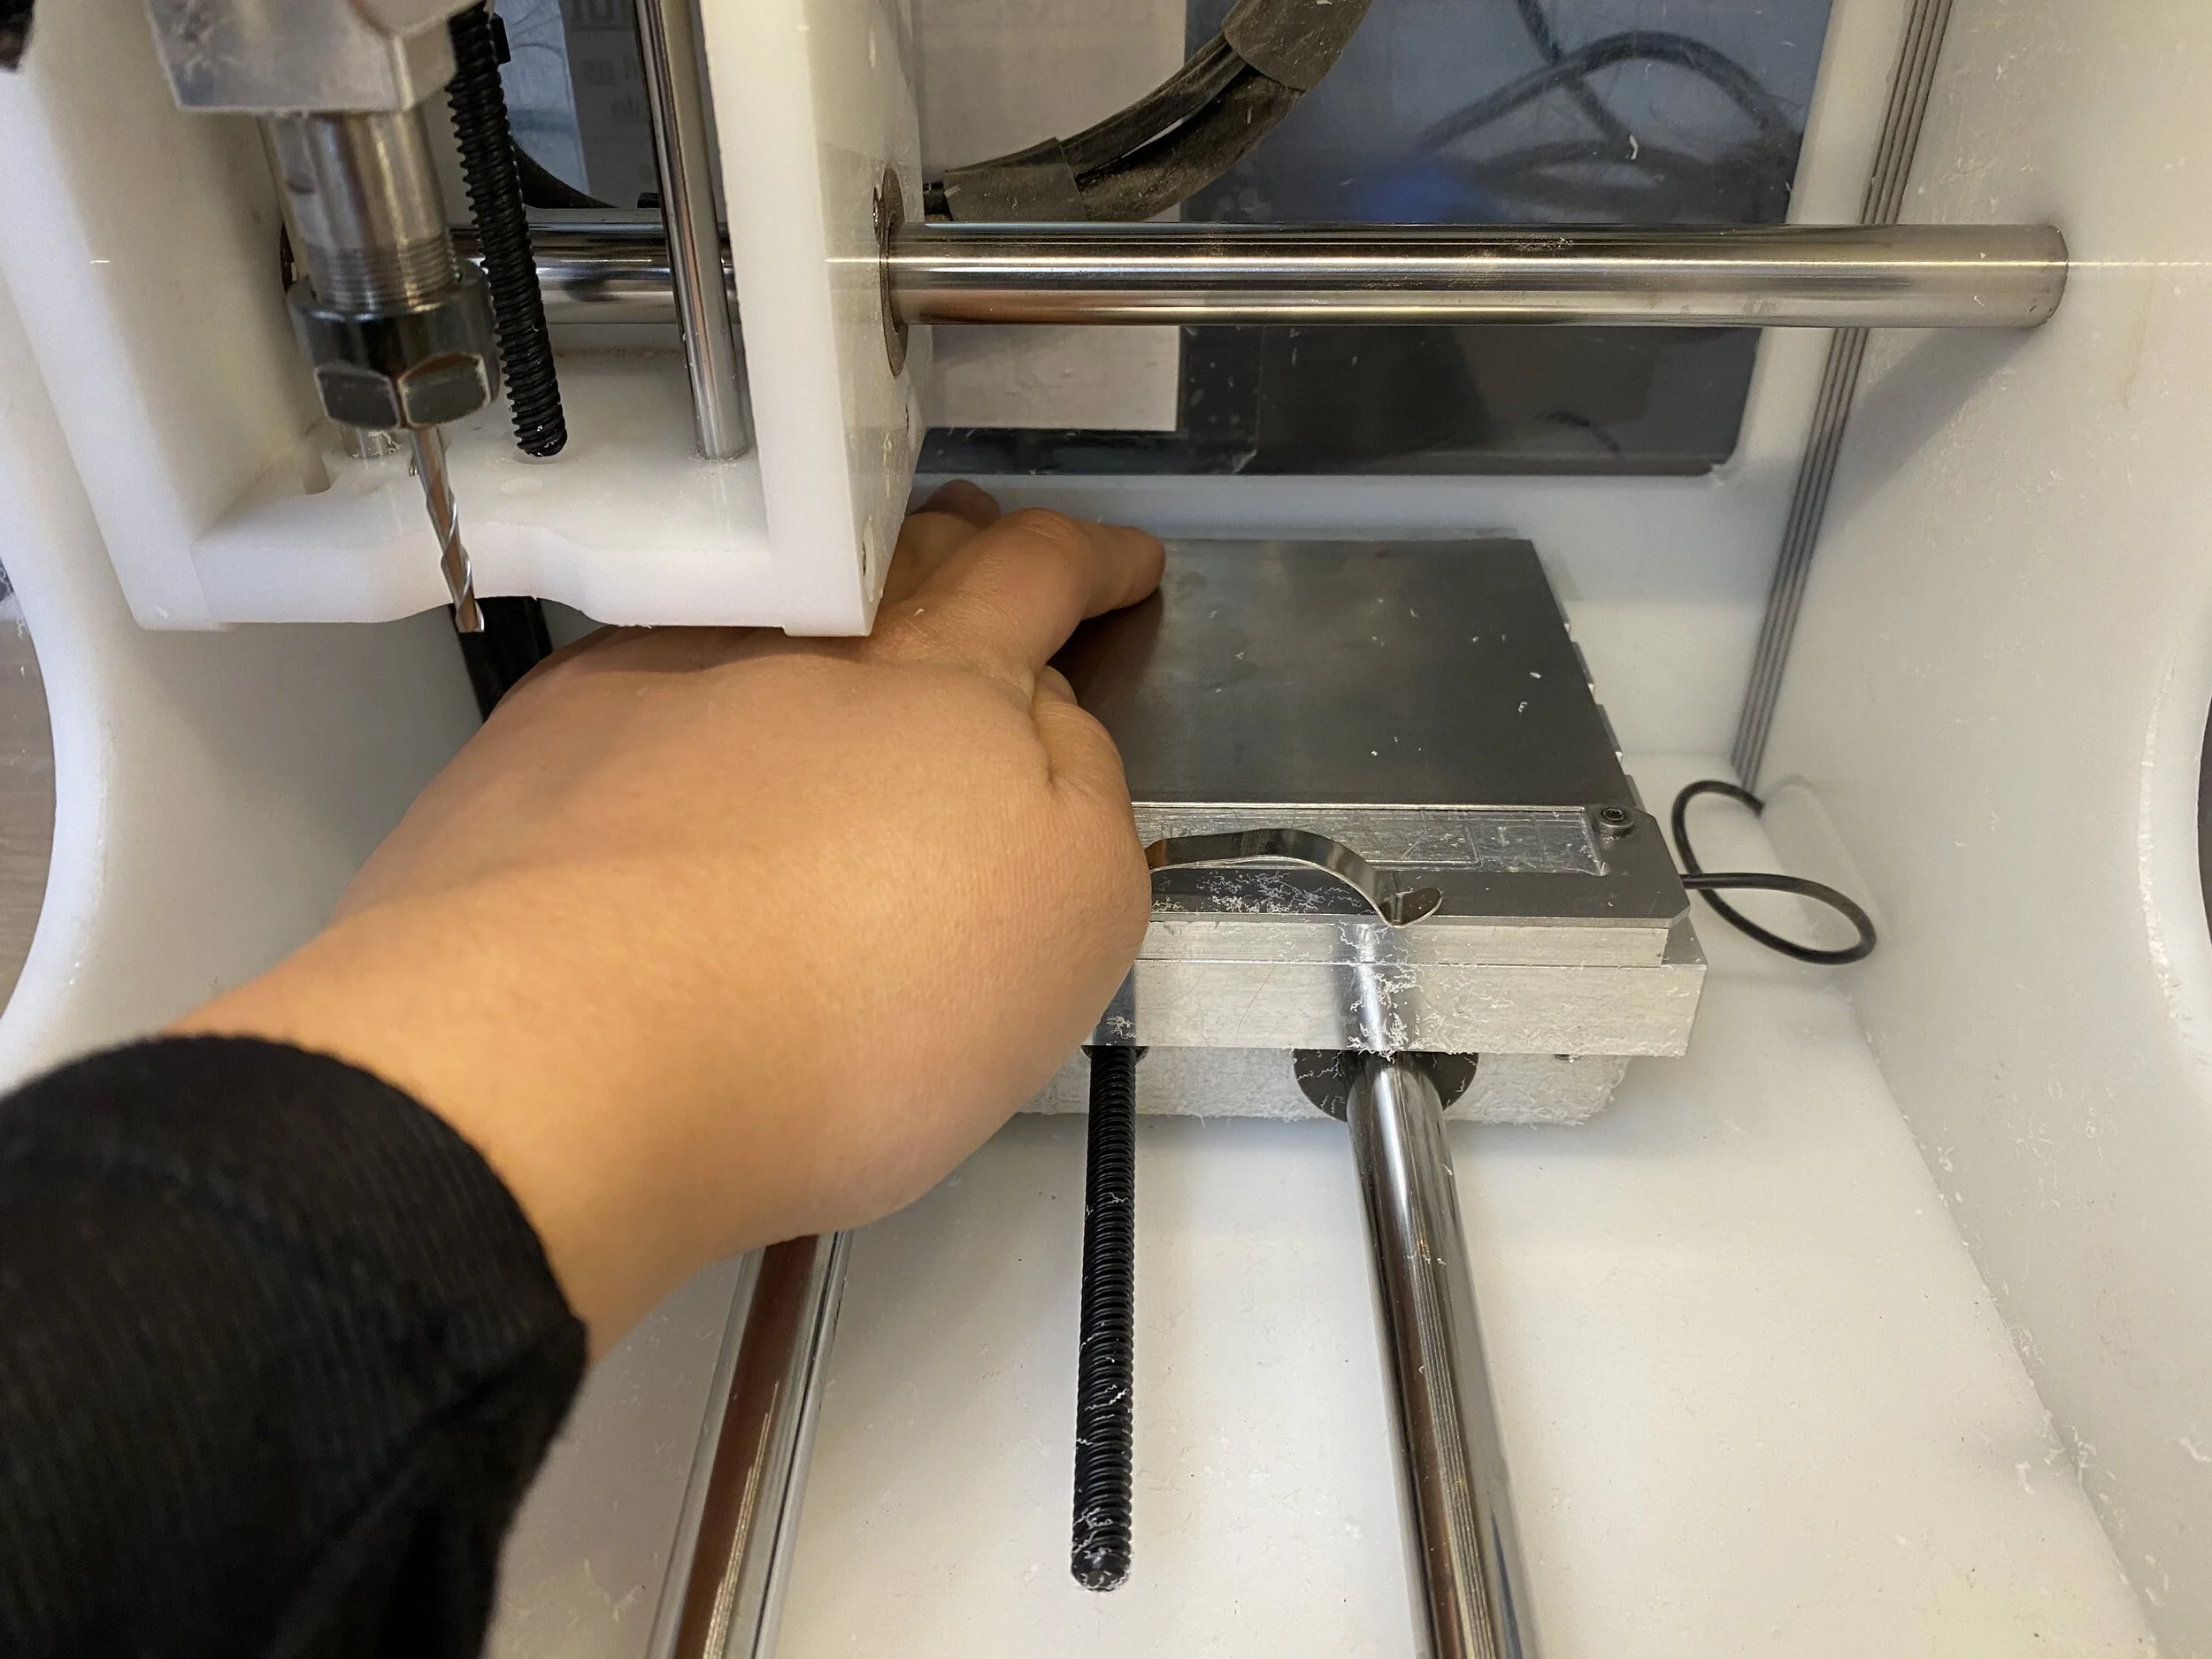
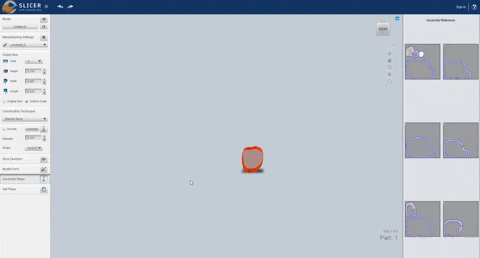
Using Slicer, I created cross sections of myself and cut out these planes out of color photo gels with the Cameo 4.


Originally, I had intended this to be a project with more fabrication involved, but with limited resources and unreliable shipping, it turned out to be more of a Fusion360 exercise.
I decided to remix the essence of two past projects: 37 Hour Self Portrait and The Self is More Distant Than Any Star.


Main takeaways
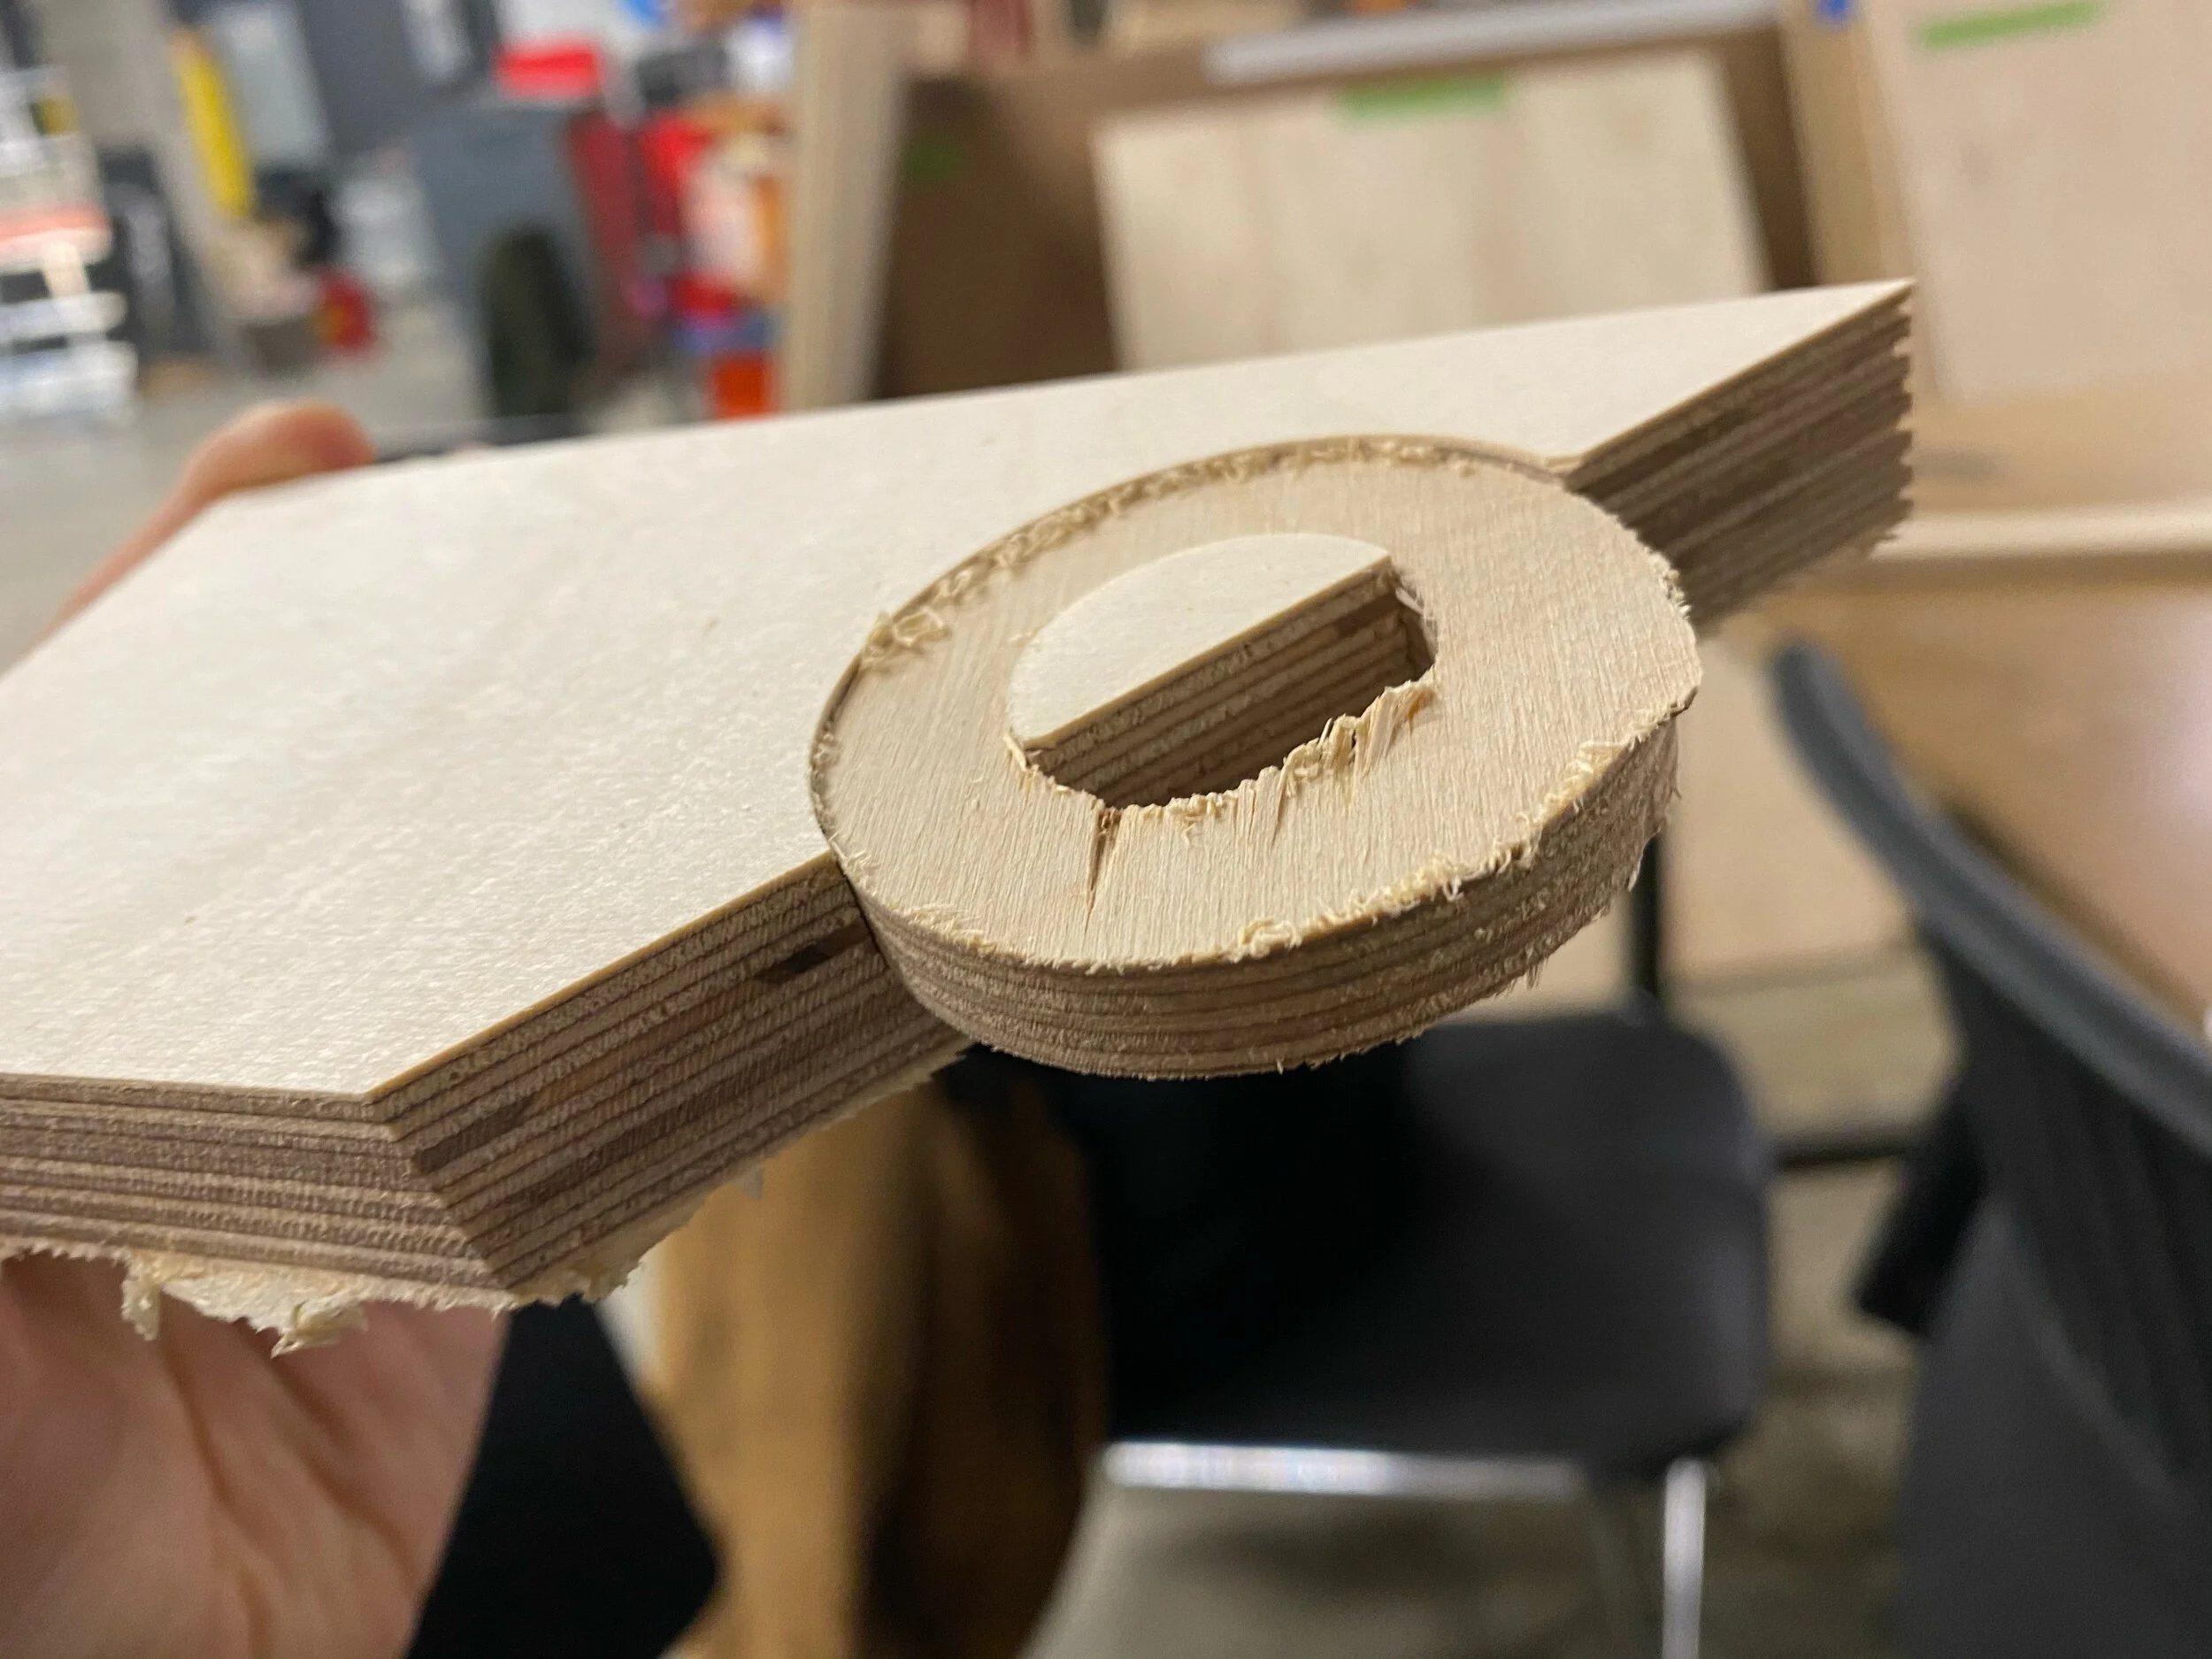
Absolutely reduce the face count in your mesh. If you intend on using Slicer, a Fusion360 plugin, it will not be able to handle complex 3D models. Both Slicer and Fusion kept crashing over and over again, and upon Googling, plenty of people experienced this issue. Forum responses from the Autocad staff member said to make sure your GPU can handle it and that you have the most updated drivers. I knew my GPU could run more GPU intensive programs, so I didn’t think this was the problem.
I knew my model had a billion or so faces, so I ended up erasing everything from my neck down. Within the Mesh tab > Modify, there is a tool that can be used to reduce the face count. What I also didn’t realize immediately was that my imported 3D model was way larger than I thought, so check your model size with the measure tool.Convert your mesh to BREP (boundary representation). In order to make any changes to the imported mesh, you will need to convert it into a solid object. To do this conversion, you have to right click the project in the component list, click “Do not capture timeline” which will then reveal the Mesh tab. Now you can right click the body and select

Quads > triangles. When selecting an .obj or .stl file to import as a mesh, it may be imported as a model composed of a triangular mesh. Most editing functions within Fusion360 will only work if your model has a quad mesh, which would then need to be converted to T-Splines. I spent a lot of time trying out Extrude / Thicken / Push&Pull tools within the Solid / Surface / Form / Mesh workspaces, only for none of them to work with my triangles. To create the slices of the silhouette I imagined, I wanted to give thickness to the model of my face, which was only a surface.
I downloaded another Autodesk app called Recap as a recommendation from this tutorial. This program does a bunch of wonderful things, but the main key feature is the ability to export your file as a Quad .OBJ. Sort of frustrating that isn’t built into Fusion360 somewhere. But since I was already using that application, I made use of their extrusion function.Slicer is sooooo much fun. There’s just so many options I had decision fatigue. I exported both the stacked and folded panels. Export the .DXF package in Slicer > re-save it in Illustrator > open up file in Silhouette.
For the photo gels I used, it took a lot of trial and error to get the right settings for the Cameo 4. I ended up with the settings below: