
Vortex
For my final Design for Digital Fabrication project, I created a singular prototype for what I envision for Vortex.
In this prototype, audio-reactive LEDs driven by madMapper are embedded within an aluminum channel. This entire channel spins continuously via a NEMA23 motor mounted to a modular base, controlled by an Arduino.
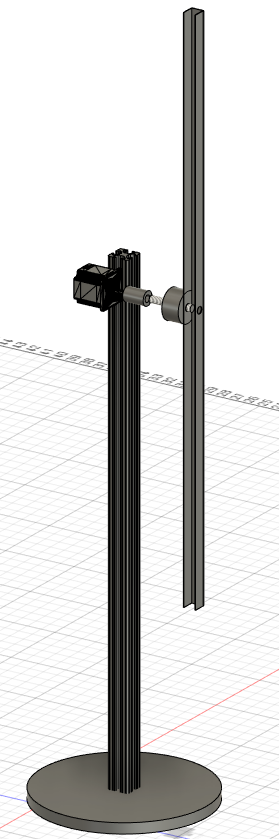
Using Fusion360, I created a simulation of what 5 of these bars positioned in a pentagonal form would look like.
It was difficult purchasing perfectly mating parts for the mechanical connection between the LEDs to the motor. I purchased a 12mm shaft hub, a 1/2” ID slip ring, and a 1/4” coupler for the NEMA23. This called for a custom shaft, which Ben Light helped me make on the metal lathe. We started off with a 1” aluminum round stock, and very meticulously shaved it down to the appropriate widths for each component.
Here is a quick time lapse of some manual fabrication necessary for the mechanical connections.
Here is the Fusion360 rendering of the project.
This project was inspired by collectifscale’s project Flux.

Morphing My 3D Scan in Wrap3
Thanks Matt for another great tutorial!
I used Blender to resize and adjust my model before bringing it into Wrap3. When it was time to compute the wrapping from my model to the base mesh model, I was startled by the result: the inner parts such as the mouthbag, ear sockets, eyeballs, and nostrils should not have been morphed. I went ahead and added those polygroups to the selection, and recomputed the wrap.
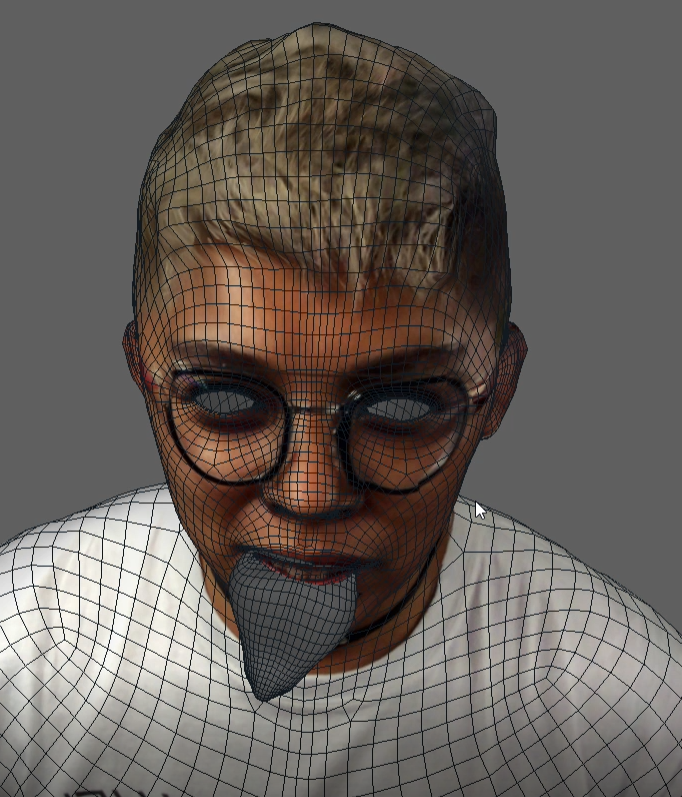
That sure fixed it. But then I realized that the female base mesh model did not include any eyes; instead, they showed up as gaping holes.
As per Matt’s suggestion, I redid the tutorial using the male base mesh model, and got my eyes back. My fingers came out looking super creepy, but I know that can be fixed at a later stage.


3D Scanning with itSeez3D
Although the 3D scanning process was pretty straightforward, I came across a few difficulties when using the itSeez3D app with the Structure Sensor + iPad.
Christina volunteered to help me with my very first scan, which ended up being the best of many attempts. I wasn’t quite ready, so the face I was making was a bit caught off guard. I initially thought that the lighting was uneven, that the left side of my face was in more of a shadow than the other side. I’m pretty happy that Christina was able to scan pretty much every detail - there’s not too many holes in my texture!
A little later that same day, I asked Dina if she could scan me so I could have an avatar with a neutral face. Even though we were in the same location with the same amount of lighting as the first scan, the scans ended up being very inconsistent. Dina came across alignment issues, and the portions that were already scanned would shift along with the body. We continued to finish and process the scan anyway, and now I see that the shifted scan resulted in multiples of my body parts. There were many more vestiges and incomplete portions in these scans. We restarted the iPad, made sure everything was charged, adjusted all the lighting in the room, and even tried the bust mode to see if that behaved differently - all to no avail.
I decided to import the first scan into Mixamo, and finally was able to live vicariously through my avatar - I’ve been missing nightlife so badly, I really just want to dance! I took advantage of all the dancing animations available.

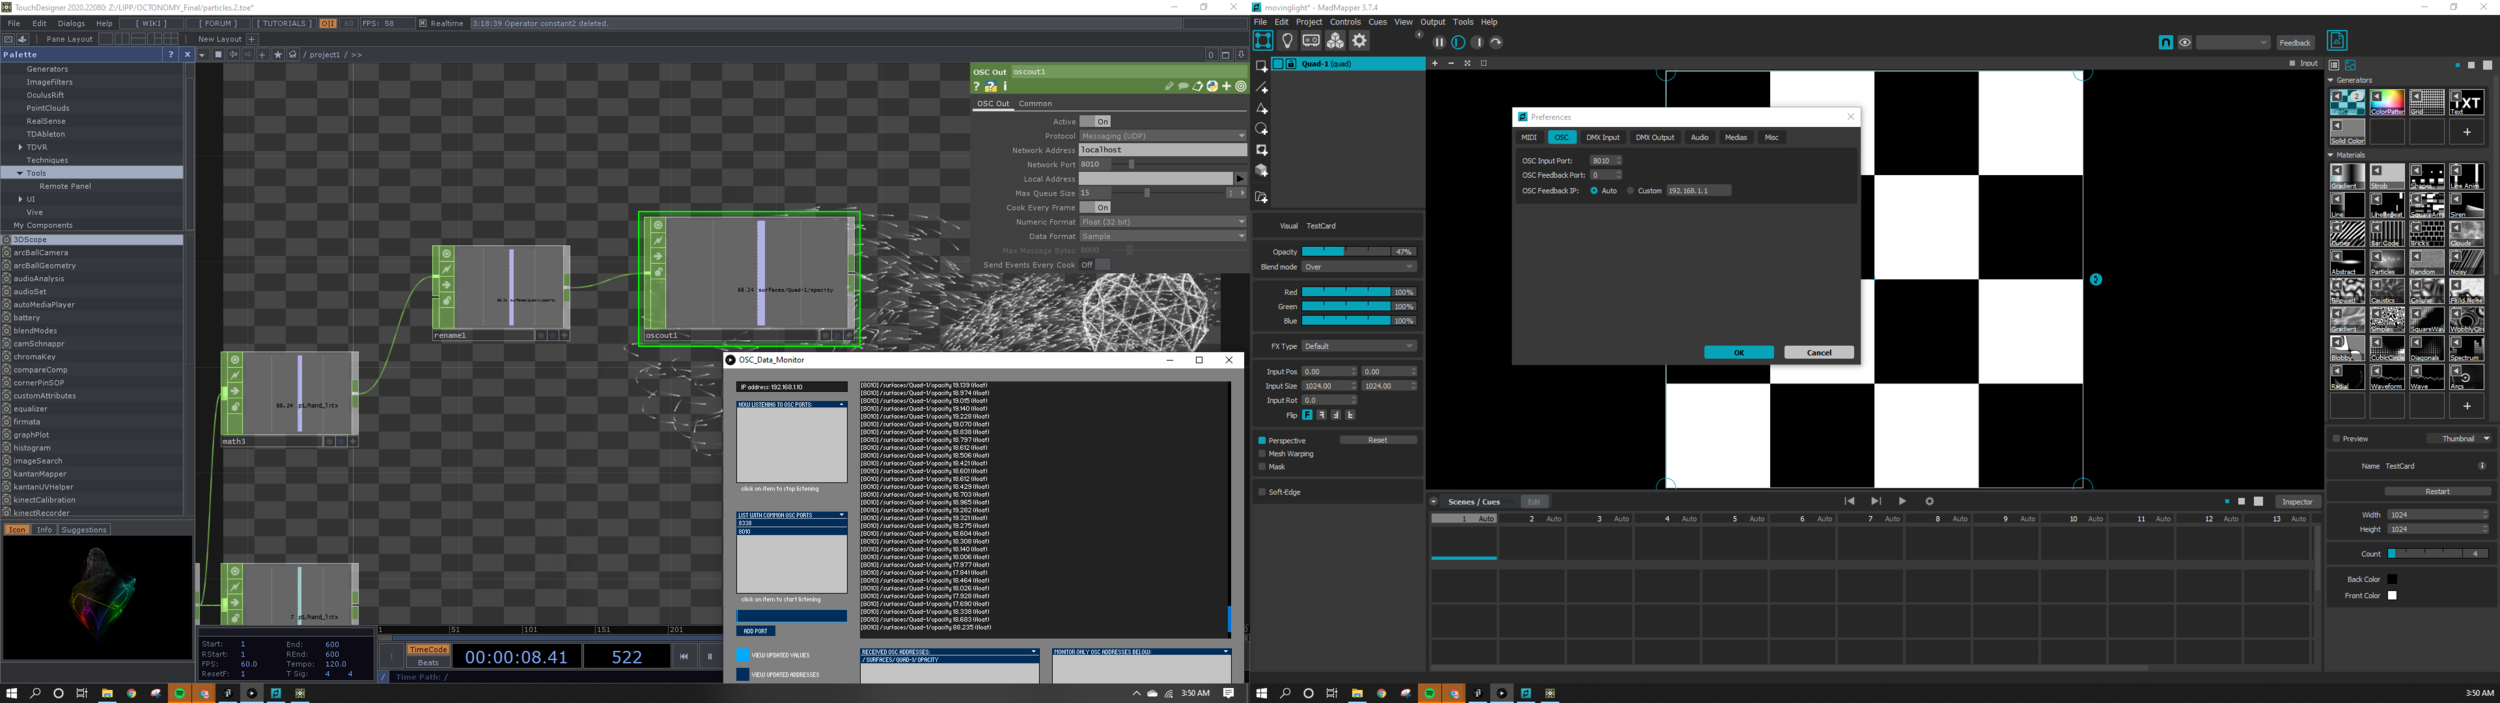
Gesture Controlled DMX Moving Head Lights
When I registered for the Light and Interactivity course, one of my goals was to learn more about DMX lighting and how to control it. The final project was the perfect opportunity to create a DMX controller that would be responsive to hand gestures. For this, I used TouchDesigner to parse body tracking data from the Microsoft Kinect and madMapper to receive OSC messages that would change channel values to control the moving head lights.
The video shown below is the first prototype: the X coordinates controlled the Panning channel, and the Y controlled the Tilt.
Bill of Materials
Pair of UKING 80 Watt Double Beam Moving Head Lights, $128.78 on eBay
Kinect Azure, borrowed from ITP Equipment Room
ShowJockey USB -> DMX Adapter, gifted from CHiKA, can be purchased from garageCube
ZOTAC ZBox QK7P3000, my NUC PC
Rockville RDX3M25 25 Foot 3 Pin DMX Lighting Cable, 2 pack for $10.95 on eBay
Software
TouchDesigner 2020.22080
madMapper 3.7.4
OSC Data Monitor (Processing Sketch), for troubleshooting
System Flow
PC -> Kinect Azure -> TouchDesigner -> madMapper -> DMX moving heads
TouchDesigner Setup
madMapper Setup


Roadblocks
ShowJockey USB DMX
TouchDesigner is a powerful tool and includes its own DMX out CHOP, but Derivative built the TD environment with ENTTEC hardware in mind. Tom put together a workaround for DMXKing’s eDMX1 Pro using DMXout via sACN which would send messages to QLC+ for controlling the lights. The eDMX1 Pro uses an FTDI driver which can be recognized with the QLC+ software.
I experienced difficulty finding the specification sheet for the ShowJockey SJ-DMX-U1 device, and could not see which driver it would need. I blindly downloaded the FTDI driver to see if the ShowJockey would then show up, but that did not work. As per Tom’s advice, I checked to see what serial devices my Mac recognized. To do this, I used the Terminal command “ls /dev/cu.*” The ShowJockey did not show up.


When CHiKA gifted me the ShowJockey, we were using it only with madMapper, so I knew that the device was functional in that environment. I assumed that this product on the GarageCube site is what I must have, and its description says "This "NO DRIVER!" DMX controller is plug & play and ready to work with madMapper and Modul8 (only)" For this reason, I decided to use TouchDesigner simply to send out OSC data to madMapper for channel value changes.
OSC Connection
When trying to establish the link between TouchDesigner and madMapper, I knew that OSC would be very straightforward. It’s a matter of matching network ports, setting up the correct network / local addresses, using the appropriate protocol, and making sure the OSC message that is being sent is in the correct format that the receiving software could recognize. When I did not see any changes to the channel values within MM, I used the OSC Data Monitor to make sure that I was indeed sending out an OSC message with TD. Sure enough, I was sending an appropriately formatted OSC message.
I followed a few tutorials (see references) but they all did not mention a very important thing; Tom pointed out "You'll need to use the address 127.0.0.1 if you're trying to communicate between two programs on the same machine.” Duh. Thanks Tom!
Notes
I picked the UKING 80W Double Beam moving heads as Louise had mentioned in class that UKING had decent reviews. For this project, I favored these lights for their basic functionality and value, however, I was not pleased with the color blending quality. Once I received my order, I used my AKAI APC40 MIDI controller to change channel values within madMapper just to test that the moving head lights were received in working condition.
LOIE, A Sculptural Light Study
Inspiration
I named the piece Loie after the artist Loie Hollowell. I attended her exhibition at Pace Gallery last year titled Plumb Line. I thought to myself that her use of gradients with bold colors and geometric forms could be easily translated into washes of light.
I began to look into her other paintings, and came across The Land’s Part, a painting she did in 2017.

Loie Hollowell, The Land’s Part, 2017.
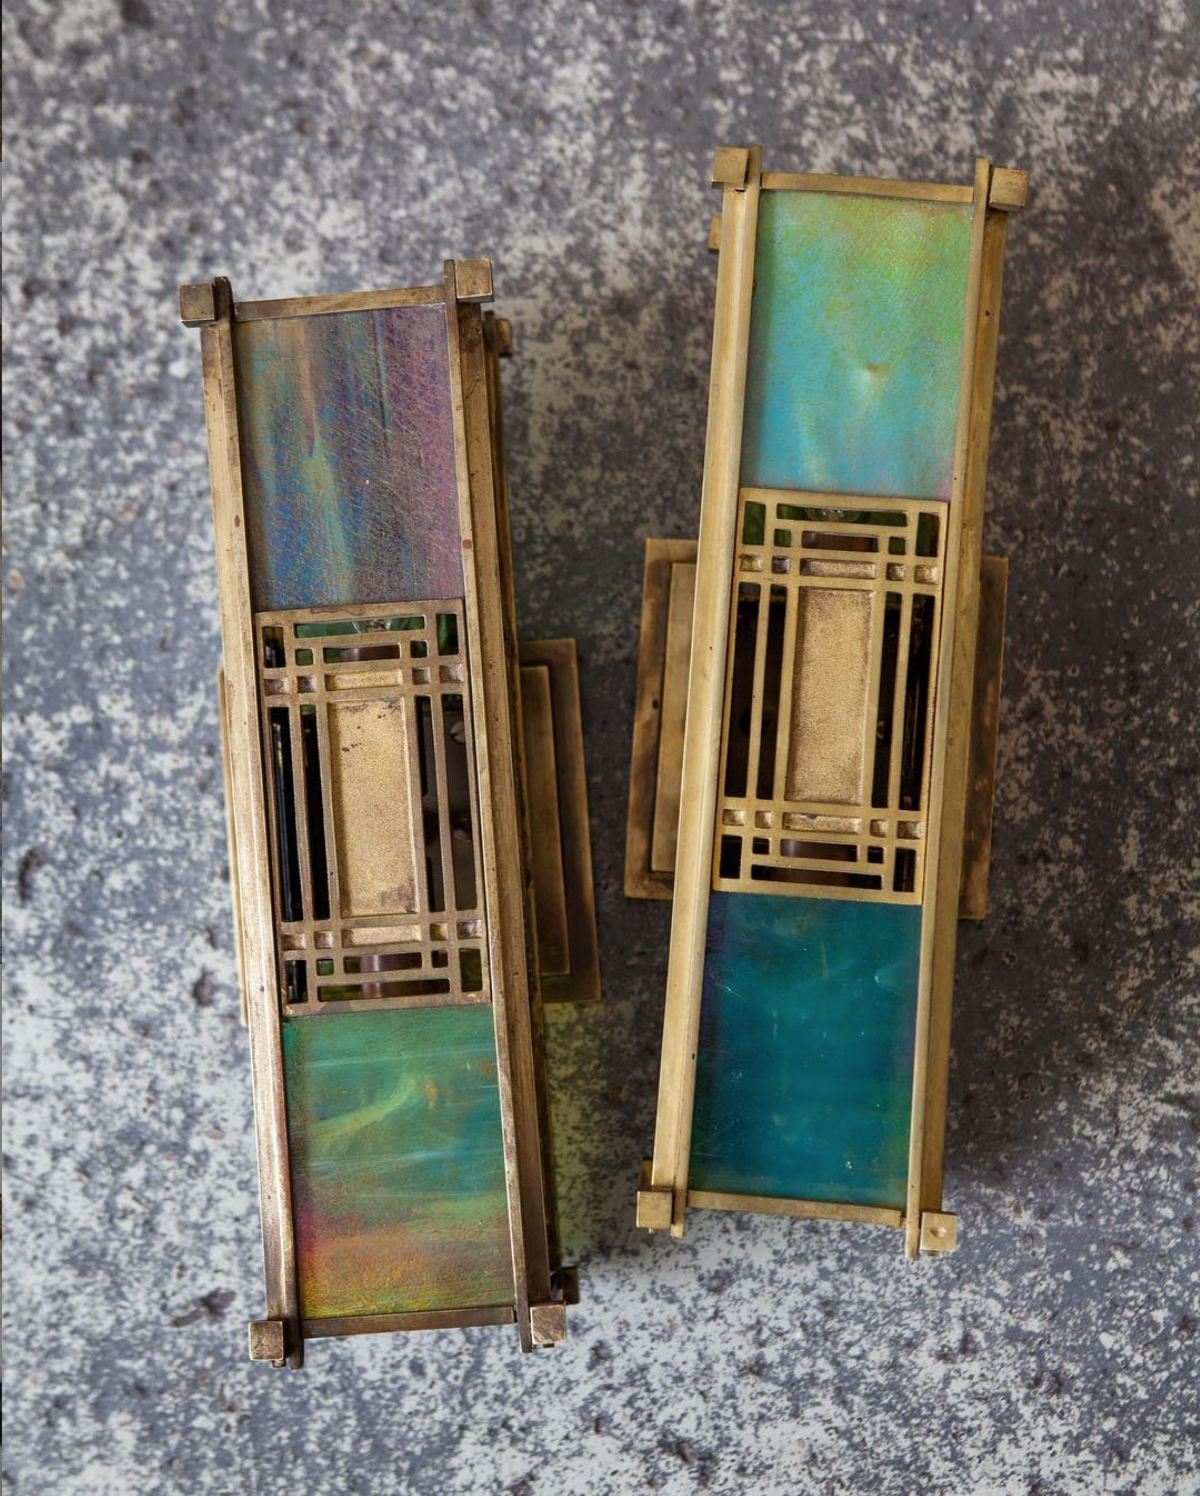
In addition to Hollowell’s paintings, I’ve always been inspired by the Art Deco movement - the patterns, the architecture, and the lighting fixtures that were being made in the 1920s.
I used to work at Remains Lighting, a bespoke lighting manufacturer that started off with antique restorations. One of my projects was to oversee the repair of these beautiful Frank Lloyd Wright stained glass sconces:

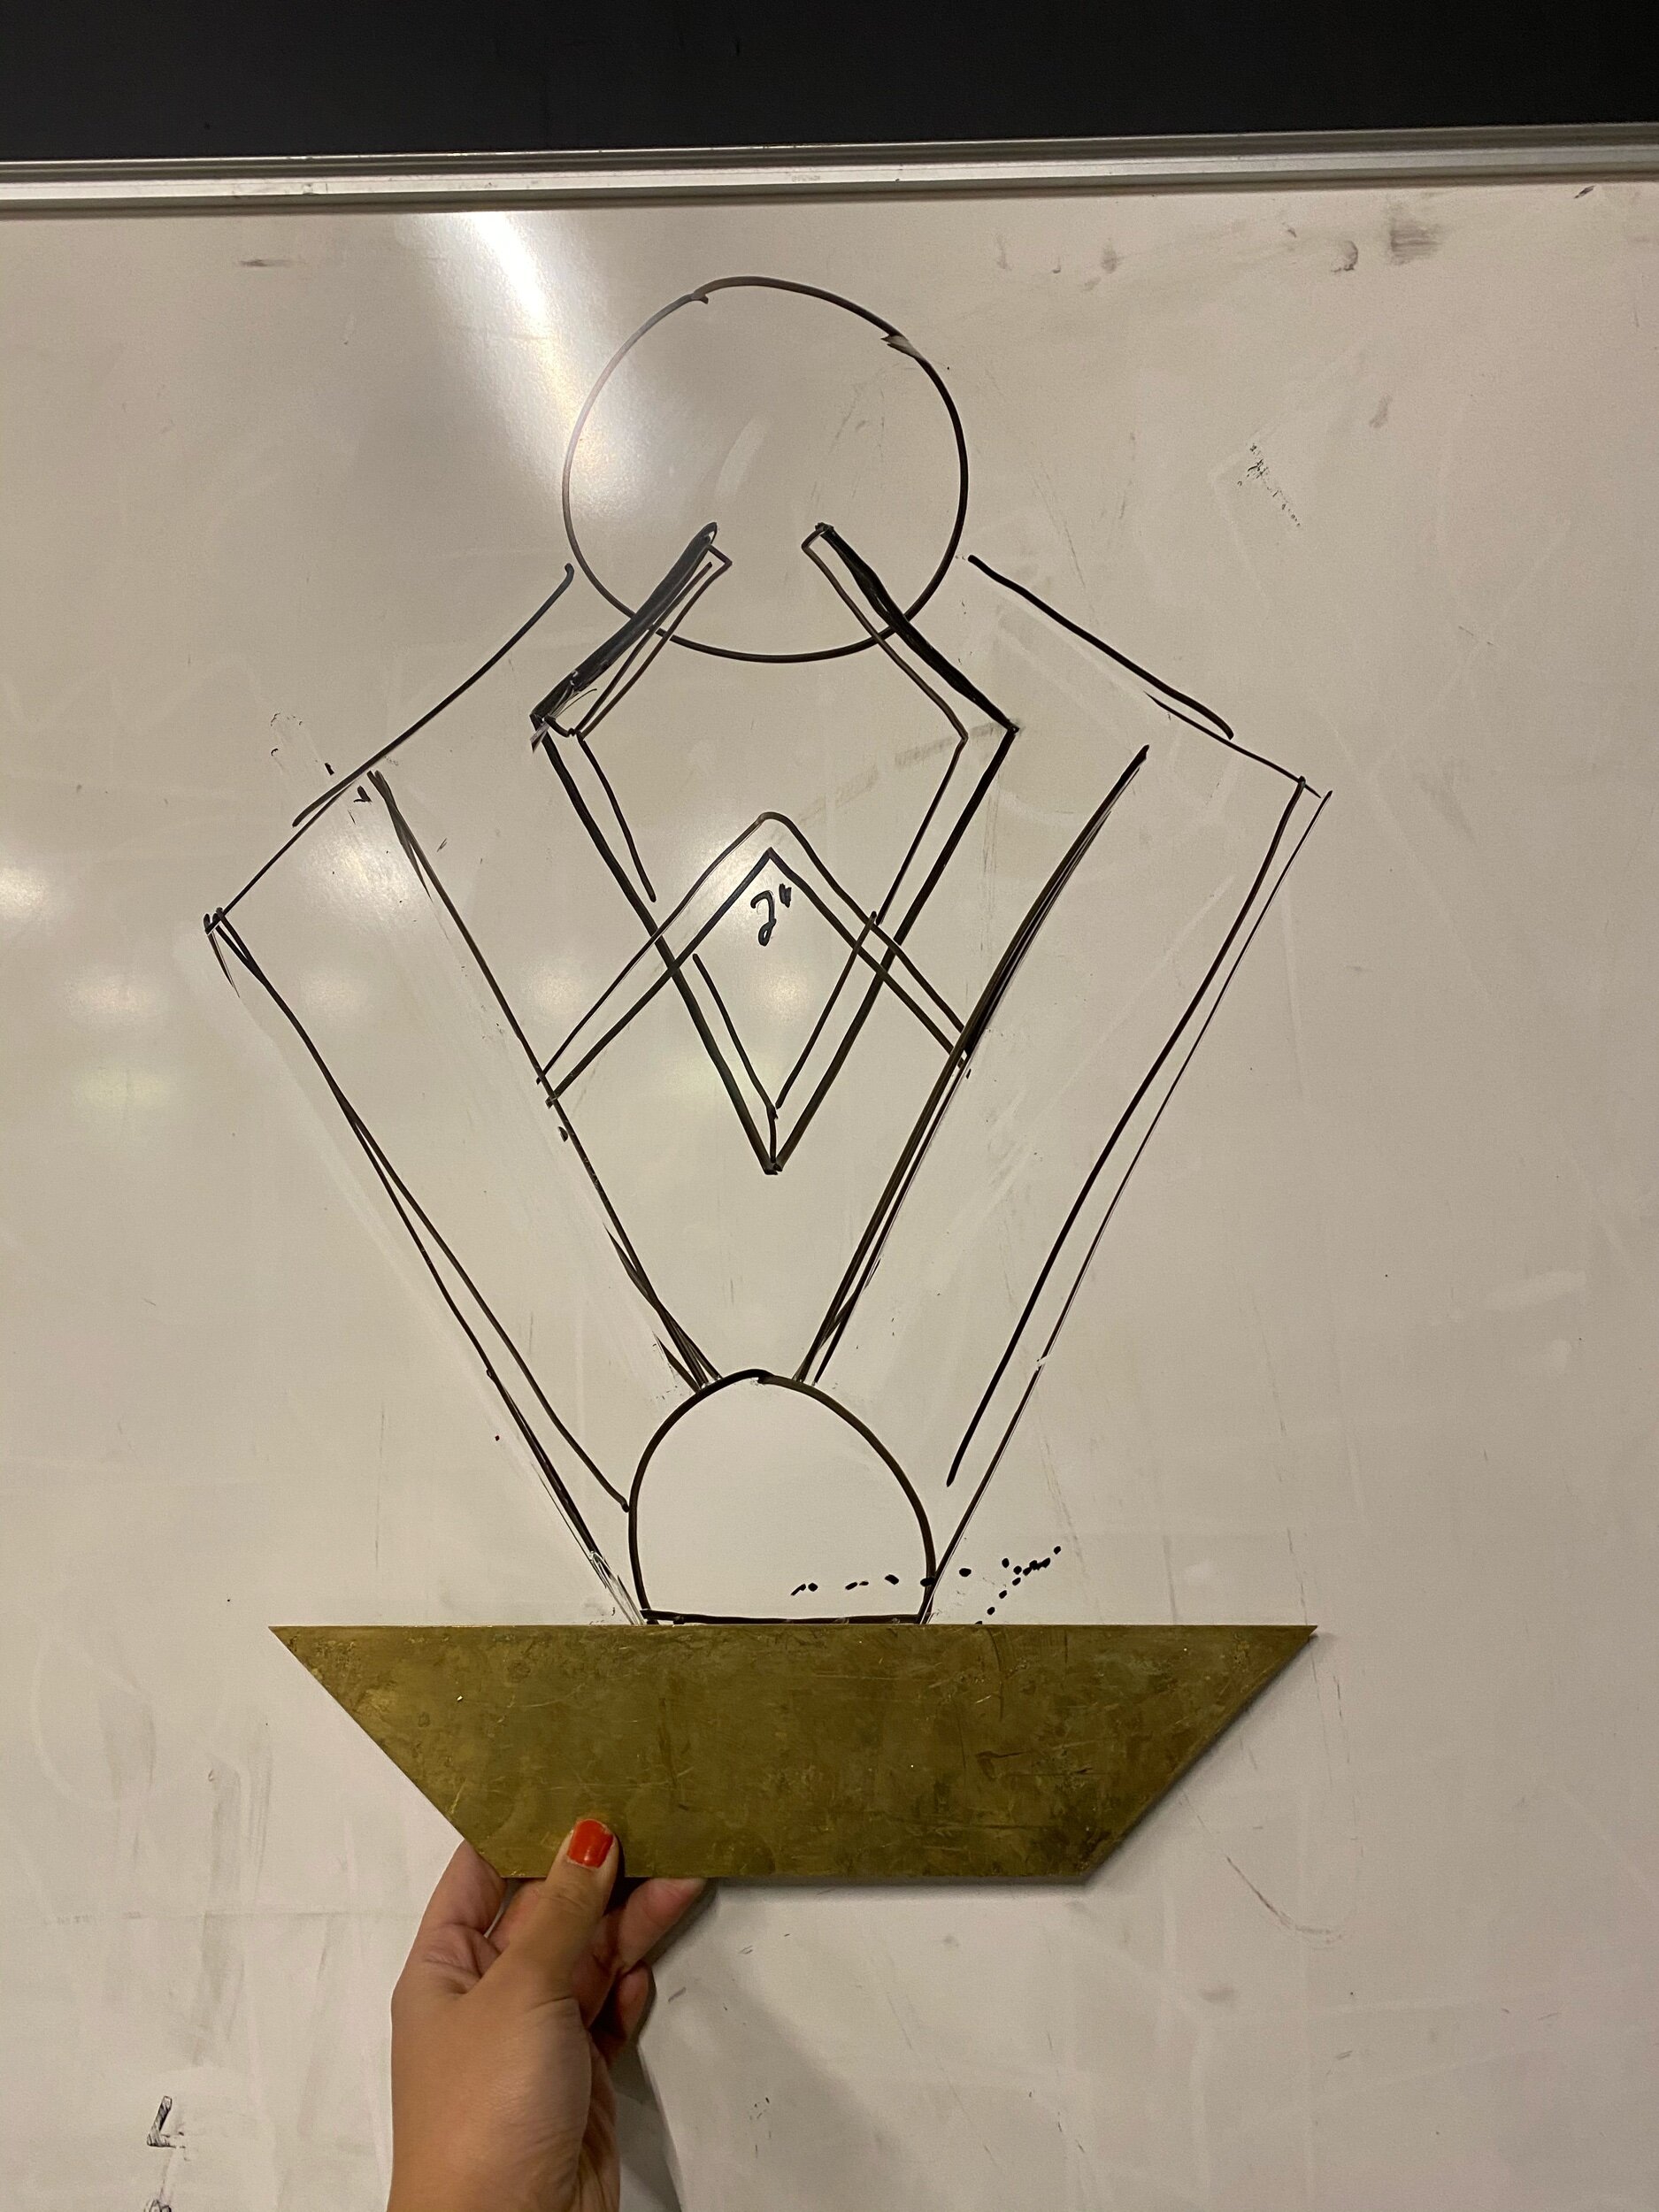
Objective
Light and Interactivity: to create a light fixture to be installed in an assigned room within the ITP floor. I chose phone booth #467, with the desire to cover the several holes that exist in the walls because of previously installed shelving.
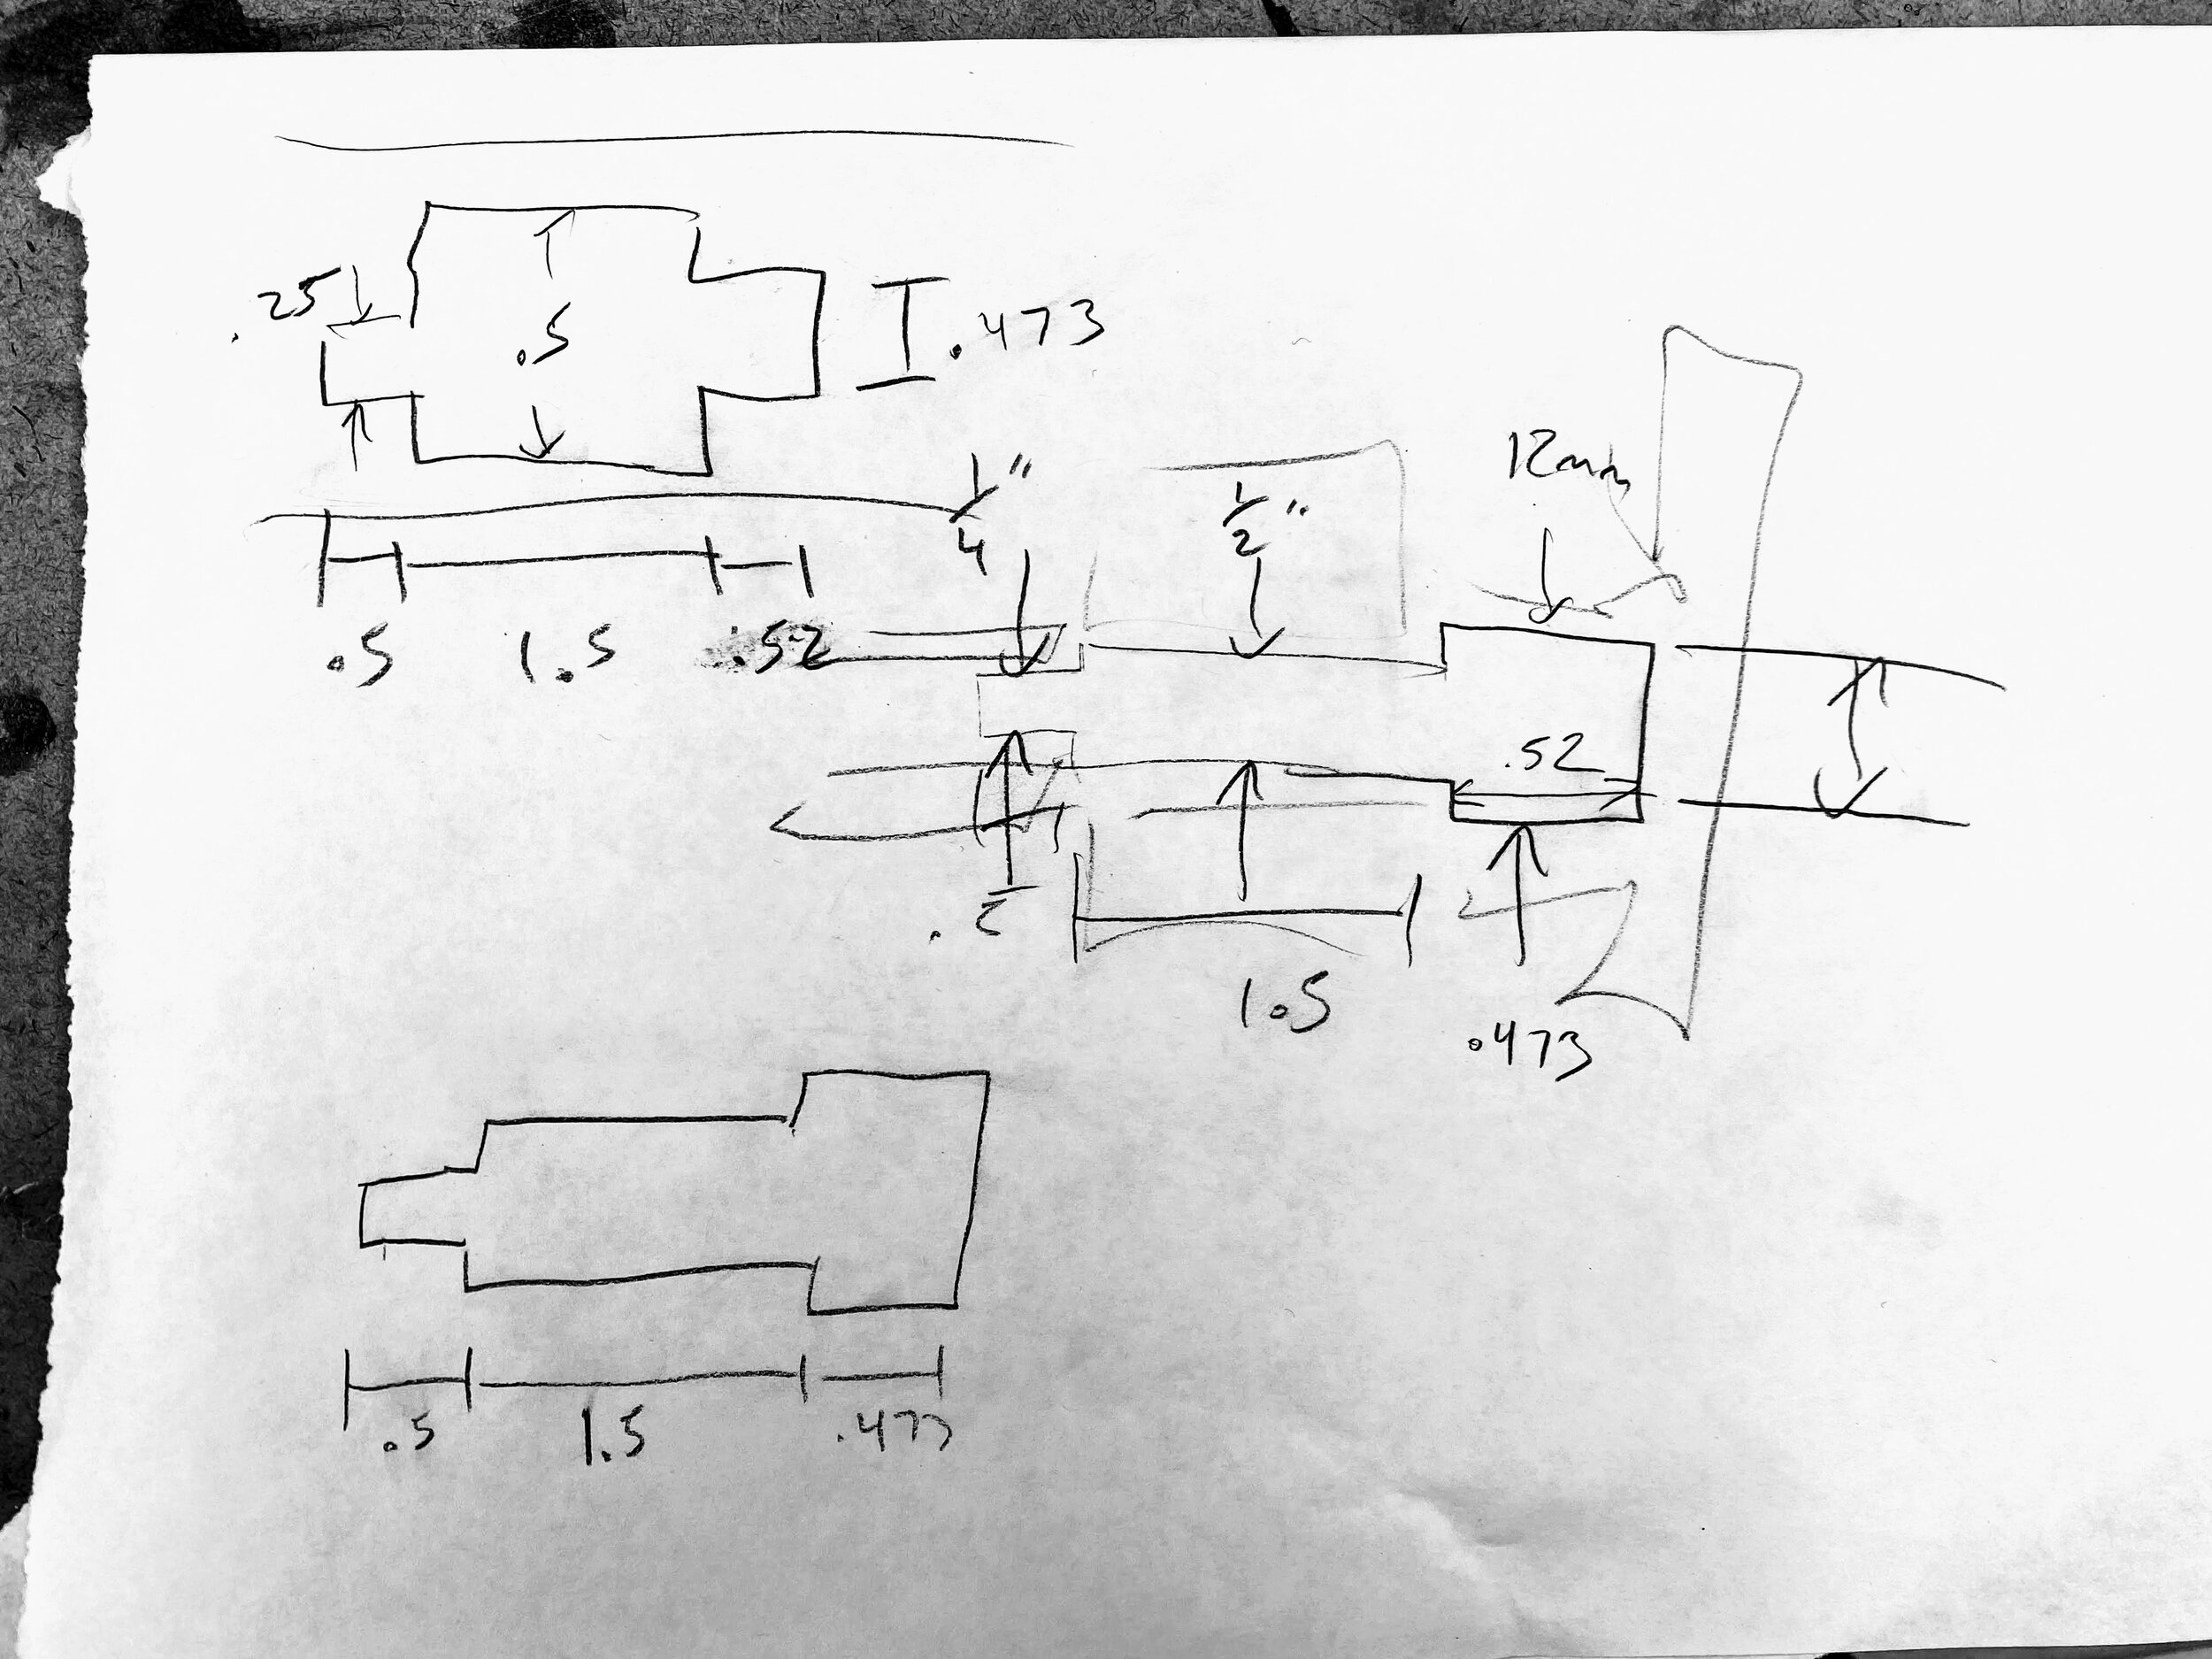
Subtraction: use joinery to create an object. Below is a drawing of the final dog bone joint that I used to connect all of my pieces together. It took 3 tries to get the perfect tension fit, the hole ended up being a .02 offset from the key width.

Materials
3/4 plywood
Materials from the “scrap bin” at Remains
Ingersoll glass globe
Brass trapezoid + strips
Two-way mirror acrylic
Mirror Acrylic
Hue Light controller, created for Connected Devices assignment
Hue Light system
Process / Assembly


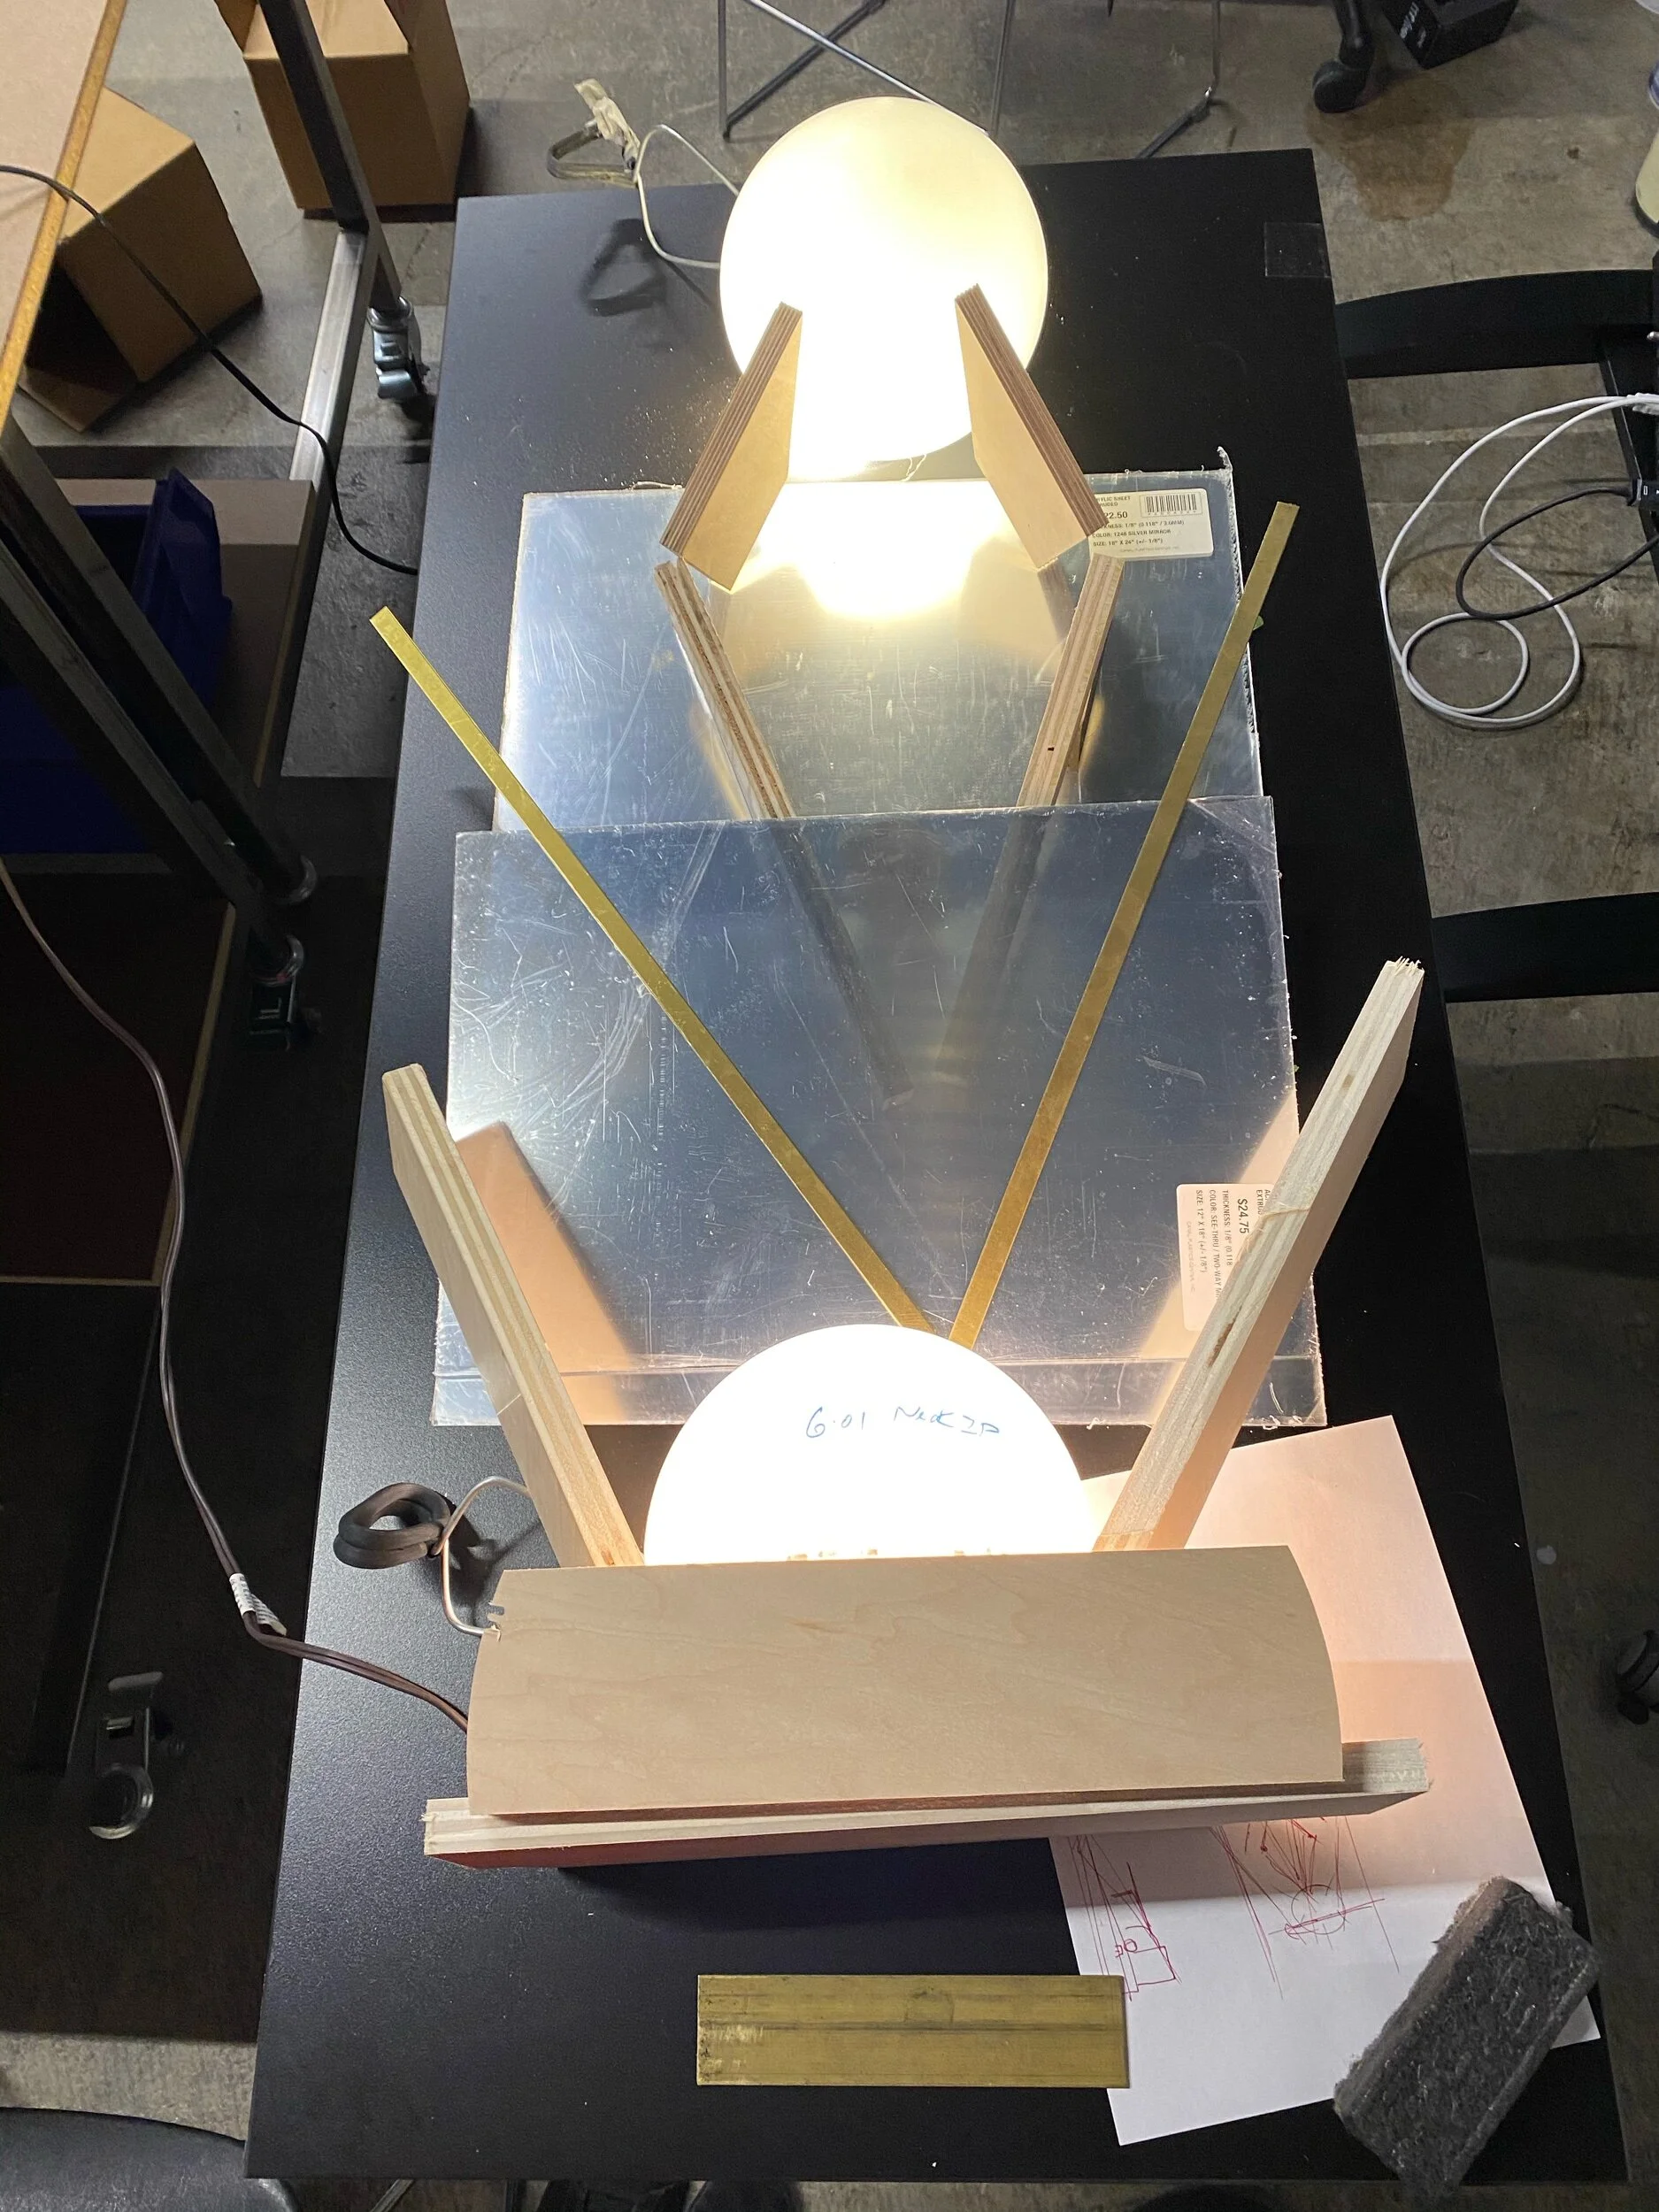


Glass globe print from Remains Lighting


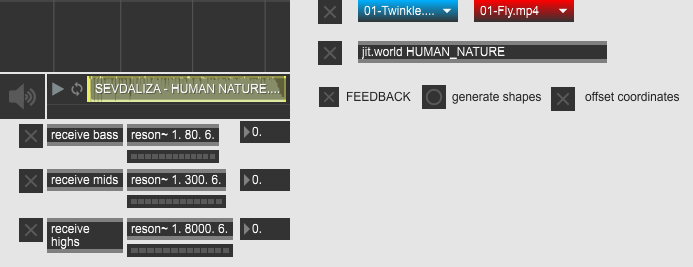
HUMAN NATURE, Performance 1
I spent the last three weeks listening to Sevdaliza’s “Human Nature” to become as intimate as possible with the piercing shrills and elongated spaces of the song. I tried to picture what the performance might look like when mapped to the song - shown on the right is my initial thought process of how I might abstract my video banks with MaxMSPJitter.

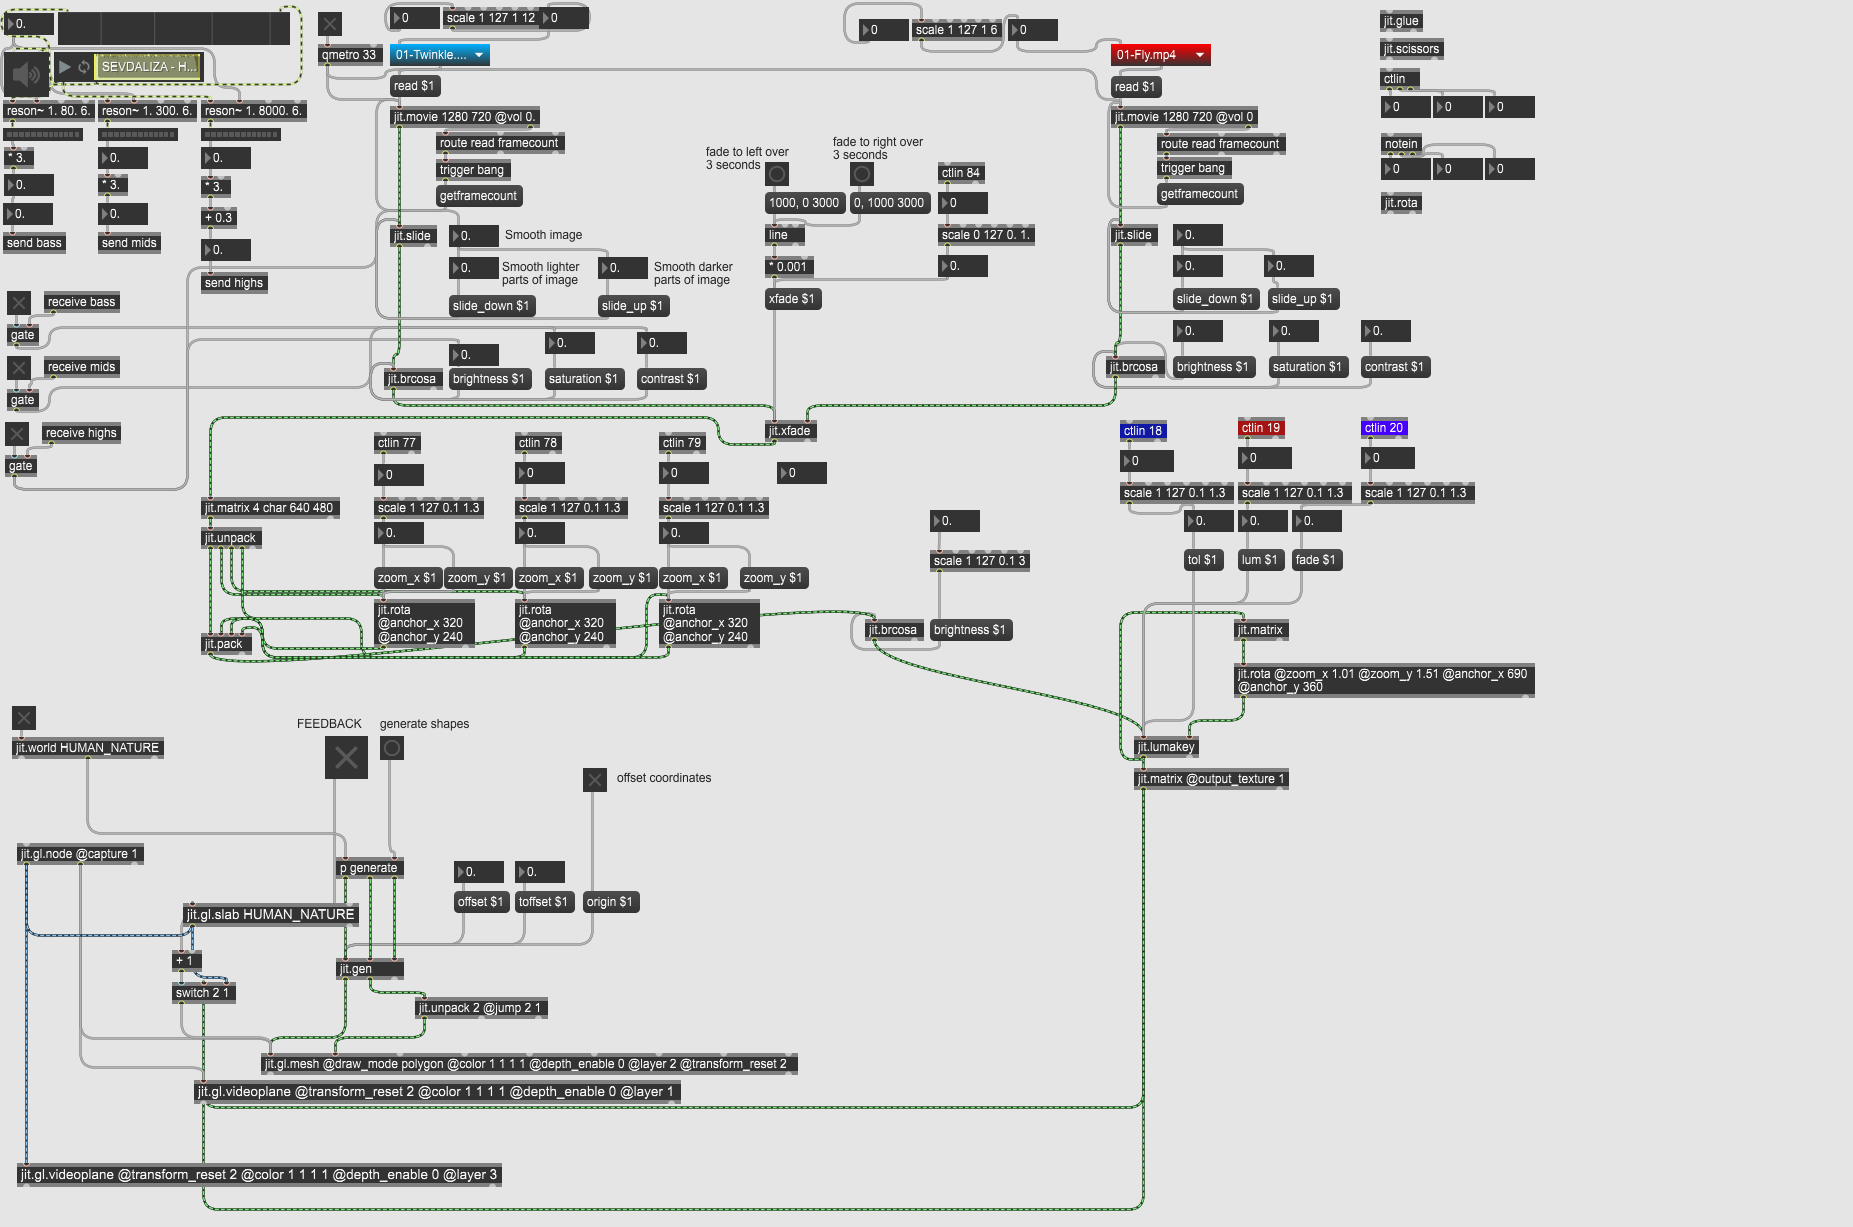
https://github.com/niccab/LIPP/blob/master/HUMANNATURE_wOffset_bri.maxpat
For the live performance, I knew I wanted to use the Novation Launch Control XL MIDI controller pad. For a quick tutorial, I referenced this video.
I also explored jit.gl.mesh: https://cycling74.com/tutorials/my-favorite-object-jit%C2%B7gl%C2%B7mesh-1