Nothing: Creating Illusions - Final Project Proposal

Prompt
In teams of 2 - 4 create a design to show on Zoom that utilizes tactics of illusion to artistically engage with a concept that is rooted in the cultural or sociological or philosophical dilemmas of representation.

No specific technological tools are prescribed or required; however it must be able to be shown in class on Zoom. Suggestions of topics can be: Underrepresented stories, designs that expose the worship of the written word, histories or cultures at risk of deletion, the power structures behind our systems of representation ...


Two potential topics that I’d like to explore emerge from a previous project I did last semester for my Performative Avatar final: The Evolution of the Babaylan.

  • The erasure of Filipinx indigenous culture as a result of Spanish and American colonization.
    The babaylan is a femme shaman of any gender, as femininity was seen as a vehicle to the spirit world.
    When researching more about the babaylan, I learned that the Spanish in the 16th century demonized the babaylans to maintain the patriarchy, to enforce that women shouldn't be leaders, and that their healing practices weren't as powerful as Western medicine. Spanish colonizers actively erased indigenous rituals and beliefs, and converted half of the Philippine population to Christianity within the first 25 years of their arrival.

    They created the myth of the Aswang, an umbrella term for female, shape shifting creatures that feed on fetuses and the sick, to use fear as a control mechanism.

  • The experience of looking at Getty Images for “filipino faces” resulting in "chinese faces”
    This still stirs me up, incorrectly being categorized and lumped into another Asian ethnicity that must have the most image results. It feels conflicting, knowing that it is impossible to aggregate a list of facial characteristics that make up a “filipino face” when my motherland had been colonized and is a melting pot of its adjacent countries, when I myself don’t carry features that are used to describe people from the Philippines.

    • References:

      • Barbara Jane Reyes - Letters to a Young Brown Girl

      • Coded Bias

      • Algorithms of Oppression

      • Weapons of Math Destruction

For the illusion, I would like to incorporate projection mapping in a similar vein of how Liu Bolin uses photography and painting to visually erase himself from the context of the environment.
I am still working on the visual construction of the illusion.

liu-bolin.jpg

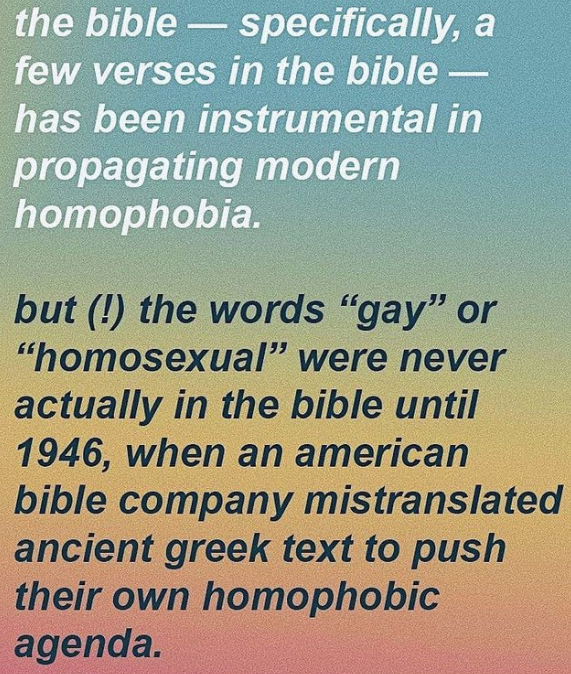
A third topic came to me in my social media feed on Munroe Bergdorf’s Instagram and Ashley Easter’s Twitter:

bible1.PNG
bible2.PNG
bible3.PNG

The Bible is a transcription of oral tradition with innumerable translations and interpretations, and there is no singular author to place infallible trust in. As someone who was raised Catholic, I early on felt shame for my queerness, feeling the weight of this supposedly grave sin, instilled with the fear of the concept of hell. The purposeful mistranslation in the Revised Standard Version was to appease medical professionals and culture in the 1940s who saw same-sex attraction as a mental illness.

I am still not sure of how to incorporate illusion into this, but maybe a visual reference could be Lil Nas X’s descent to hell in his video for Call Me By Your Name :)

Environment Building / Topia

Environment Building

Conceptually, I am trying to build a meditative space for self reflection and healing. In my prototype, I’d like to build these visuals within the space:

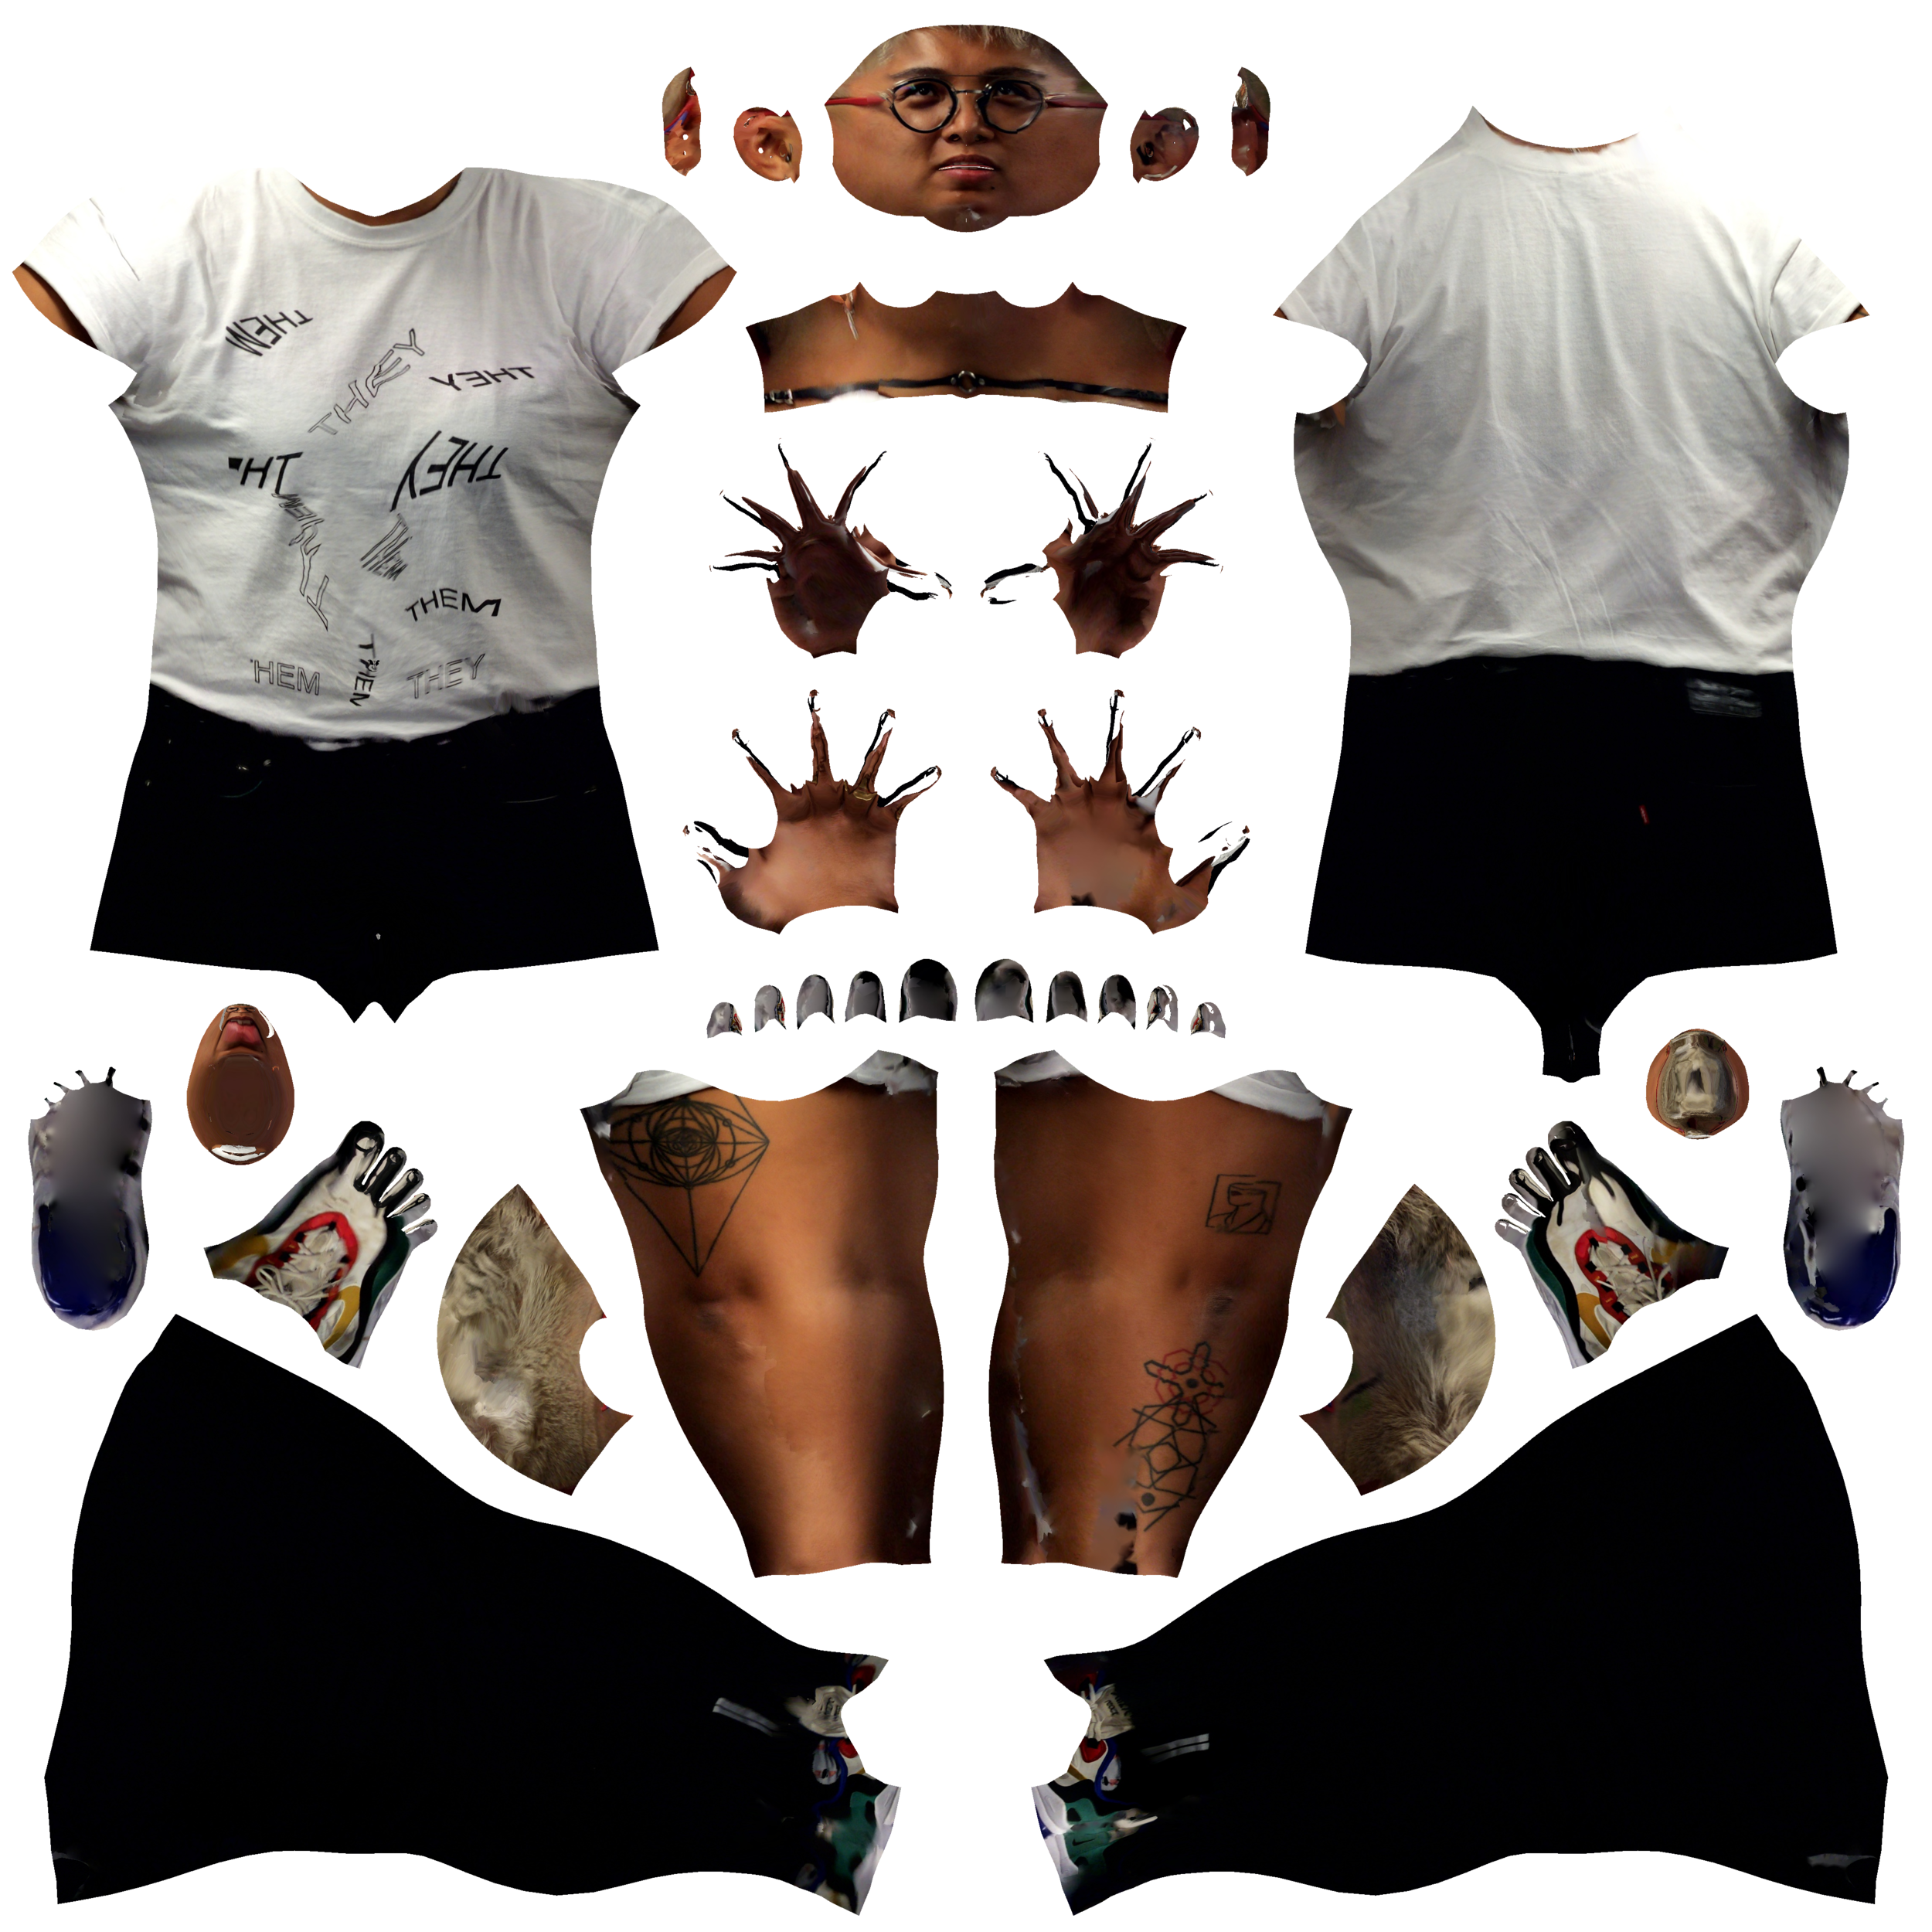
I am definitely jumping ahead of myself, wanting the immediate satisfaction of incorporating the listed examples, while I only have the basic understanding of how to load textures onto geometric shapes. I did manage to successfully load .obj files along with their materials - my 3D scan of myself appears underneath the camera feed plane. I wonder how to properly load an .obj as part of the player.group with the class syntax in the scene.js file. I also tried loading .fbx animated models, but came across an issue with the fflate library.

I was able to get ngrok working correctly to host my WIP environment: https://3d634128a89d.ngrok.io

After trying a bunch of things and not getting much to work, I stripped most of the environment in hopes of learning how to properly add the examples I’m envisioning.

I did use the updated three.js controls example that uses the MapControls. As of right now, I imagined this environment to be a solo experience which defeats the purpose of a “Real Time Social Space” … I do wonder if it’s possible to create a group meditation environment when navigating through the space feels very novel, fun, and exploratory within the technical aspects of it being contained in a browser, but I want to be intentional with how people interact with each other and encourage reflection for themselves.

WebRTC / Simple Peer

For what it’s worth, I tried following the tutorial and got hung up when trying to use the Live Server, which for whatever reason doesn’t show up as an extension for me. I tried manually searching the marketplace within VSCode, and tried clicking on this link, but I was unsuccessful. A bit disheartened, I tried to spend more time on building out my environment.

Topia

topia.PNG

This week I tried Topia - the first world that I explored was called Sock Drawer: https://topia.io/sockdrawer

I don’t know if this platform is for me, at least with my first impression of it. There is no world map, so I had no idea how large this space was and who was occupying this space. In one sense, this might be nice if I were in the mood for endless discovery and meeting new strangers, but I felt bombarded by these three folks who were trying to be nice, but demanded that I turn on my camera, said I should go to the keg and get a pint to loosen up, and they’d check back on me once I got a drink, or something. Anyway, I wasn’t expecting to run into anyone… I just wanted to explore what the different functionalities of the space were.

When I tried building my own space, I added an image which then took over the entire space and masked everything else - there was no easy way to resize the image. Your visual assets have to be a very specific size before importing them. You can also walk through everything, there’s no object collision options to make the assets act as if they really are forming the limits of an environment. I also tried adding links, and there’s no real signifier that shows that an asset links to anything.

For what it’s worth, I do like the drawing style of the included assets.

DialUp

Still didn’t receive a call for the two topics I signed up for, so I added a few more. Will update soon once I have a call!

Vortex

For my final Design for Digital Fabrication project, I created a singular prototype for what I envision for Vortex.

In this prototype, audio-reactive LEDs driven by madMapper are embedded within an aluminum channel. This entire channel spins continuously via a NEMA23 motor mounted to a modular base, controlled by an Arduino.

Using Fusion360, I created a simulation of what 5 of these bars positioned in a pentagonal form would look like.

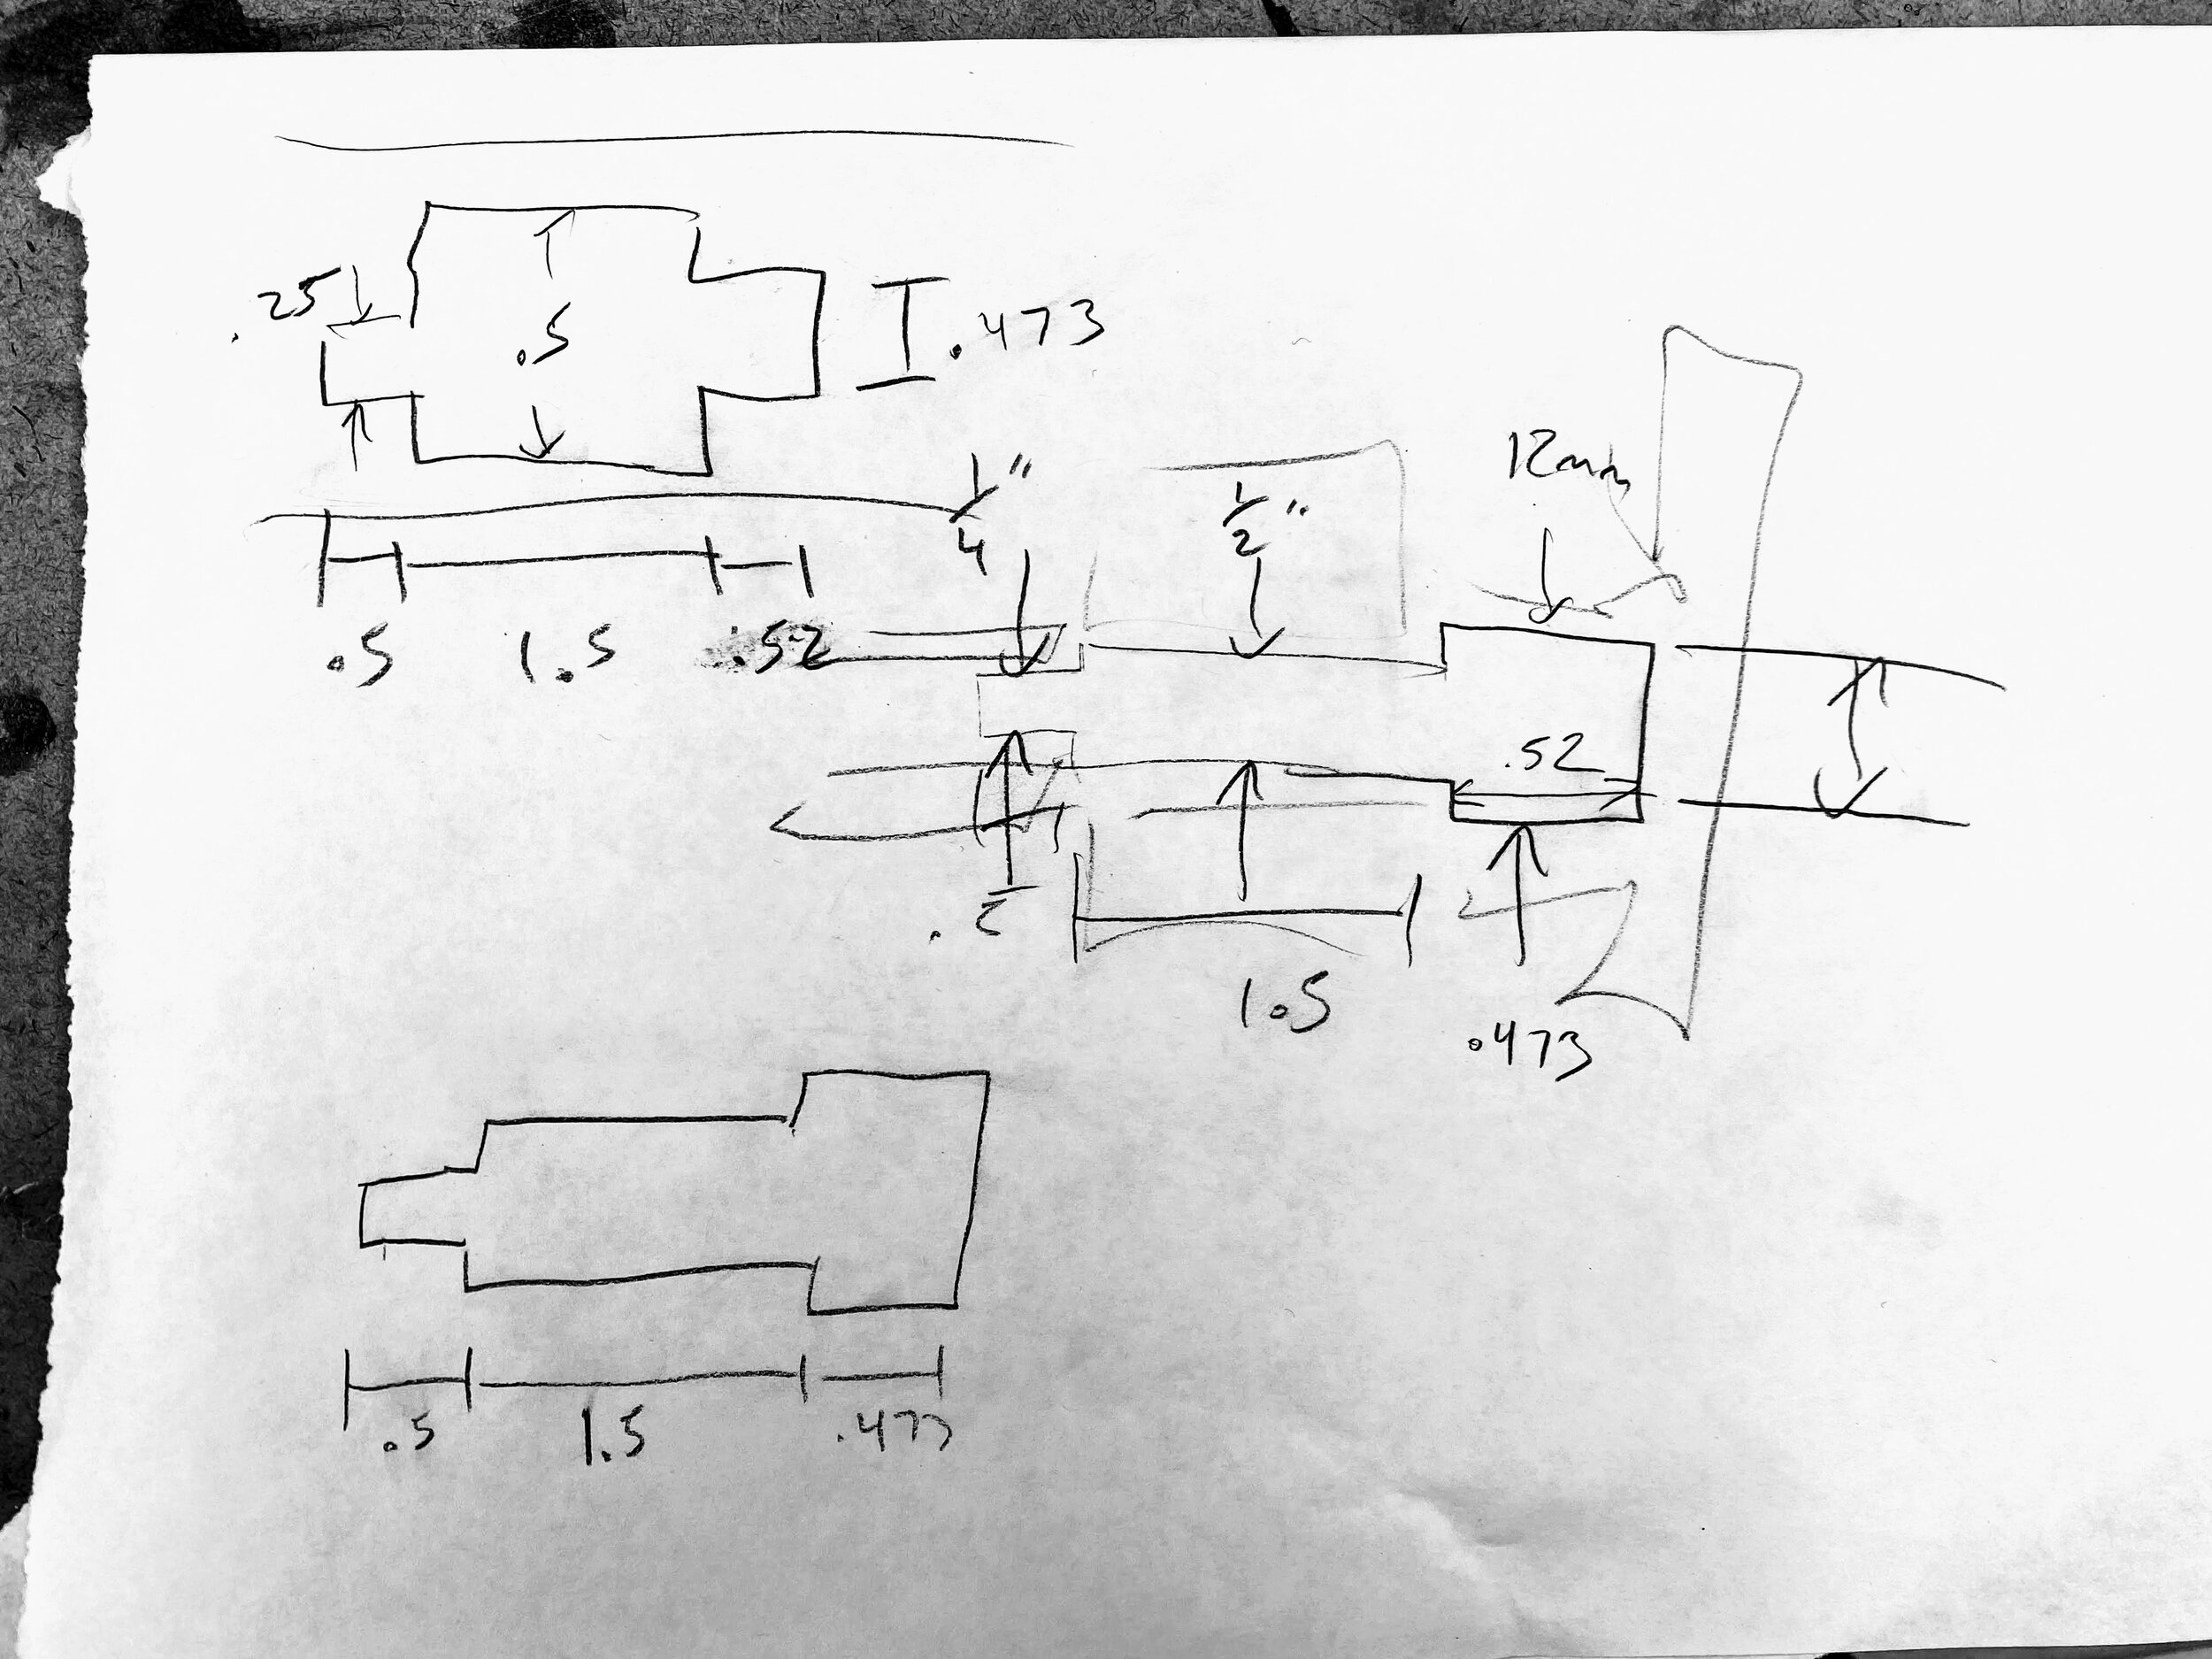
It was difficult purchasing perfectly mating parts for the mechanical connection between the LEDs to the motor. I purchased a 12mm shaft hub, a 1/2” ID slip ring, and a 1/4” coupler for the NEMA23. This called for a custom shaft, which Ben Light helped me make on the metal lathe. We started off with a 1” aluminum round stock, and very meticulously shaved it down to the appropriate widths for each component.

IMG_3212.jpg

Here is a quick time lapse of some manual fabrication necessary for the mechanical connections.

Here is the Fusion360 rendering of the project.

vortex.PNG

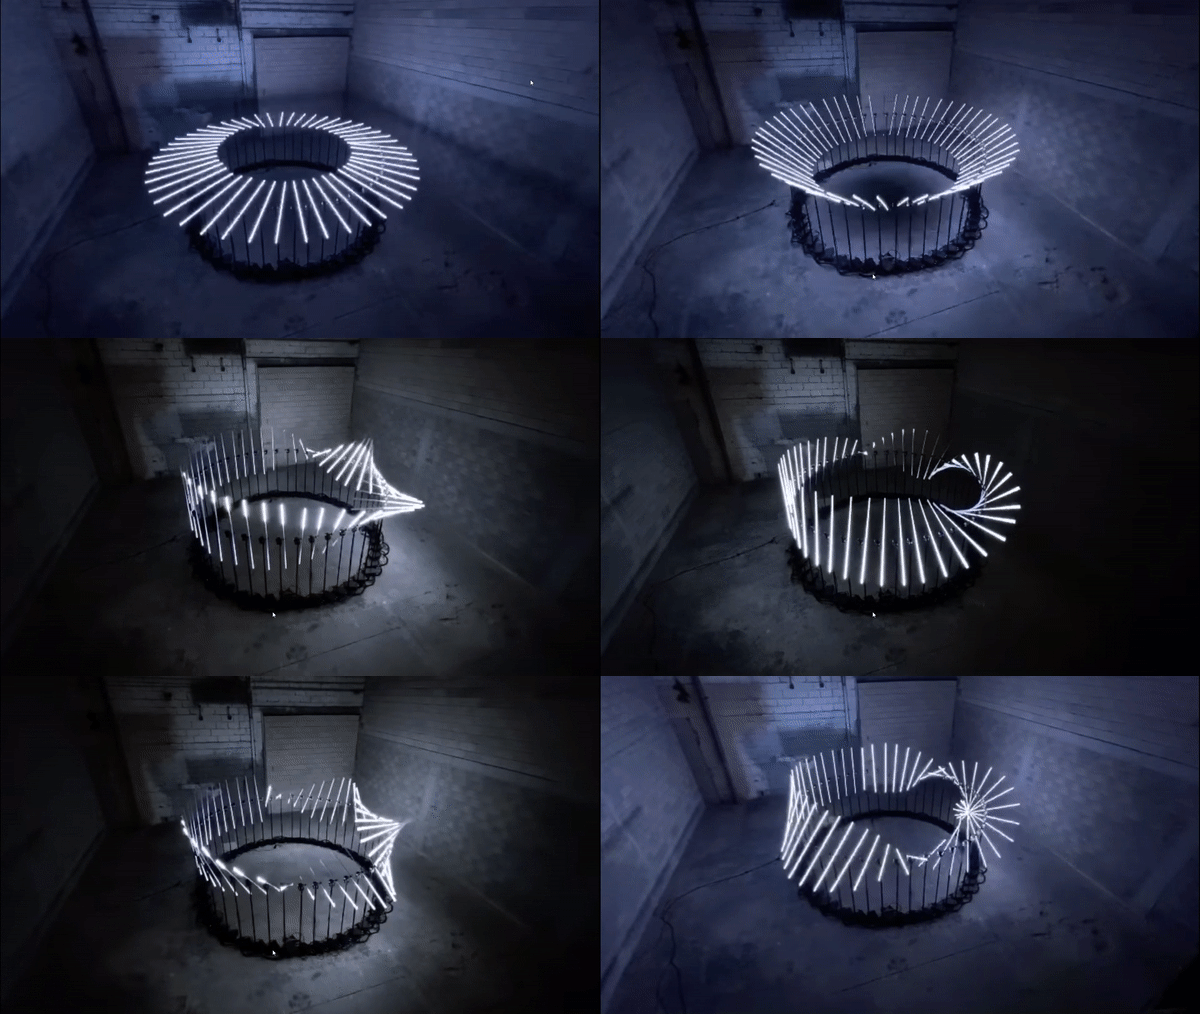
This project was inspired by collectifscale’s project Flux.

flux1.gif

Morphing My 3D Scan in Wrap3

Thanks Matt for another great tutorial!

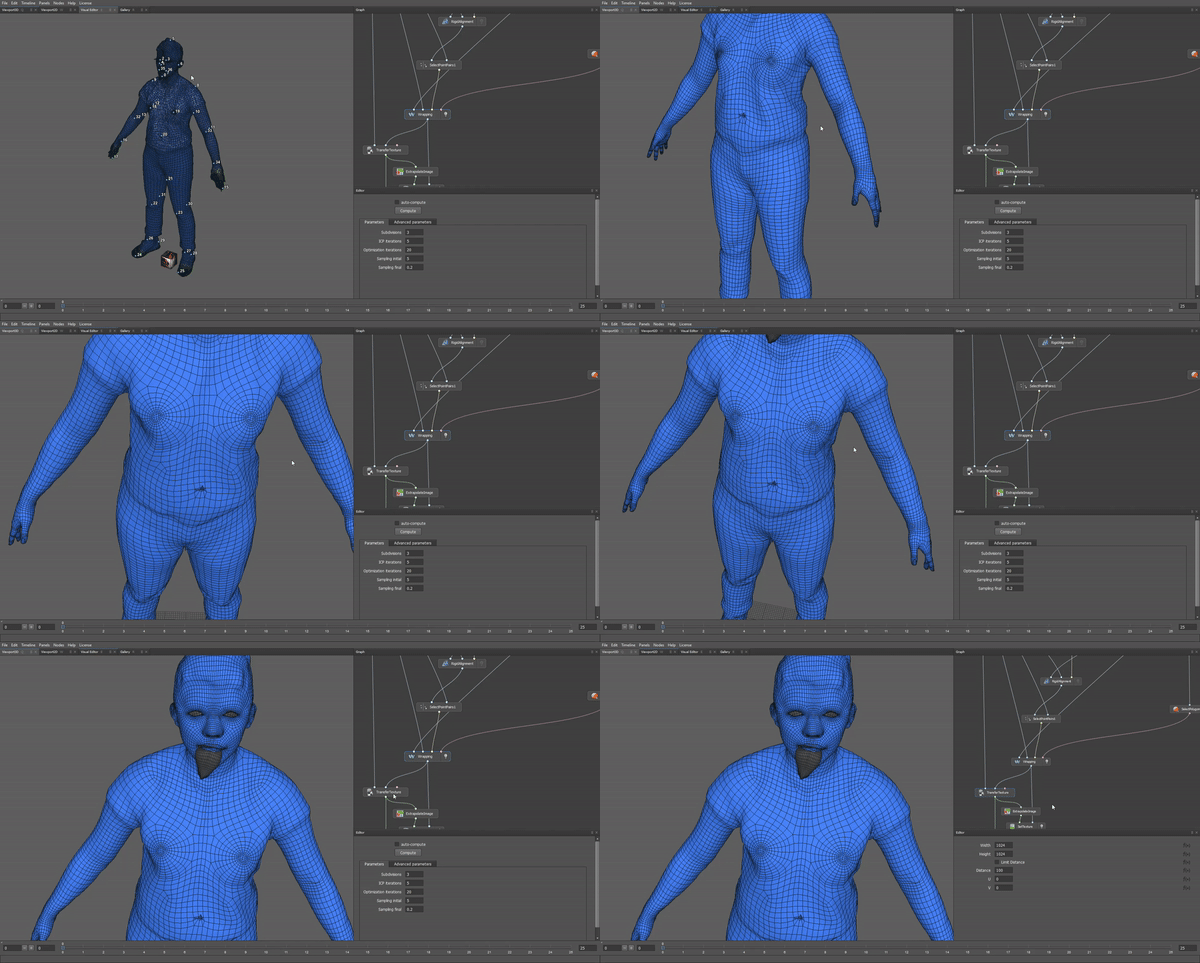
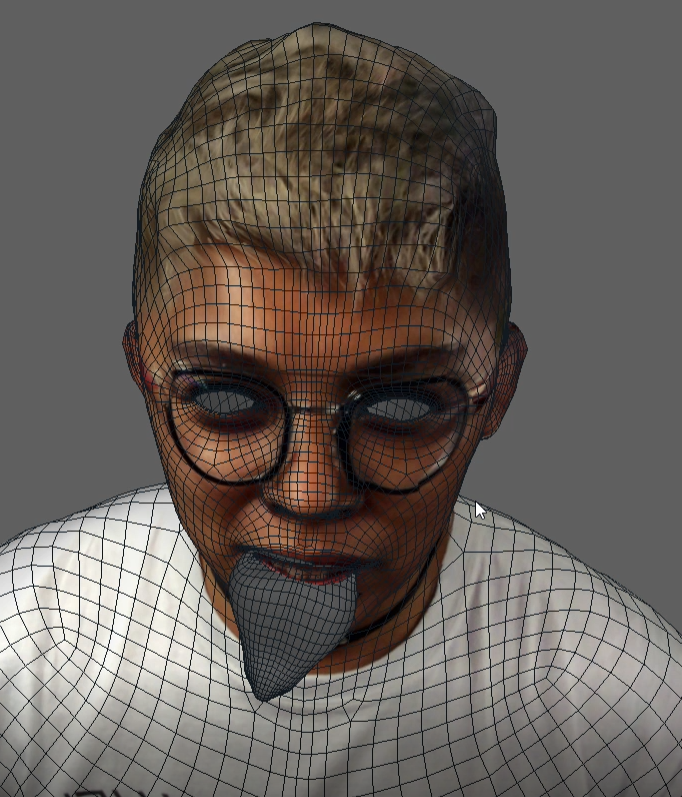
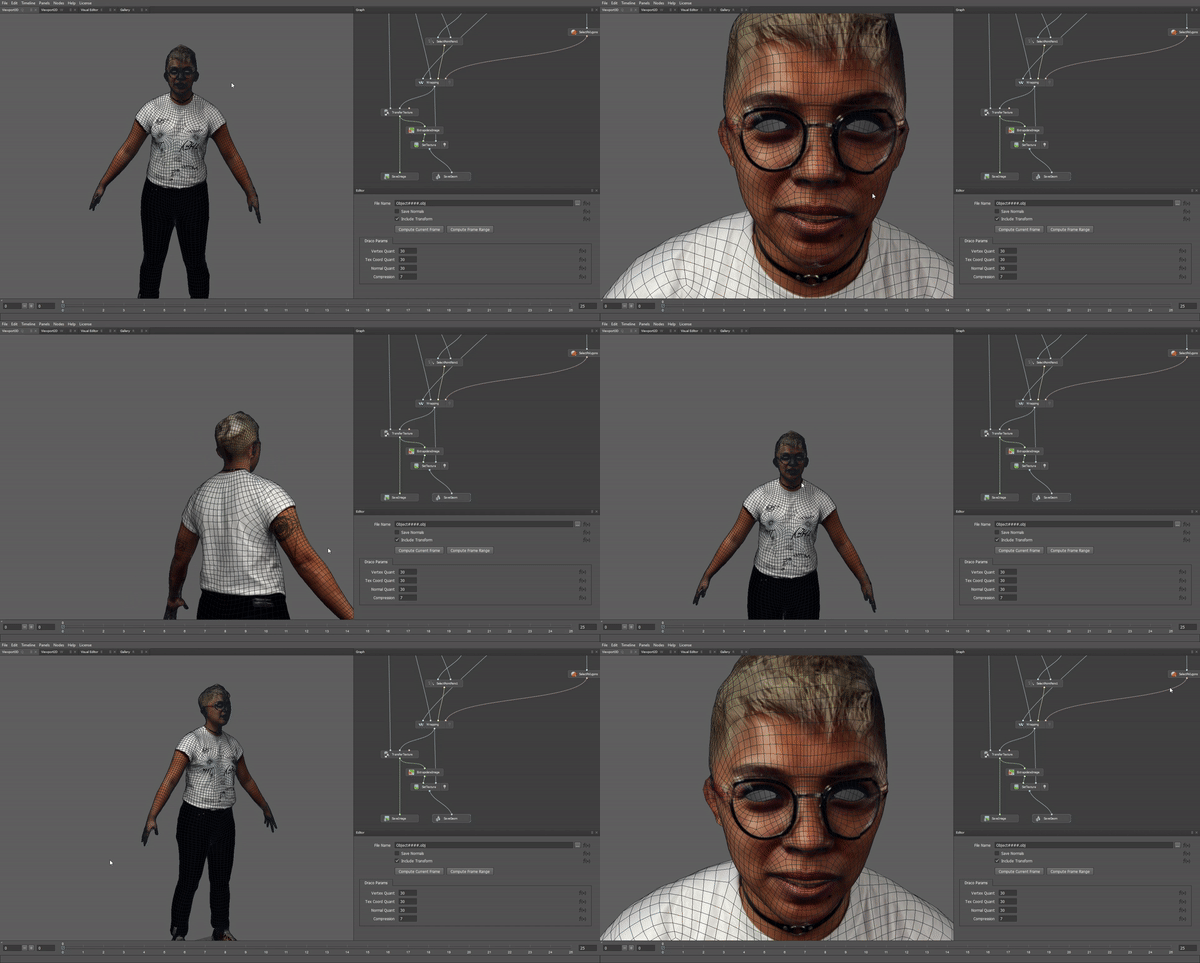
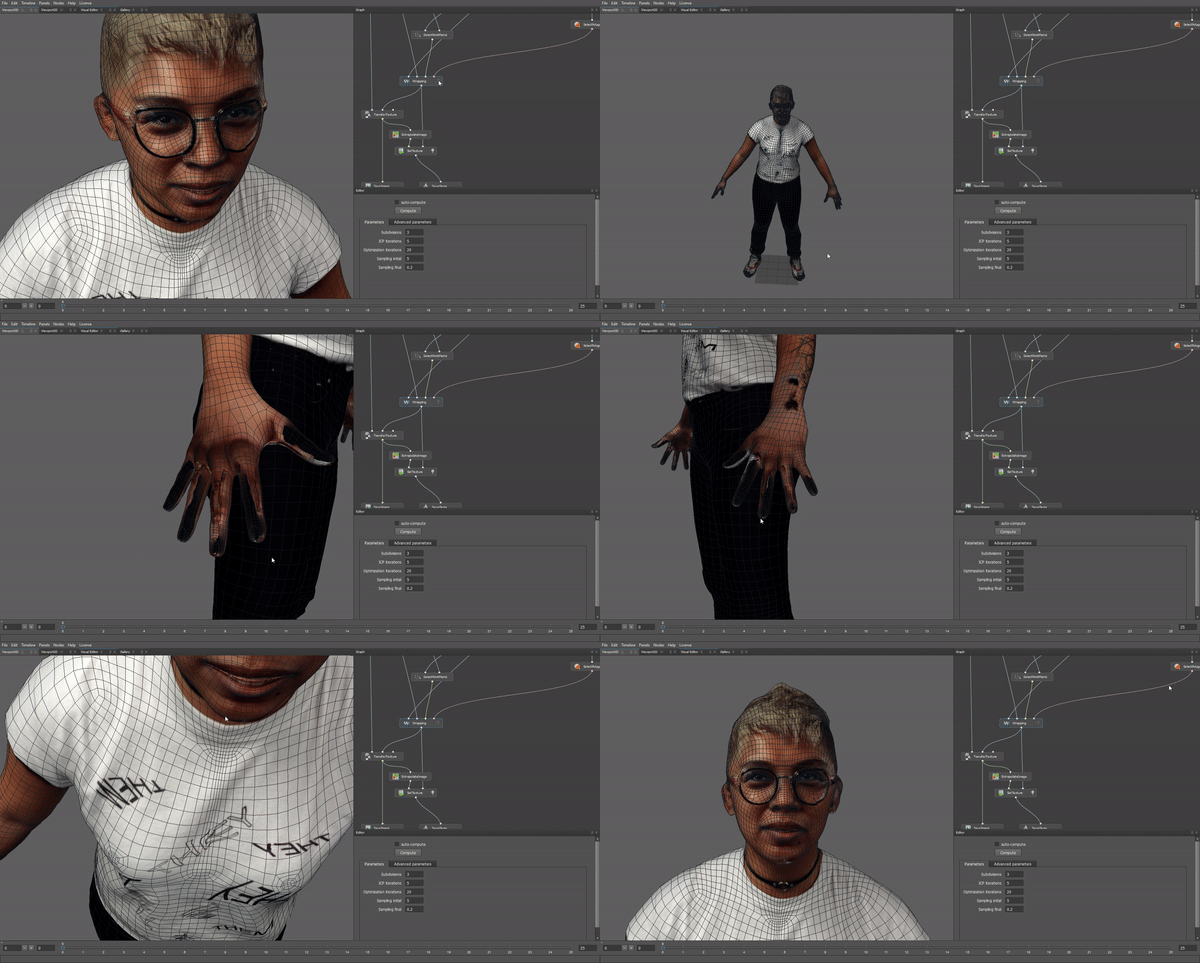
I used Blender to resize and adjust my model before bringing it into Wrap3. When it was time to compute the wrapping from my model to the base mesh model, I was startled by the result: the inner parts such as the mouthbag, ear sockets, eyeballs, and nostrils should not have been morphed. I went ahead and added those polygroups to the selection, and recomputed the wrap.

mouthbagew.gif
mouthbag.PNG

That sure fixed it. But then I realized that the female base mesh model did not include any eyes; instead, they showed up as gaping holes.

femalewrap.gif

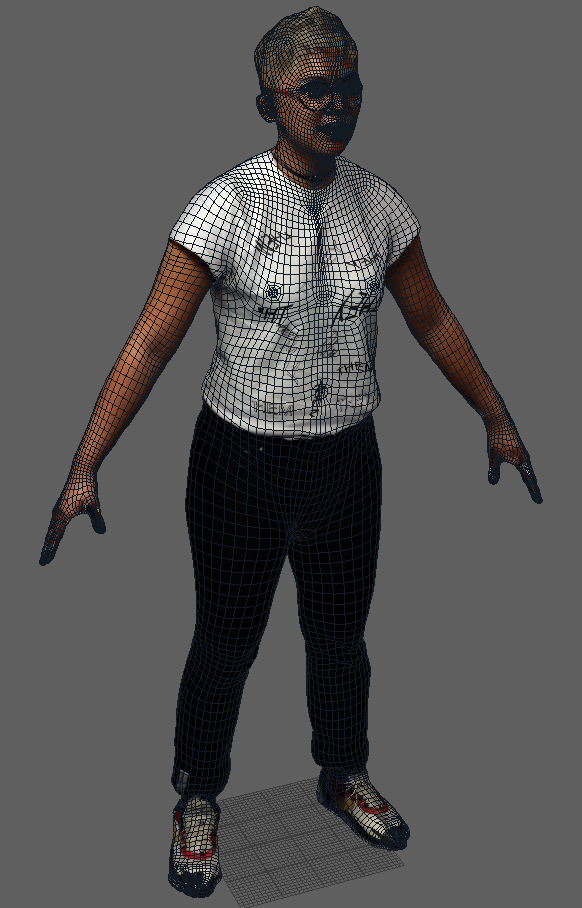
As per Matt’s suggestion, I redid the tutorial using the male base mesh model, and got my eyes back. My fingers came out looking super creepy, but I know that can be fixed at a later stage.

malewrap.gif
finalwrap.PNG
malewrap.png

Project Development

After digesting everyone’s feedback, I feel that my original proposal had a conflict between the concept and the physical design. I can see it manifest in two entirely different projects, and forcing the two together feels counterproductive.

I am still playing around with a few ideas.

Mechanical Iris Gazebo

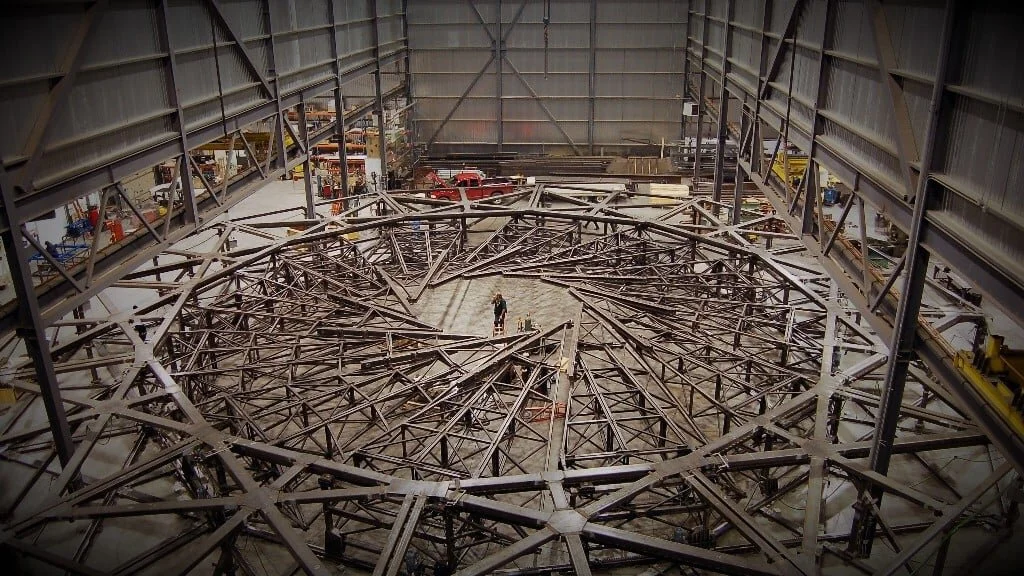
When thinking about a public art piece where people can set their intentions, say their prayers, and remember loved ones, I wanted to create a dedicated place for this. I started thinking about the vertical elements of vaulted ceilings, specifically muqarnas of mosques and rib-vaults of gothic cathedrals. Looking up at these architectural elements, I’ve always imagined them opening up a portal into the sky, allowing the spirit to transcend into the heavens. I’m very fond of Gaudi’s hyperbolic paraboloids found in the Sagrada Familia in Barcelona, the muqarnas found in Alhambra Palace in Granada, and Michael Hansmeyer’s interpretation titled Muqarna Mutation.

the-sagrada_familia_ceiling.jpg
alhambra.jpg
Muqarna-Mutation2.jpg
Muqarna-Mutation-Collater.al-5-1024x640.jpg

I reflected more on the idea of transcendence and transformation, and wanted the ceiling to open up to the sky. I looked more into mechanical irises, and came across this example: The Tree of Prosperity in the Wynn Macau.

treeprosperity.gif
Iris-large-resized.jpg


There’s a whole bunch of 3D models of mechanical irises / apertures that can be 3D printed, cut out of cardboard, etc. I came across this wonderful tutorial by Caleb Kraft and CNC Router Parts that included the Fusion360 files, complete with CAD / CAM / animations for both a 24” desktop and a full size 48” version.

iris.gif
irisf3d.gif

For a practical application, I’ve been wanting to design a gazebo for the 85” wide hot tub in my backyard. I can imagine this mechanical iris being built into the dome of this gazebo. Similar to the Tree of Prosperity, I’d want the iris to reveal a light show built into the ceiling. As a Fusion360 beginner, I started 3D modeling the gazebo with the hot tub in it, using the loft function to create the tangent curves of the dome. In order to call out the dimensions of the model, you have to translate the 3D design into a 2D drawing, which Fusion360 makes it very simple to do. Modifying the properties of the dimensions are not that intuitive compared to VectorWorks.

iris-scaledrawing.PNG


FWIW, other project ideas…

A totally different approach to a portal opening into a ceiling: I came across this project titled Flux by Collectifscale, which uses LED bars on stepper motors driven by TouchDesigner.

My interpretation of this project would be to reduce 48 lines of light to just 8 bars, and suspend the entire thing on the ceiling. I did spend some time researching various stepper motors and heavy duty slip rings. Practically, I think this smaller scale version would come in handy when I do live visual sets with my musician collaborators. I’ve been meaning to put these bars on motors!

flux1.gif
litebarz.gif


Floating Lenticular Wave

This is riffing off two past projects that I’ve worked on: the mechanics of my Water Droplet Automata and the materials of the Lenticular Wave made with Aidan. I spent some time researching kinetic sculptures and came across Reuben Margolin. I thought I could create two of his kinetic sin wave caterpillars to create a structure to hold lenticular in place. I made a failed prototype with scrap lenticular, magnets, thread, nuts, a large brass ring with grommets, and a pulley. In my video, the thread I used snapped - I’ll need to get either fishing line or dacron wire to make a stronger prototype.

caterpillar.gif
waterdrop.gif


3D Scanning with itSeez3D

Although the 3D scanning process was pretty straightforward, I came across a few difficulties when using the itSeez3D app with the Structure Sensor + iPad.

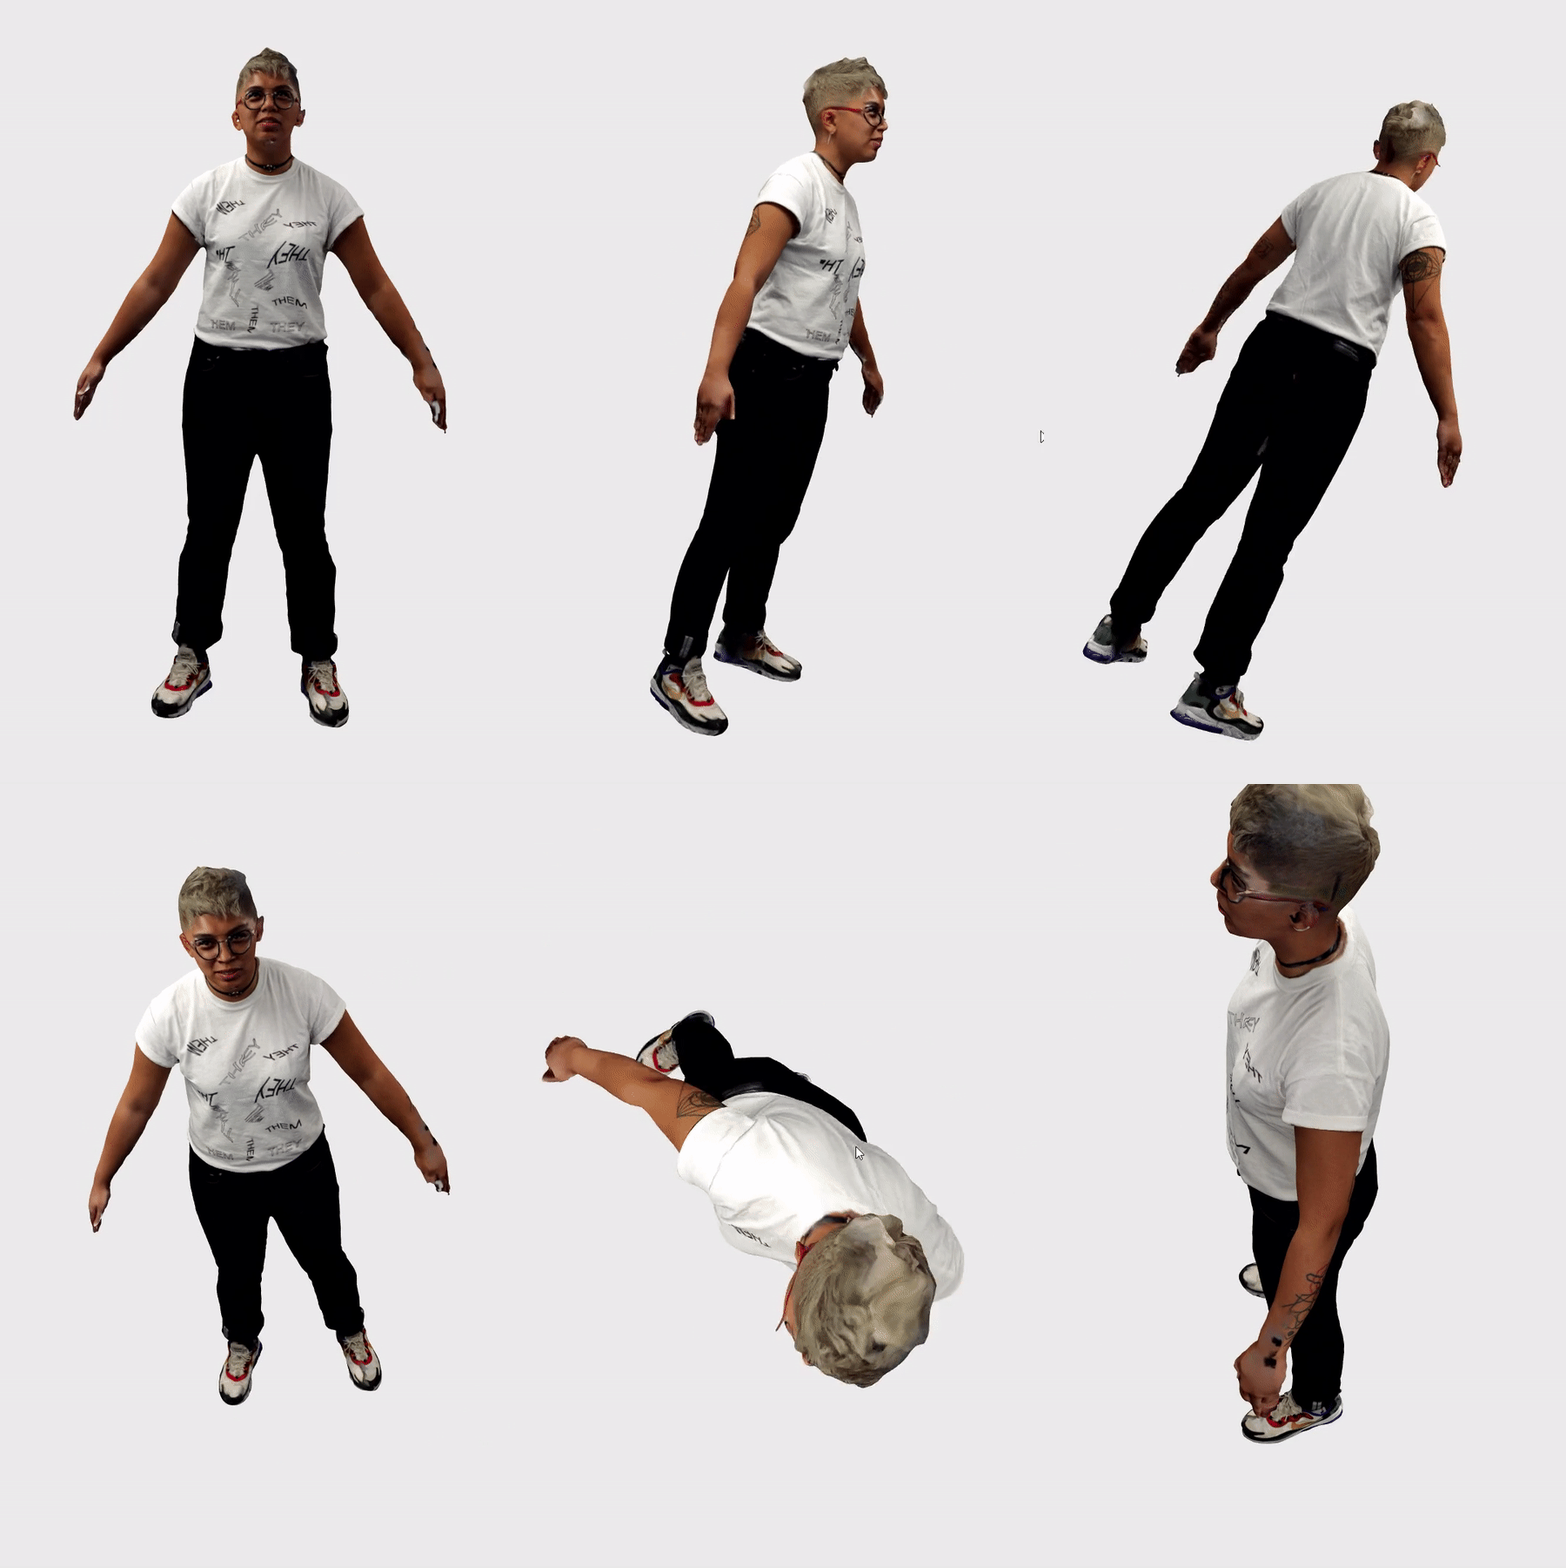
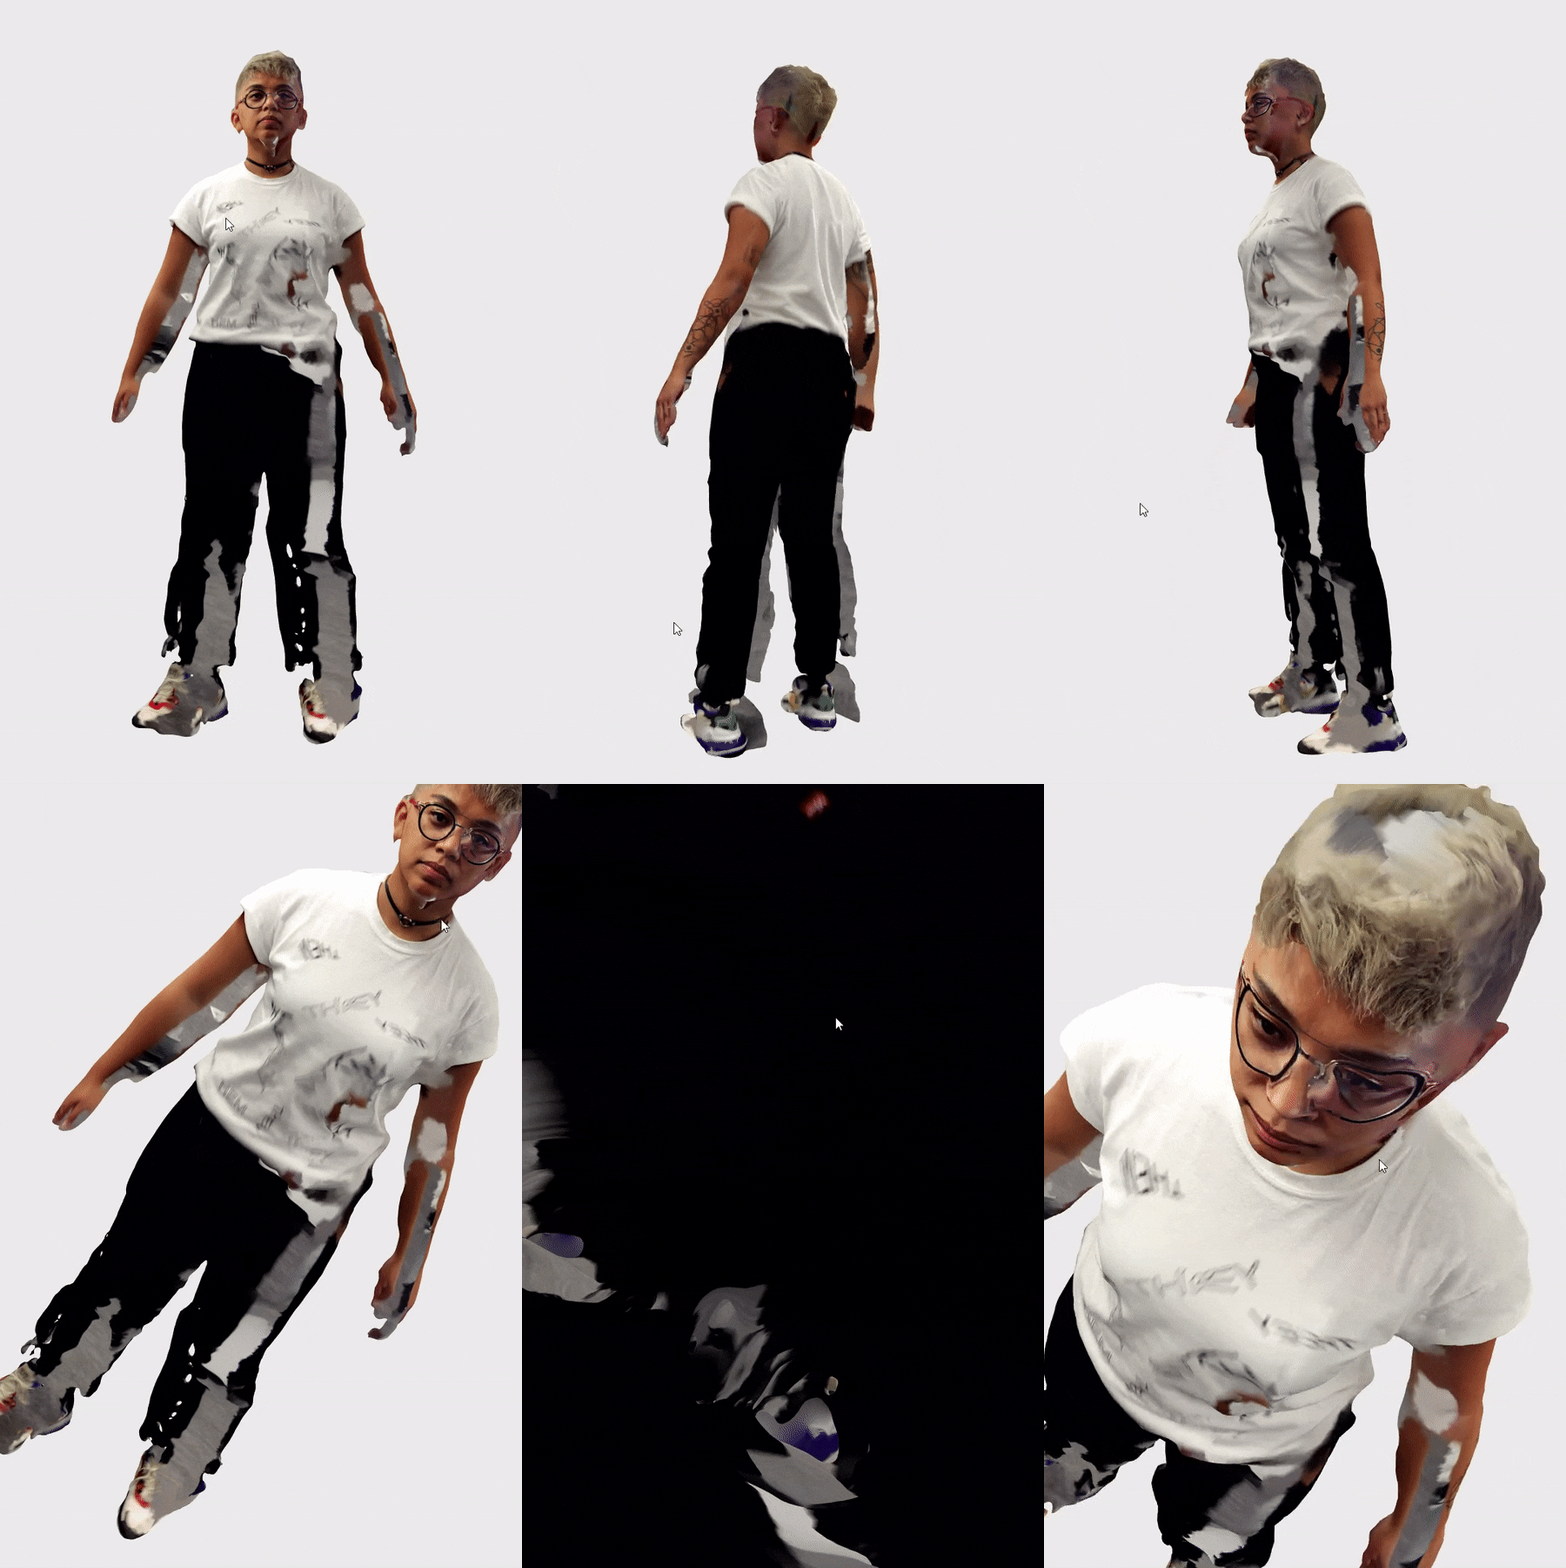
Christina volunteered to help me with my very first scan, which ended up being the best of many attempts. I wasn’t quite ready, so the face I was making was a bit caught off guard. I initially thought that the lighting was uneven, that the left side of my face was in more of a shadow than the other side. I’m pretty happy that Christina was able to scan pretty much every detail - there’s not too many holes in my texture!

 
1_good.gif
 

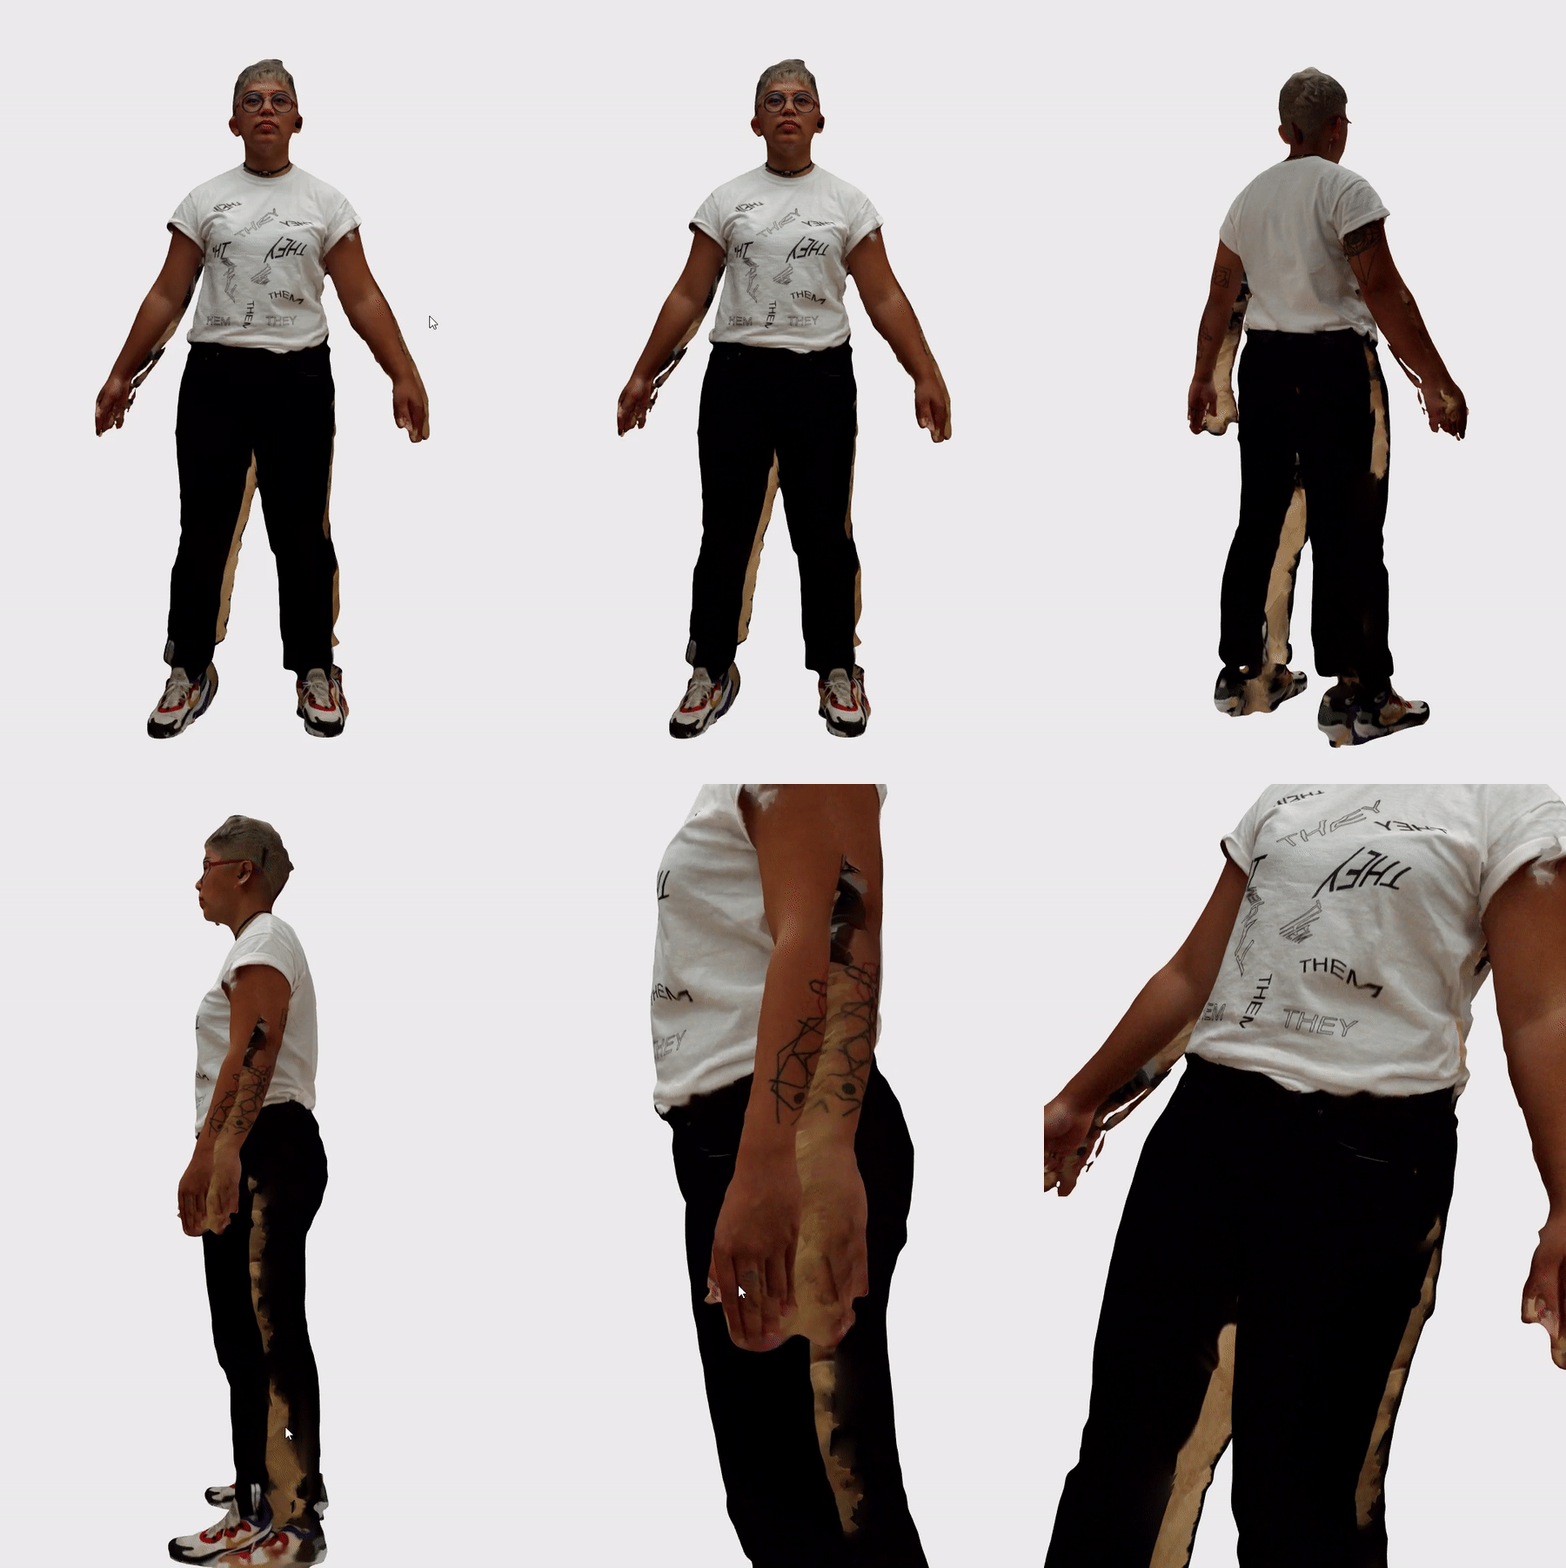
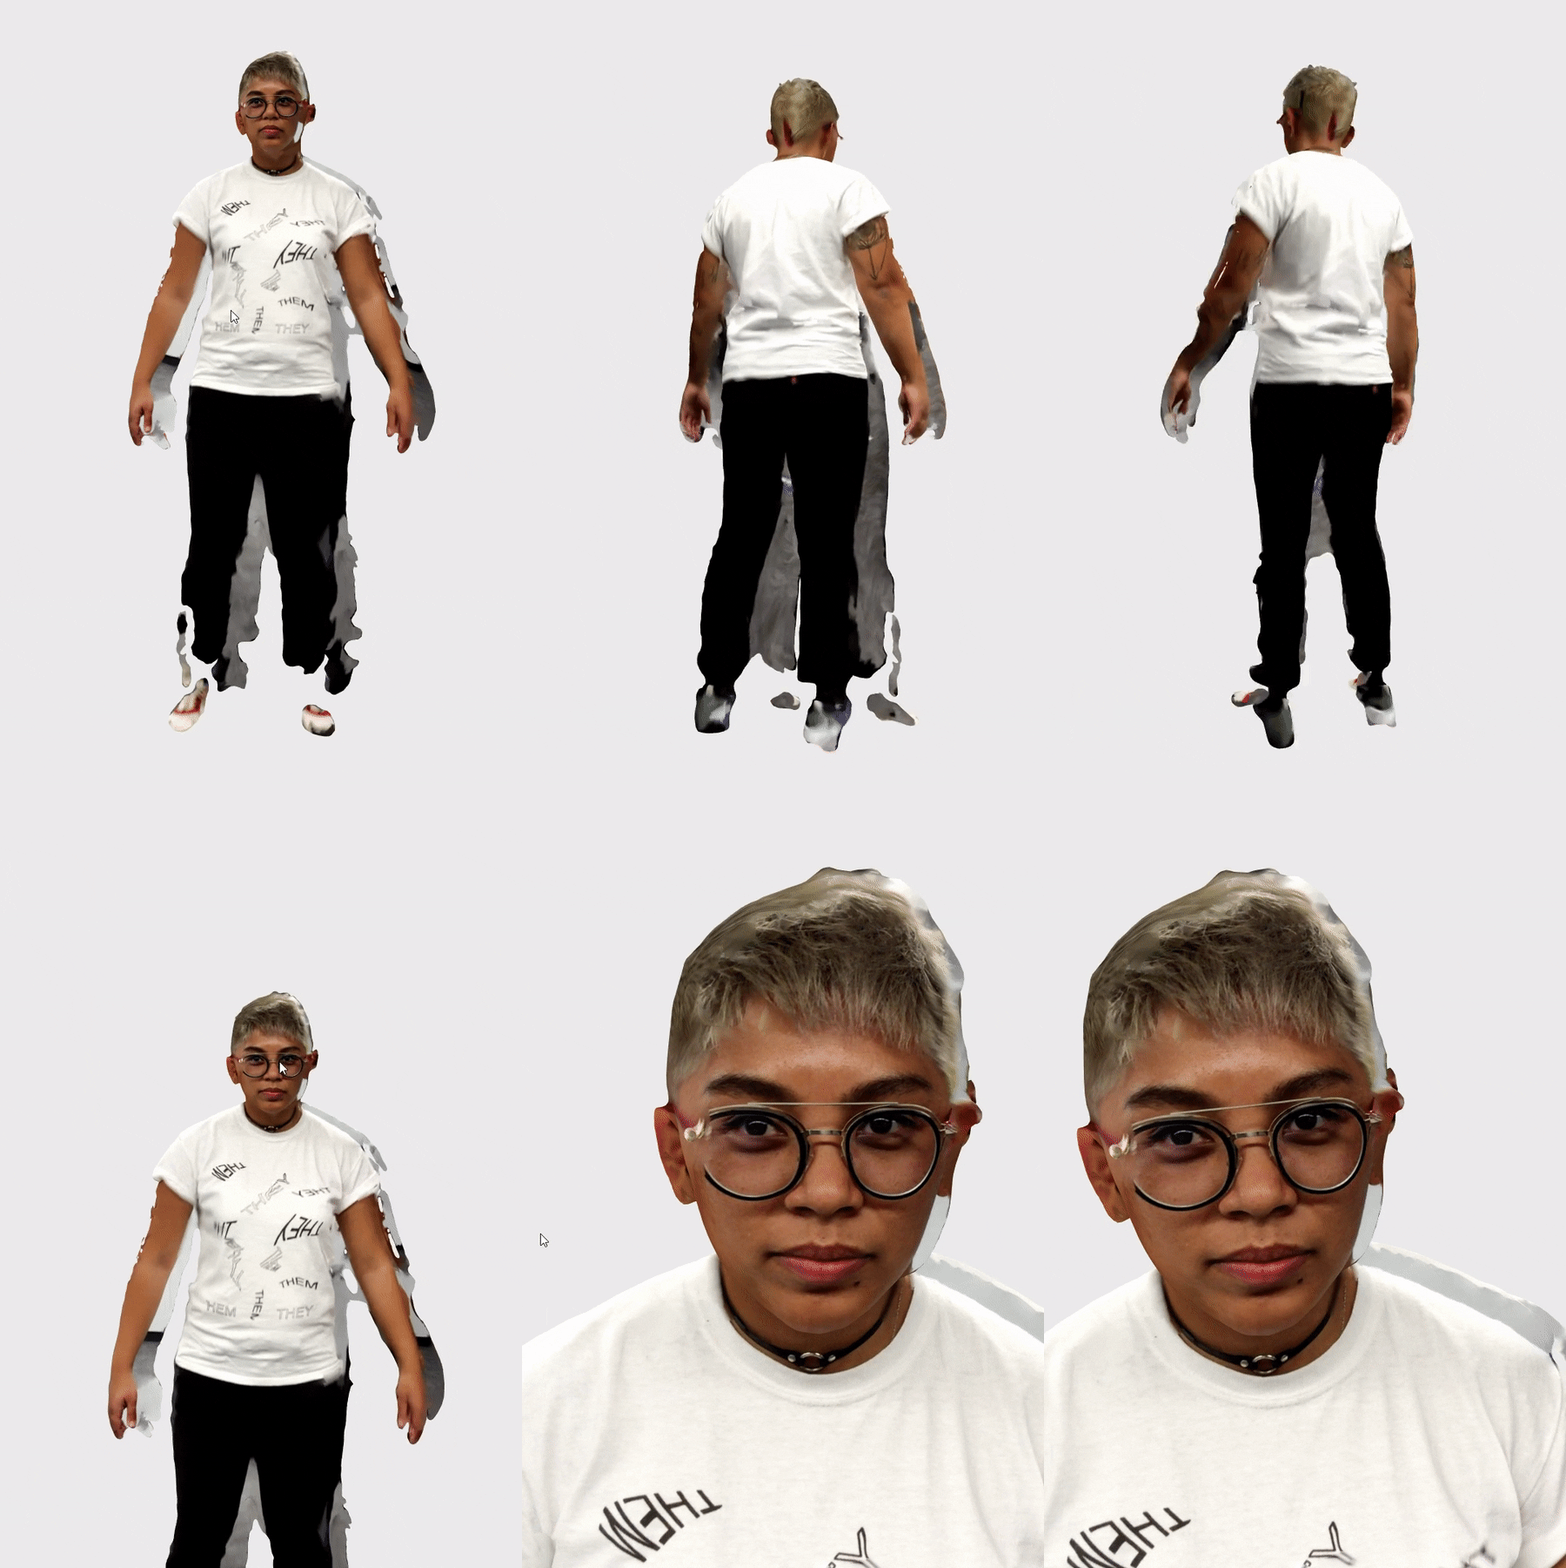
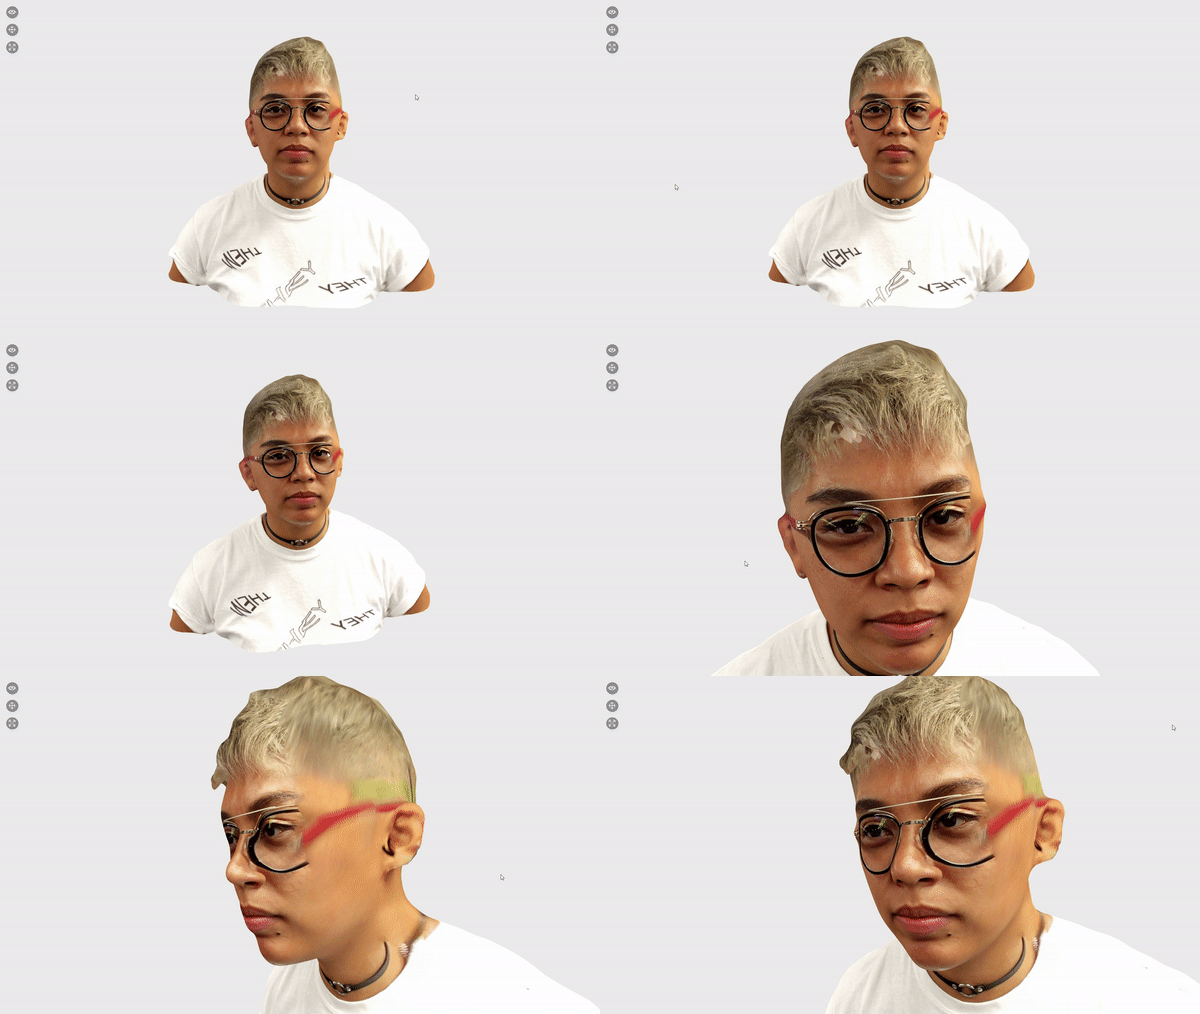
A little later that same day, I asked Dina if she could scan me so I could have an avatar with a neutral face. Even though we were in the same location with the same amount of lighting as the first scan, the scans ended up being very inconsistent. Dina came across alignment issues, and the portions that were already scanned would shift along with the body. We continued to finish and process the scan anyway, and now I see that the shifted scan resulted in multiples of my body parts. There were many more vestiges and incomplete portions in these scans. We restarted the iPad, made sure everything was charged, adjusted all the lighting in the room, and even tried the bust mode to see if that behaved differently - all to no avail.

2_badlegs.gif
3_badarmsreduce.gif
4_mehreduce.gif
5_bust.gif
 

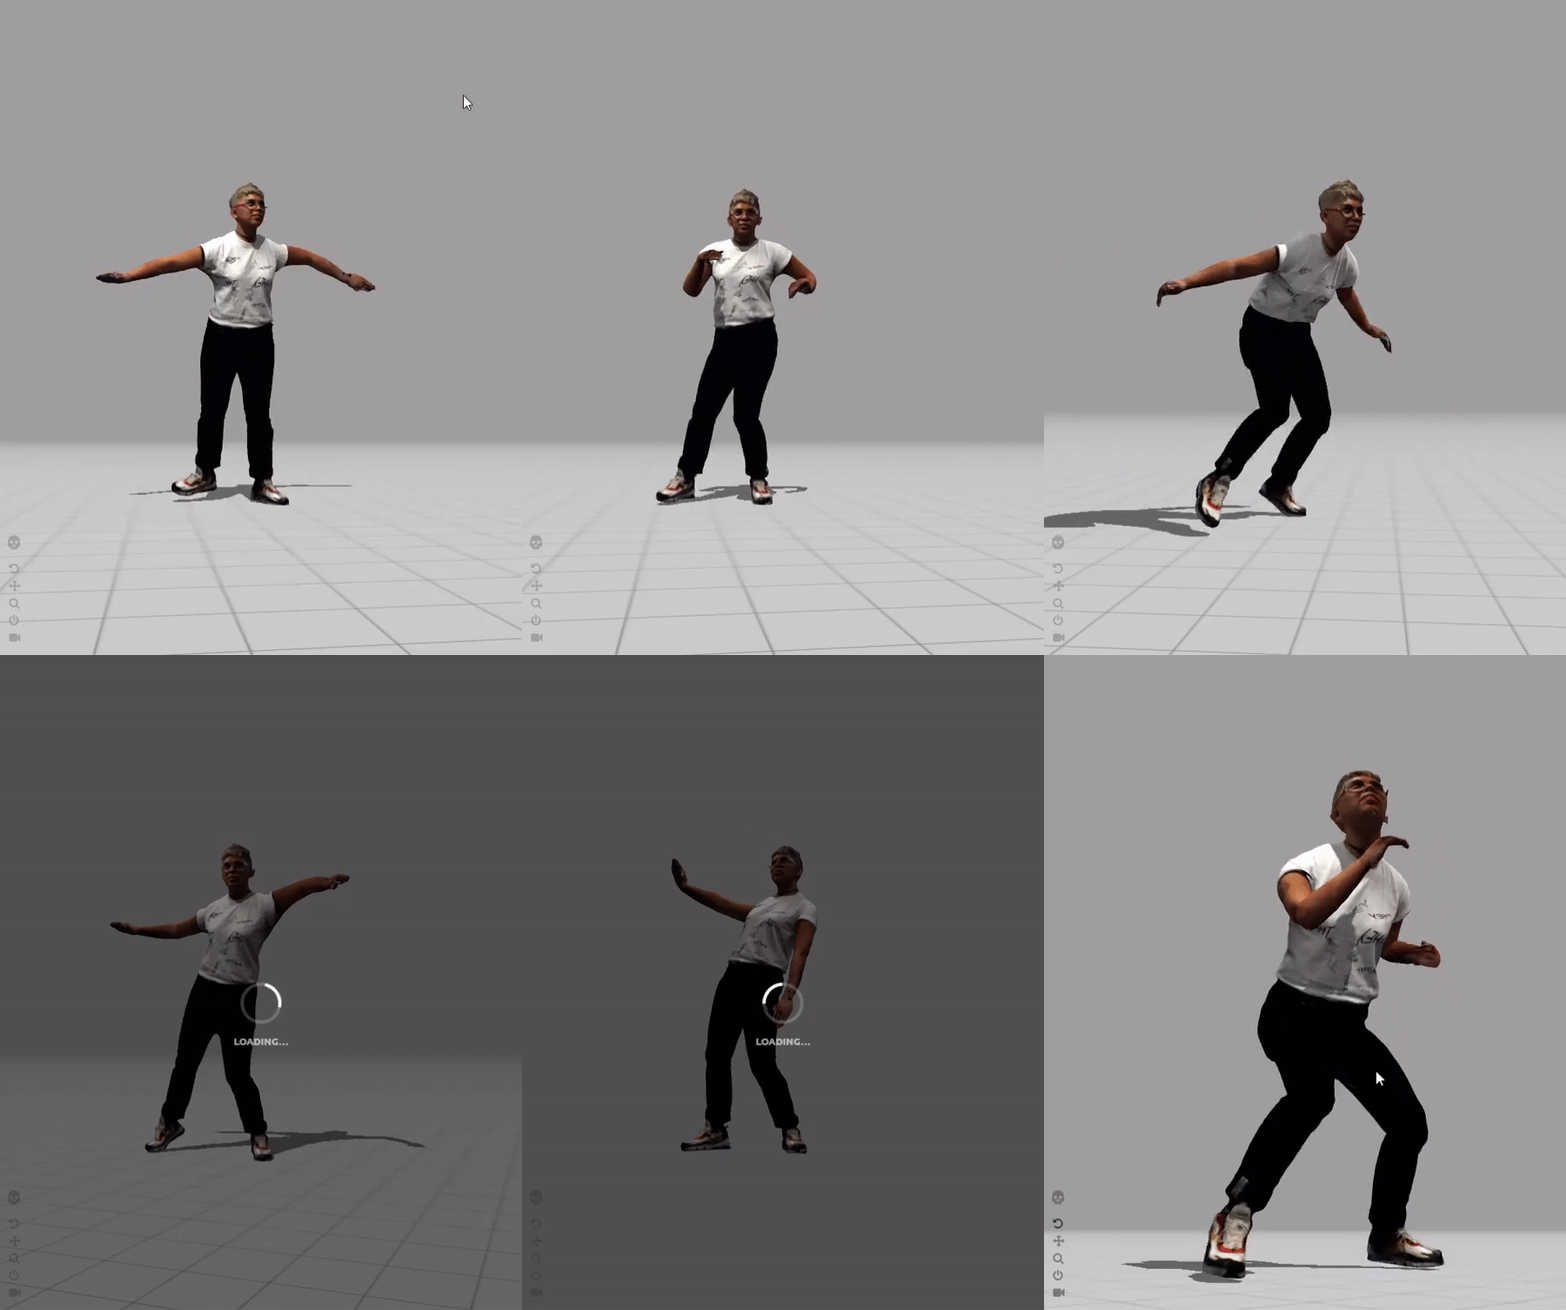
I decided to import the first scan into Mixamo, and finally was able to live vicariously through my avatar - I’ve been missing nightlife so badly, I really just want to dance! I took advantage of all the dancing animations available.

 
7_ijustwannadance.gif
6_float.gif

BlendSpace1D, Animations and State Machines

This week, I followed Matt’s tutorials on BlendSpace1D, animations, and State machines.

By the second tutorial, I transformed my character Maynard’s head to be twice its size with the belly dancing animation for the upper half of the body and the running state for bottom half. I really enjoyed Maynard’s freely moving arms as they ran around with purpose.

To show the state machine animation cycle, I too had animations that required a higher velocity jump so that the joyful jump, falling, and landing animation could play out.

UNREAL: Skeletal Mesh

This week on Performative Avatars…

I followed Matt’s Skeletal Mesh tutorials and imported Mixamo animations into Unreal. I became fond of my buddy Maynard, who’s doing a little belly dance for us below.

maynard.gif

By the end of the tutorials, I had Maynard defying gravity, running way faster than the norm, and clotheslining other dummy duplicates with the ragdoll physics left on or drifting effortlessly into space. You can also see Maynard 2.0 do a lil twerk. I left all the vestiges of the experiments as I tested all the features explained, my favorite being the imported animation that was linked with the “incorrect” earlier-made test character skeleton instead of the one that was imported along with the animation from Mixamo.

I didn’t come across too many issues when following the tutorial, but now I’m very excited to learn more about the blend space so I can compile better movement animations for my character.

Semester Project Proposal

Concept

Amidst 2020’s pandemic, social unrest, the fires in the West, the impending election, I think as artists we are responsible for making a public art piece that can provide a place for healing that can help people cope with what and who has been lost, and help set intentions for positive change. I see this in two forms, both a body of water and in the heart of a fire, where both can be destructive and restorative.

Interactivity
Ideally, there would be a QR code that could lead to a website that would prompt the participant to fill out a text box, with a prayer, an intention, a name that they want to honor. I imagine their text response being translated from their phones and into the LEDs of the piece, animating across its length. For water, I imagine the text flowing, and perhaps a rain animation could "wash" the text away. For fire, maybe it's a candle, or maybe it looks like a piece of paper that gets consumed by flames as it dances across the length of the LEDs.

Kinetic
To make it kinetic, I'd want to attach linear actuators to 6 different points of the 3' x 6' sheet of lenticular that would be activated to create this rippling effect.

Form
I envision a double-sided large scale “reflection vessel” roughly 9’ L x 2’ W x 7’ H’ constructed out of wood, aluminum extrusions, and a lenticular surface that stretches and shapes the LED lighting underneath.
I am still contemplating on what the central arcade will look like, whether it should be LED panels or an OLED display. I imagine participant text being sent from their phones and sent to the display, starting at the top of the screen and then downwards, transitioning from a vivid animation on the screen into an elongated, stretched, rippling reflection into the LED panels magnified by the lenticular lens, moving towards the viewer.

Crude drawing attempt in Vectorworks. Will need to watch more tutorials before getting more details in there.

Crude drawing attempt in Vectorworks. Will need to watch more tutorials before getting more details in there.

IMG_2330.jpg


Research

linearactuator.PNG

I spoke with ITP alum Barak Chamo and Nick Wallace for their advice and technical support with this project.

Linear Actuators
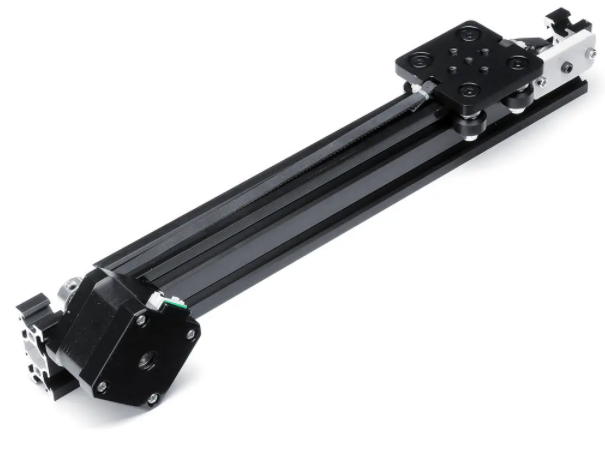
There are many linear actuators in the market! For this project, I am looking for a more affordable option that does not necessarily have to be load-bearing. I am imagining that the motors will be attached to the 80/20 extrusion bars that I intend to build the internal frame with. I have ordered the linear actuator pictured on the right and will run some preliminary tests with it.

Barak has offered his stash of linear actuators to play with, and I will hopefully run more tests with them too.

Joints
It will take a lot of time sifting through the McMaster catalog and Servocity website to find the right parts for the up/down translation for multiple different points of the lenticular sheet.

Lenticular Lens
For this project, it is very important to have enough flexibility in the lens for the up and down translation along the perimeter. Another key factor is scale - I’ve had difficulty finding lenticular larger than 14x20”. I spoke in depth with artist Robert Munn of Depthography who had plenty to say about lenticular lenses and their imaging applications. In confidence, he shared his lenticular vendor with me: Microlens.com.

I received a sample pack of what they had to offer, 60 LPI lenses being the thinnest with the least amount of plastic, which still turned out to be more rigid than the lenticular lens I’ve ordered off eBay.

TouchDesigner Interaction
I will need to devise a way in which TouchDesigner will retrieve text from the database that would be populated by participant entries. Once extracted, I would like the text to be animated in the LED output. I will also do further research on fluid dynamics to create the water, and flow emitter to create fire animations.


Bill of Materials

Self Portrait Exercise

IMVU

dance.gif

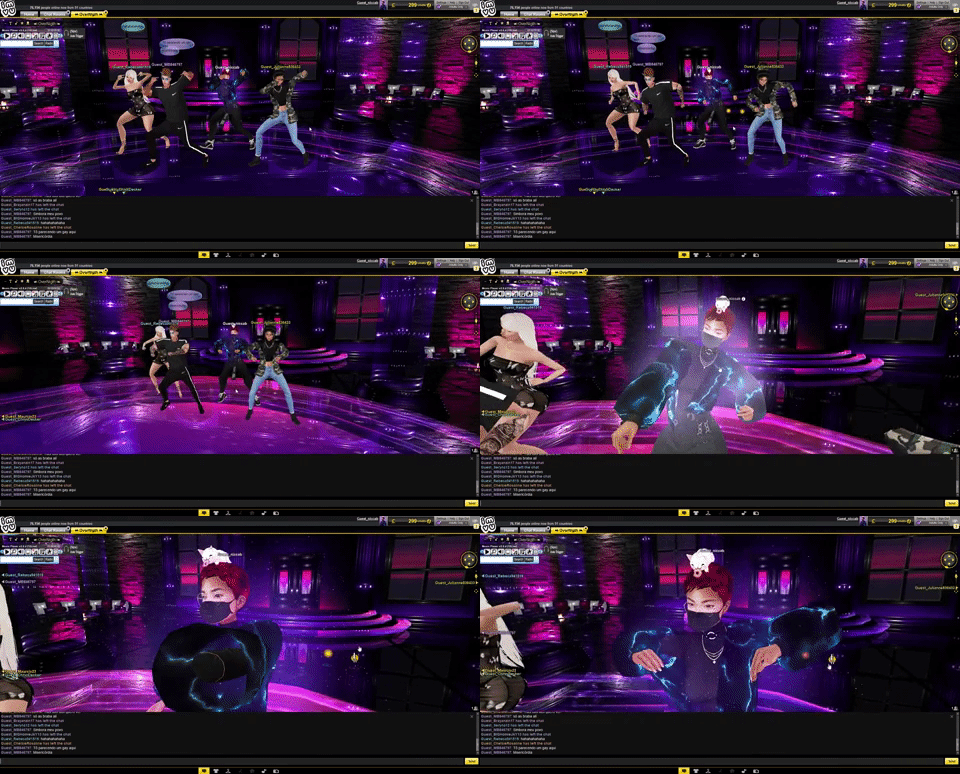
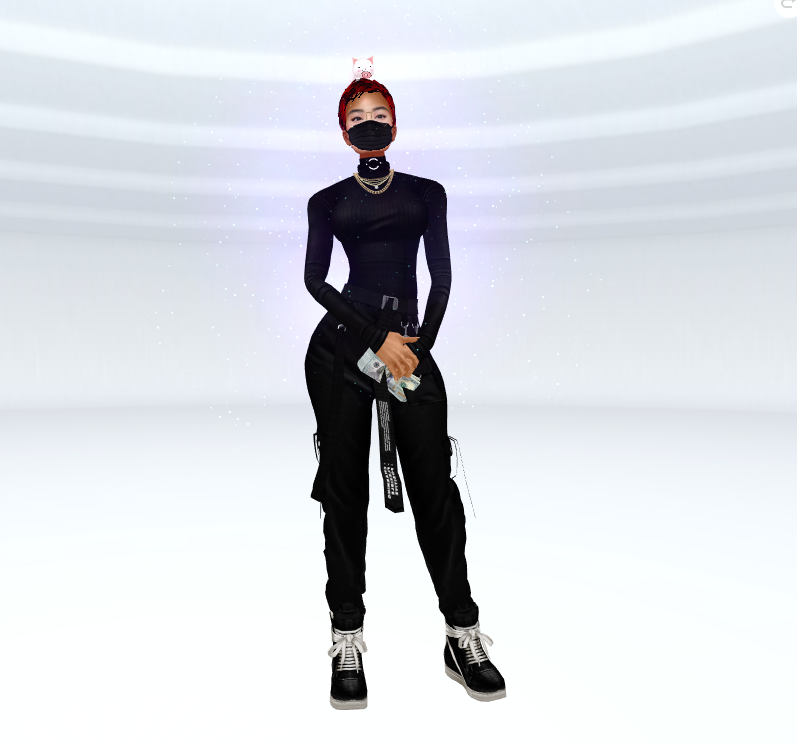
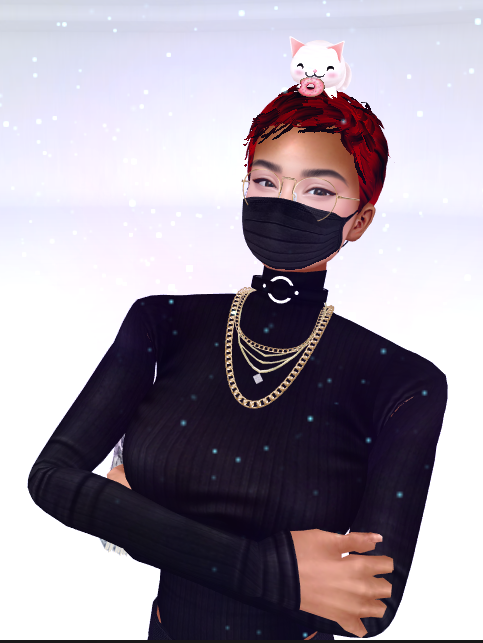
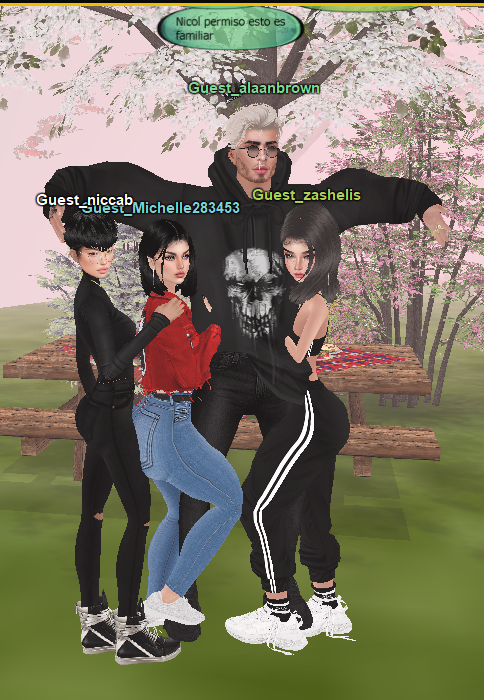
For my first avatar, I decided to use Instant Messaging Virtual Universe, or better known as IMVU, a free 3D avatar program that’s been around since the early 2000s. Over the summer, my friends Allen and Anna of Spirit Twin teamed up with Feltzine to host Spirit World, an online music festival using IMVU as their platform, and my roommate Octonomy played a set on one of the stages. That brought a whole new purpose for 3D chat worlds into my conscious as I saw festival goers blow off some steam and let loose on the dance floor.

wronggender.PNG

As with many avatar creation tools, you’re asked to pick between male or female which then filters out which modifications are “appropriate” for you. Here’s the error message that shows up when you try to put on anything that isn’t designed for your specified gender.


skin.PNG

It’s slim pickins when you try to create your avatar with the default options the software offers, but you’re allotted with the 4000 credit bonus when you sign up. The available inventory in their shop is impressive - you can pick different tops, bottoms, accessories, furniture, skin, facial features, pets, special moves, and body scalers. Highly sexualized, the female body comes default with very large breasts and butt. I didn’t find the right body scaler that would reduce the size of these assets, but I’m sure there are options available. Another difficulty I had was finding the right face with Asian features. I found one that I liked, but the skin tone was paler in complexion than the rest of my avatar body.

I think if I spent more time and money in the IMVU shop, I would find a slightly thicker, more muscular body build, and a flattened chest which are the characteristics that I think are missing from my current avatar.

After using IMVU, I wanted to use a more cartoonish caricature maker that had more bubbly features and thought Animal Crossing New Horizons would fit the bill.

Animal Crossing: New Horizons

acnha.PNG

As a lot of people did over peak quarantine, I played Animal Crossing religiously and earned a lot of “bells” by selling fish, bugs, fossils, and especially turnips. The more bells you have, the more you can purchase at the Able Sister’s, the clothing store on the island. Throughout the game, you can unlock different hair styles / colors and a custom design tool where you can draw out designs for clothes and even your face. However, you can’t unlock other body modifications or facial features - you’re pretty much stuck with what’s offered in the beginning. All the characters are the same size and have the same body type no matter what gender. There are no restrictions with what clothing and accessories you can put on.

Reduce, Radiate

slices.gif

We all have been spending an exorbitant amount of hours on our own during the pandemic, a roller-coaster of emotions where self reflection is embraced, but also has potential to transform into spiraling rumination. This project is an opportunity to illuminate inner shadows, overcome, and radiate.

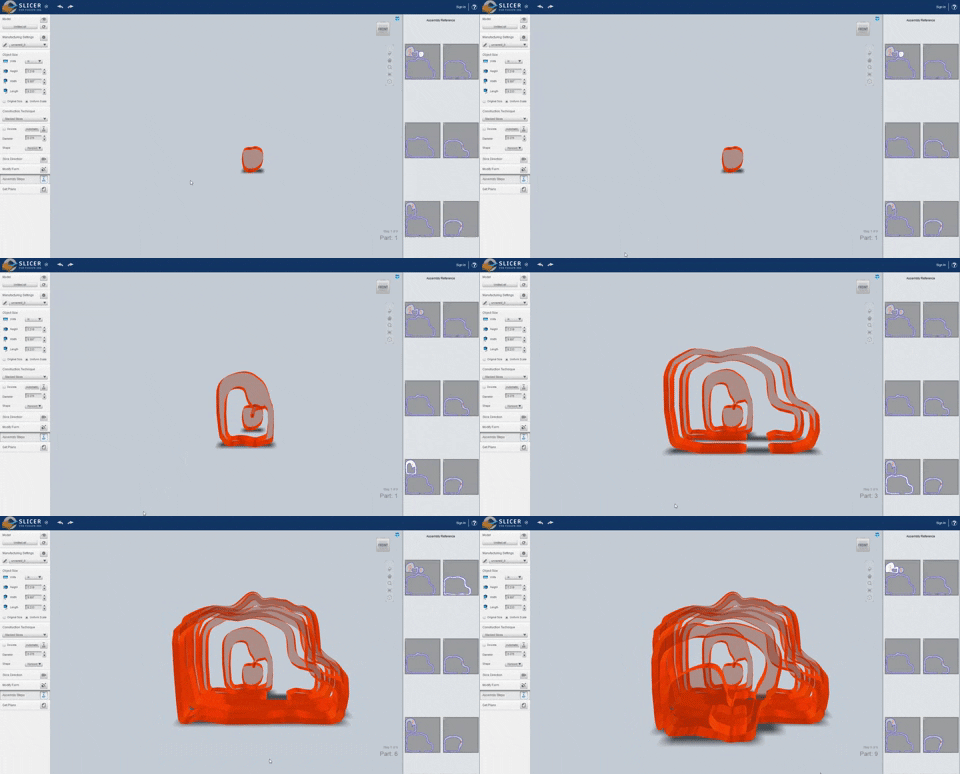
Using Slicer, I created cross sections of myself and cut out these planes out of color photo gels with the Cameo 4.

IMG_9859.JPG
IMG_9863.jpg

Originally, I had intended this to be a project with more fabrication involved, but with limited resources and unreliable shipping, it turned out to be more of a Fusion360 exercise.

I decided to remix the essence of two past projects: 37 Hour Self Portrait and The Self is More Distant Than Any Star.

3dprint-side.gif
01-SelfDistant.jpg

Main takeaways

  • Absolutely reduce the face count in your mesh. If you intend on using Slicer, a Fusion360 plugin, it will not be able to handle complex 3D models. Both Slicer and Fusion kept crashing over and over again, and upon Googling, plenty of people experienced this issue. Forum responses from the Autocad staff member said to make sure your GPU can handle it and that you have the most updated drivers. I knew my GPU could run more GPU intensive programs, so I didn’t think this was the problem.
    I knew my model had a billion or so faces, so I ended up erasing everything from my neck down. Within the Mesh tab > Modify, there is a tool that can be used to reduce the face count. What I also didn’t realize immediately was that my imported 3D model was way larger than I thought, so check your model size with the measure tool.

  • Convert your mesh to BREP (boundary representation). In order to make any changes to the imported mesh, you will need to convert it into a solid object. To do this conversion, you have to right click the project in the component list, click “Do not capture timeline” which will then reveal the Mesh tab. Now you can right click the body and select

capturedesignhistory.PNG

  • Quads > triangles. When selecting an .obj or .stl file to import as a mesh, it may be imported as a model composed of a triangular mesh. Most editing functions within Fusion360 will only work if your model has a quad mesh, which would then need to be converted to T-Splines. I spent a lot of time trying out Extrude / Thicken / Push&Pull tools within the Solid / Surface / Form / Mesh workspaces, only for none of them to work with my triangles. To create the slices of the silhouette I imagined, I wanted to give thickness to the model of my face, which was only a surface.
    I downloaded another Autodesk app called Recap as a recommendation from this tutorial. This program does a bunch of wonderful things, but the main key feature is the ability to export your file as a Quad .OBJ. Sort of frustrating that isn’t built into Fusion360 somewhere. But since I was already using that application, I made use of their extrusion function.

  • Slicer is sooooo much fun. There’s just so many options I had decision fatigue. I exported both the stacked and folded panels. Export the .DXF package in Slicer > re-save it in Illustrator > open up file in Silhouette.

  • For the photo gels I used, it took a lot of trial and error to get the right settings for the Cameo 4. I ended up with the settings below:

cameo-winner.PNG
cameo_1.PNG

LIPPtv: Glowing With Fire with OCTONOMY x nic.cab

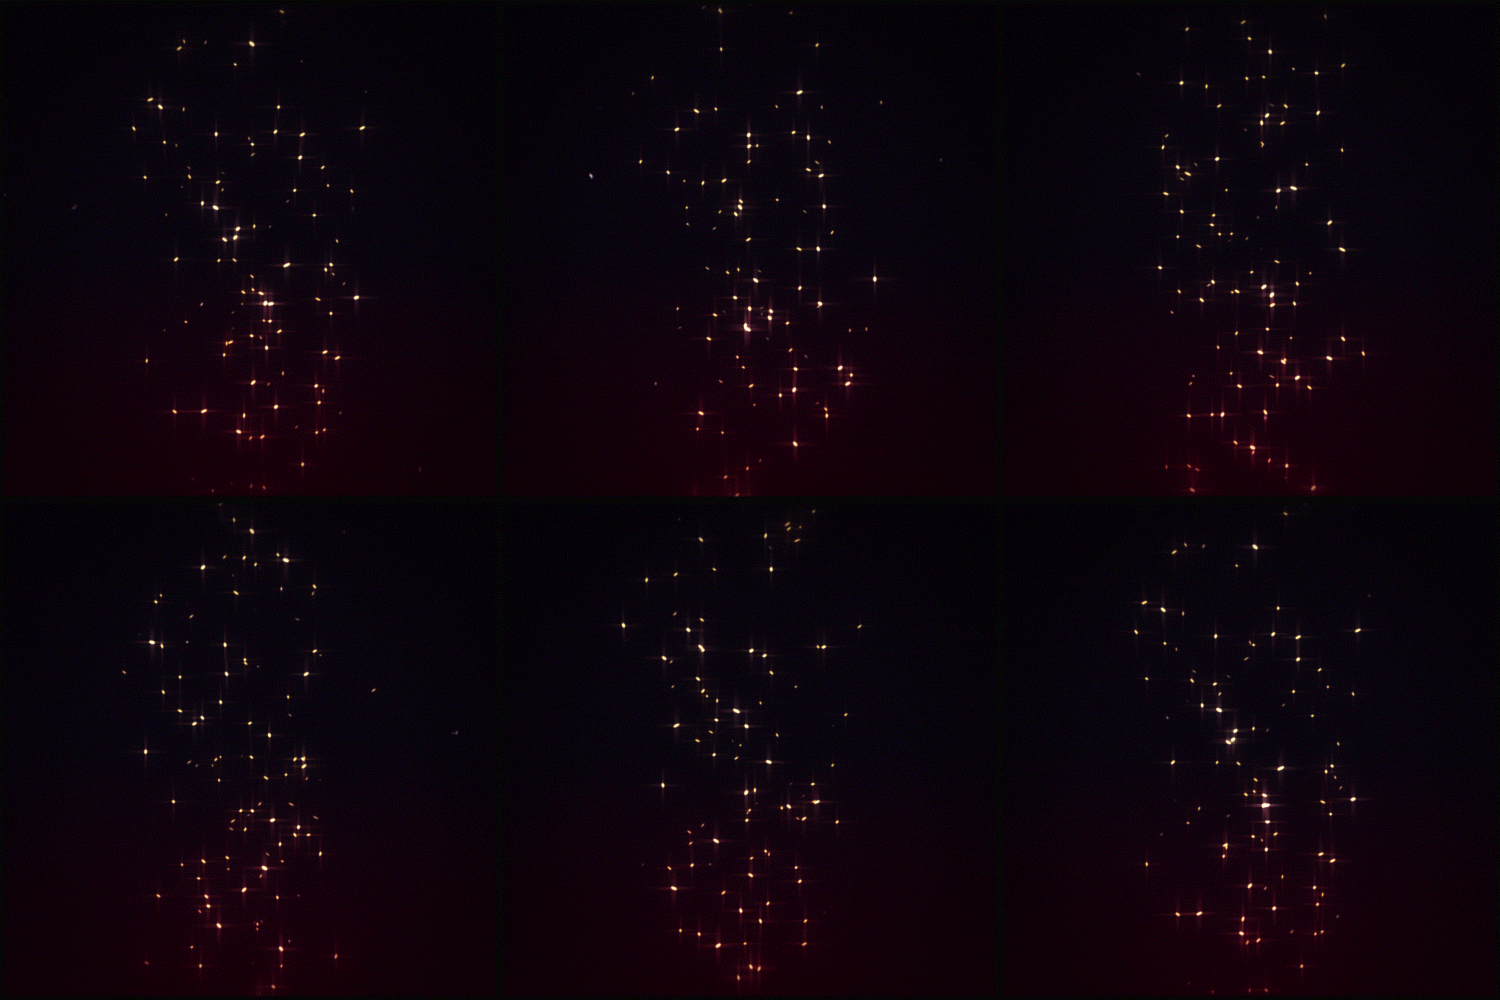
Here is the full video documentation of Glowing With Fire, an audio-visual projection mapped performance in the times of COVID-19.

logo2.PNG

This performance was created for LIPP.tv, the final performance project of the Live Image Processing and Performance (LIPP) class at NYU’s ITP. LIPPtv is a creative response to how code, video, networks, and art can be used to create a new experience in live performance. Each student has created their own short TV show influenced by video art, experimental animation, public access TV and more. This entire event was created remotely and is performed remotely, with students creating the website, commercials, music, and animations.

The original stream took place on Twitch on May 11th, 2020.
Please watch the full recorded program here: https://lipp.tv/


Development

For LIPPtv, I am collaborating with my roommate Heidi Lorenz, also known by her project name OCTONOMY. She will be providing the audio, and I will be using a combination of Max and madMapper to projection map our backyard. This pre-recorded performance will also be shown with Cultivated Sound, a hybrid label and collective.

Here is a skeletal version of the track, which she is still working on. We discussed a water element where she will pour water into a bowl with contact mics and distort it.

The first samples were very different from this.

Here is my are.na link for some inspiration / references.

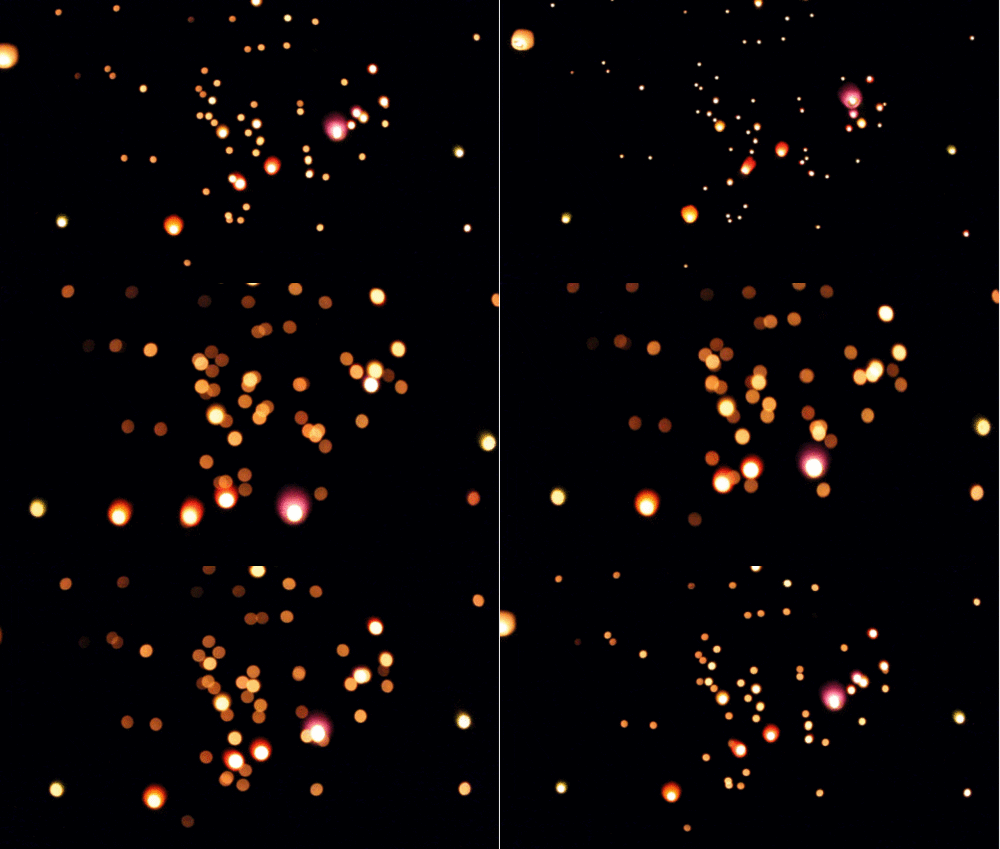
Before hearing the track go towards its new direction, I thought I could incorporate some experiments I was working on for Light & Interactivity - my gesture controlled DMX moving head lights, that also has a particle system visualization within TouchDesigner.

I knew that securing an expensive short-throw projector that doesn’t belong to me (thanks ER) and cantilevering it off the edge of a fire escape would be a huge source of anxiety…

IMG_9821.JPG
IMG_9822.JPG

After all this, the angle was still not at an ideal location. Back to fabricating a new attachment and remapping the layout…

References

Gesture Controlled DMX Moving Head Lights

When I registered for the Light and Interactivity course, one of my goals was to learn more about DMX lighting and how to control it. The final project was the perfect opportunity to create a DMX controller that would be responsive to hand gestures. For this, I used TouchDesigner to parse body tracking data from the Microsoft Kinect and madMapper to receive OSC messages that would change channel values to control the moving head lights.

The video shown below is the first prototype: the X coordinates controlled the Panning channel, and the Y controlled the Tilt.

Bill of Materials

  • Pair of UKING 80 Watt Double Beam Moving Head Lights, $128.78 on eBay

  • Kinect Azure, borrowed from ITP Equipment Room

  • ShowJockey USB -> DMX Adapter, gifted from CHiKA, can be purchased from garageCube

  • ZOTAC ZBox QK7P3000, my NUC PC

  • Rockville RDX3M25 25 Foot 3 Pin DMX Lighting Cable, 2 pack for $10.95 on eBay

Software

  • TouchDesigner 2020.22080

  • madMapper 3.7.4

  • OSC Data Monitor (Processing Sketch), for troubleshooting

System Flow

PC -> Kinect Azure -> TouchDesigner -> madMapper -> DMX moving heads

TouchDesigner Setup

madMapper Setup

Screen Shot 2020-04-28 at 4.06.12 AM.png
Screen+Shot+2020-04-28+at+1.45.26+AM.jpg


Roadblocks

ShowJockey USB DMX
TouchDesigner is a powerful tool and includes its own DMX out CHOP, but Derivative built the TD environment with ENTTEC hardware in mind. Tom put together a workaround for DMXKing’s eDMX1 Pro using DMXout via sACN which would send messages to QLC+ for controlling the lights. The eDMX1 Pro uses an FTDI driver which can be recognized with the QLC+ software.

I experienced difficulty finding the specification sheet for the ShowJockey SJ-DMX-U1 device, and could not see which driver it would need. I blindly downloaded the FTDI driver to see if the ShowJockey would then show up, but that did not work. As per Tom’s advice, I checked to see what serial devices my Mac recognized. To do this, I used the Terminal command “ls /dev/cu.*” The ShowJockey did not show up.

Screen Shot 2020-05-03 at 12.54.14 PM.png
Screen Shot 2020-05-03 at 12.51.35 PM.png

When CHiKA gifted me the ShowJockey, we were using it only with madMapper, so I knew that the device was functional in that environment. I assumed that this product on the GarageCube site is what I must have, and its description says "This "NO DRIVER!" DMX controller is plug & play and ready to work with madMapper and Modul8 (only)" For this reason, I decided to use TouchDesigner simply to send out OSC data to madMapper for channel value changes.

OSC Connection
When trying to establish the link between TouchDesigner and madMapper, I knew that OSC would be very straightforward. It’s a matter of matching network ports, setting up the correct network / local addresses, using the appropriate protocol, and making sure the OSC message that is being sent is in the correct format that the receiving software could recognize. When I did not see any changes to the channel values within MM, I used the OSC Data Monitor to make sure that I was indeed sending out an OSC message with TD. Sure enough, I was sending an appropriately formatted OSC message.

TD-OSC_troubleshoot1.PNG

I followed a few tutorials (see references) but they all did not mention a very important thing; Tom pointed out "You'll need to use the address 127.0.0.1 if you're trying to communicate between two programs on the same machine.” Duh. Thanks Tom!

Notes

I picked the UKING 80W Double Beam moving heads as Louise had mentioned in class that UKING had decent reviews. For this project, I favored these lights for their basic functionality and value, however, I was not pleased with the color blending quality. Once I received my order, I used my AKAI APC40 MIDI controller to change channel values within madMapper just to test that the moving head lights were received in working condition.

Fusion360: Sweep Function

Ben showed us the sweep function within Vectorworks, and I was curious about how to do the very same thing in Fusion360. I spent a bit of time getting familiar with the Fusion360 interface, and ended up creating an undeterminable form after playing around with the sweep, extrude, and thicken function. Above is a speedrun video playing around with these tools.

I started off using the spline tool to create a wiggly shape. Within “Patch” mode, you can extrude lines to create a surface, which you can then thicken to give it body.
When using the sweep tool, you select the path in which a profile shape follows, whereas in Vectorworks, you would use the locus tool to select a point in which to sweep around.

Here is the Fusion360 tutorial that I watched:


Final Project Proposal: TouchDesigner DMX Control

A while back, I had plans to complete the fabrication of LOIE, my midterm lighting fixture for my final project, but knew that the sculpture still called for additional CNC work to make a sturdy back plate that everything would mount to. Last week, I started sketching out ideas for another light sculpture, but as some of my ordered items are not showing any clear signs of when they will be delivered, it really makes rapid prototyping and the final design processes much more difficult.

I am thinking that now is the right time to start diving deeper into TouchDesigner, a program that I began to start using when working for Leo Villareal. I am interested in it as a powerful tool for interactive show control and generative visuals. I am planning to create a DMX controller interface within TouchDesigner using gestures to control specific channels of the DMX lights set up on the ITP floor. I borrowed a Kinect Azure from the ER before quarantine began, and I would like to capture the infrared depth data within TD and program it to trigger events, such as sliding the hue values or brightness levels up and down with the wave of a hand.

Here are two inspiration videos that use the Kinect and TouchDesigner to control a moving DMX light.

Out of curiosity, I looked to see if there were any DMX moving lights that were somewhat affordable.

2 Chauvet MiN spots for $225?

2 Chauvet MiN spots for $225?

chauvetdj2.PNG